Home Preserves: What to Know to Make Your Own
Aug 29, 2022, Updated Sep 26, 2022
This post may contain affiliate links. Please read our disclosure policy.
Making fruit preserves at home can be a great way to save money and use up any extra fruit you have lying around.
Plus, fruit preserves are easy to make, and you can incorporate them into various delicious dishes. Read this guide to learn how to make home preserves.
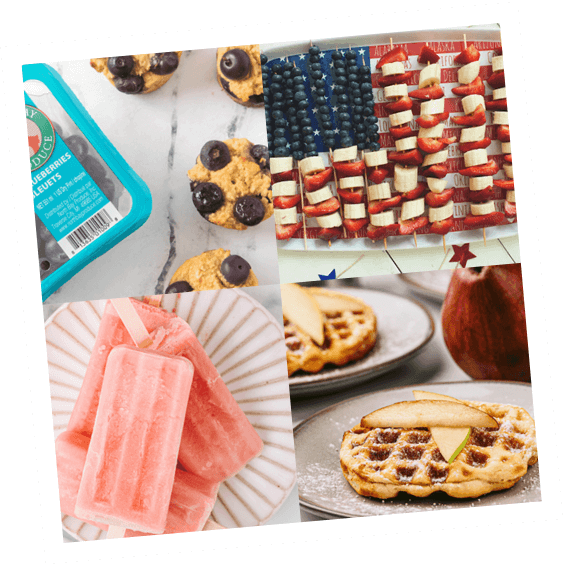
Related: How to Make a Parrot Fruit Art Tray
What are Preserves?
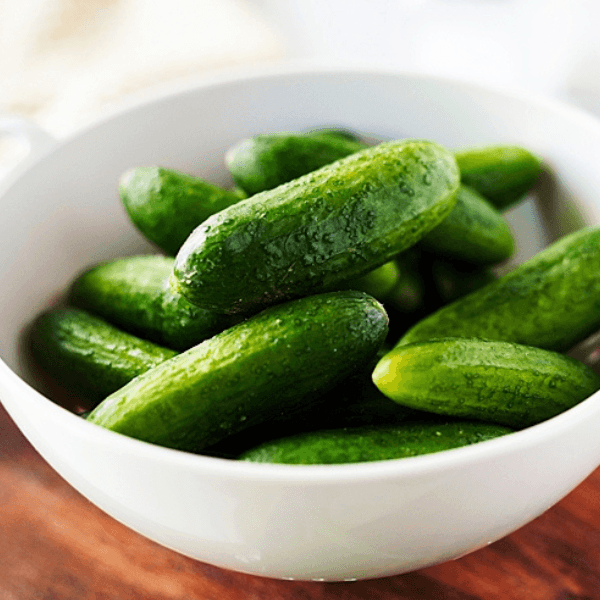
Preserving is a broad term used to describe the process of prolonging the life of produce. In addition to fruit, you can also preserve vegetables. For example, many people preserve cucumbers to make pickles.
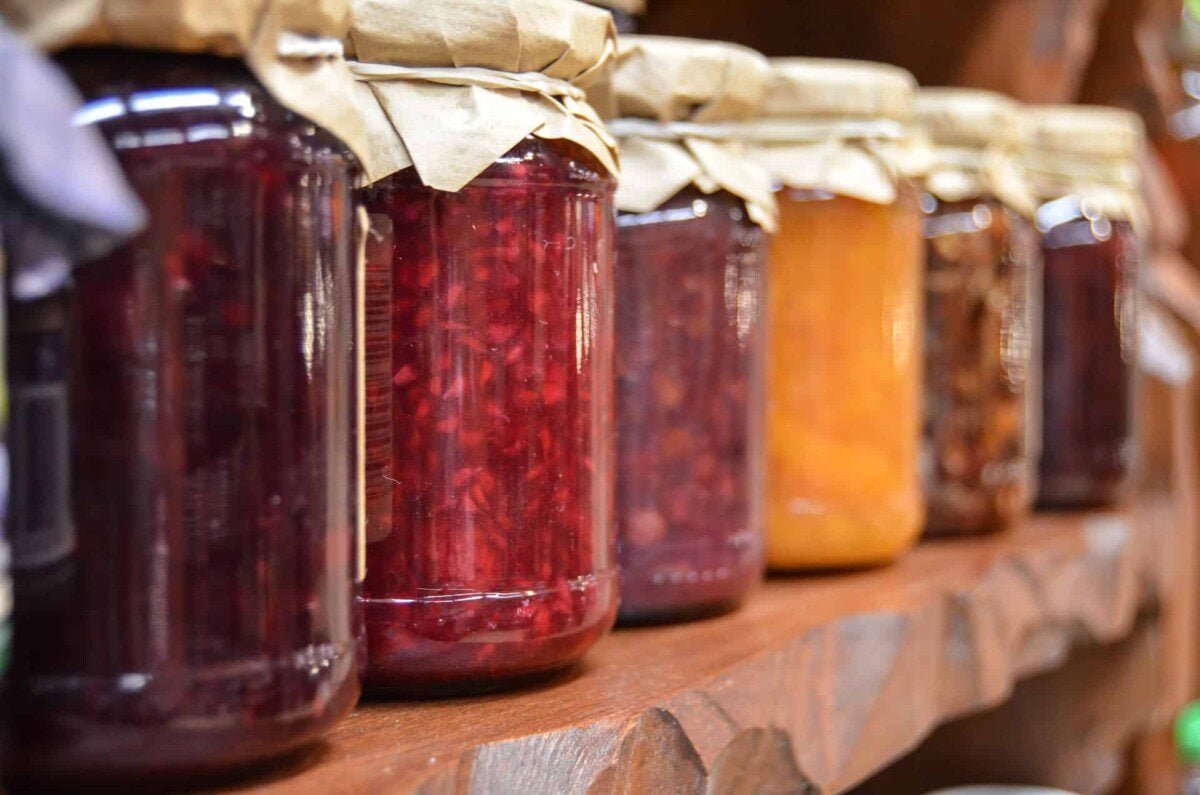
Sugar is the primary preserving agent in fruit preserves; in some cases, acid is also used. There are many variations of fruit preserves, including jam, jelly, chutney, curd, and marmalade. Each type of fruit preserve is distinguished by the preparation method, fruit used, and the preserve’s purpose in the meal.
The history of preserving fruit dates back to the 4th century AD, and nowadays, you can find fruit preserves in all varieties. And of course, you can also make fruit preserves at home!
Click here to learn how to make a delicious red onion marmalade!
Benefits of Making Your Own Preserves
So, why should you bother making fruit preserves? For one, preserving fruit is a fun activity that only takes some leg work. When you preserve fruit, you also preserve all of the fresh flavors that come with it. While you can buy most fruits year-round, fruit tastes best in season.
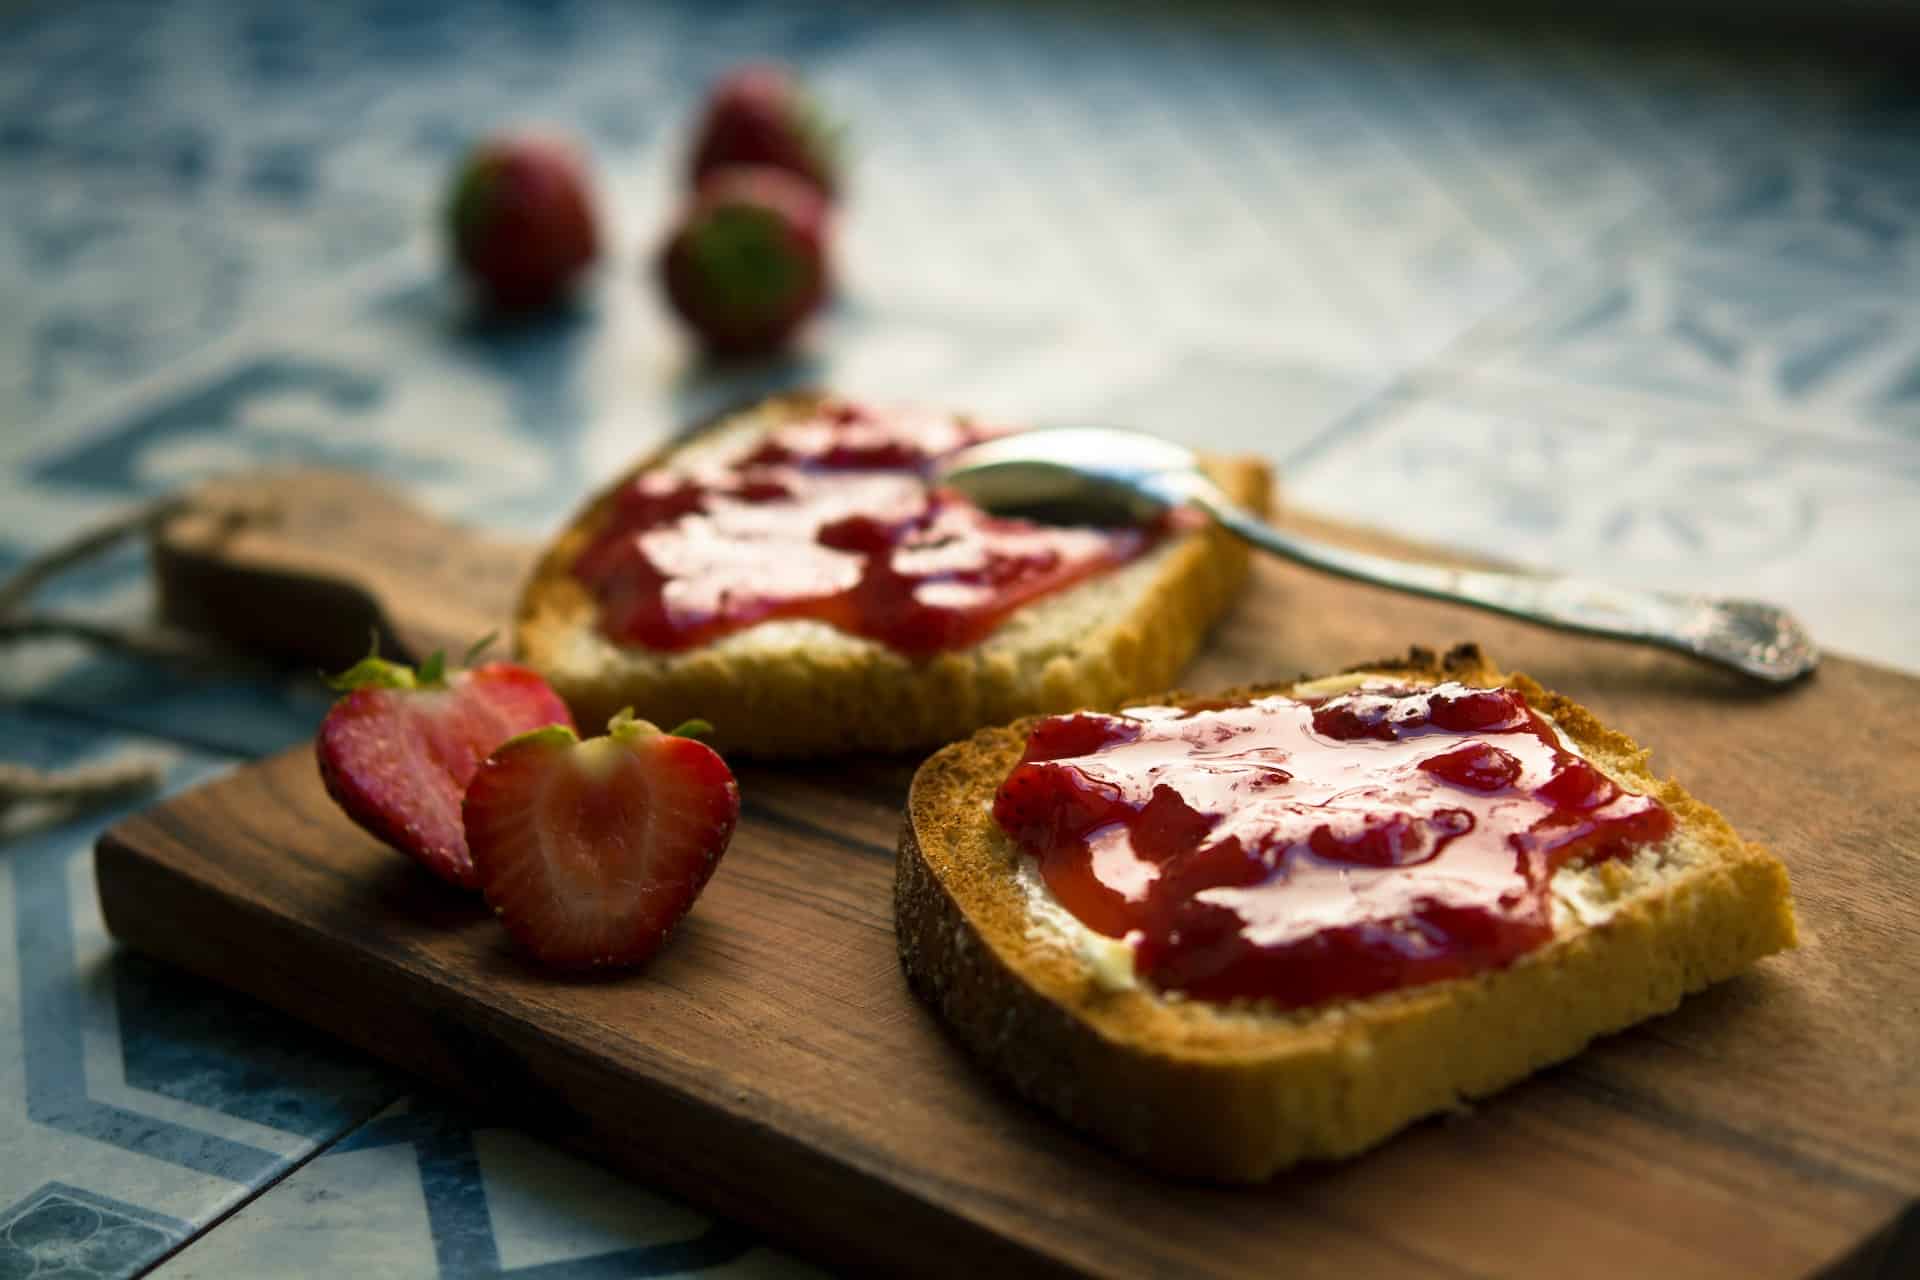
If you’re looking to savor the flavor of in-season fruit, making fruit preserves is the way to go. Fruit preserves are also very versatile, and you can use fruit preserves as a topping for toast, pancakes, waffles, scones, and other desserts. Some fruit preserves even pair well with meat and other savory dishes.
Additionally, there are many ways you can make your fruit preserves unique. For example, you can add a dash of cinnamon, vanilla, or nutmeg for some extra flavor.
Fruit preserves also have a long shelf life. If you freeze your fruit preserves after making them, they can last for one to two years.
Preparing Your Fruit
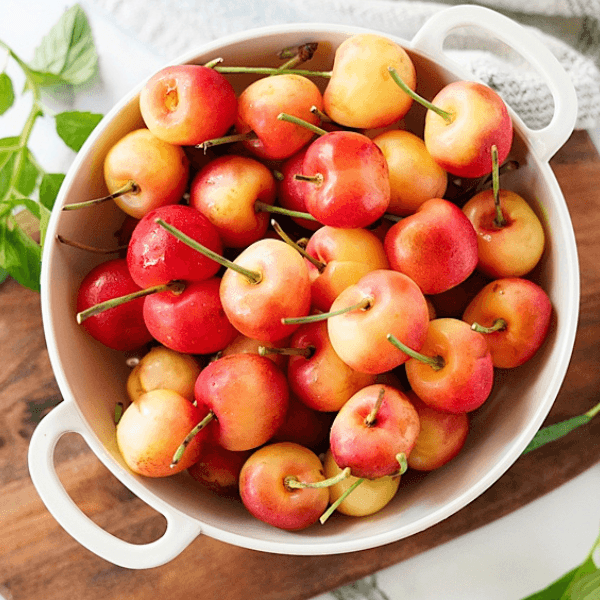
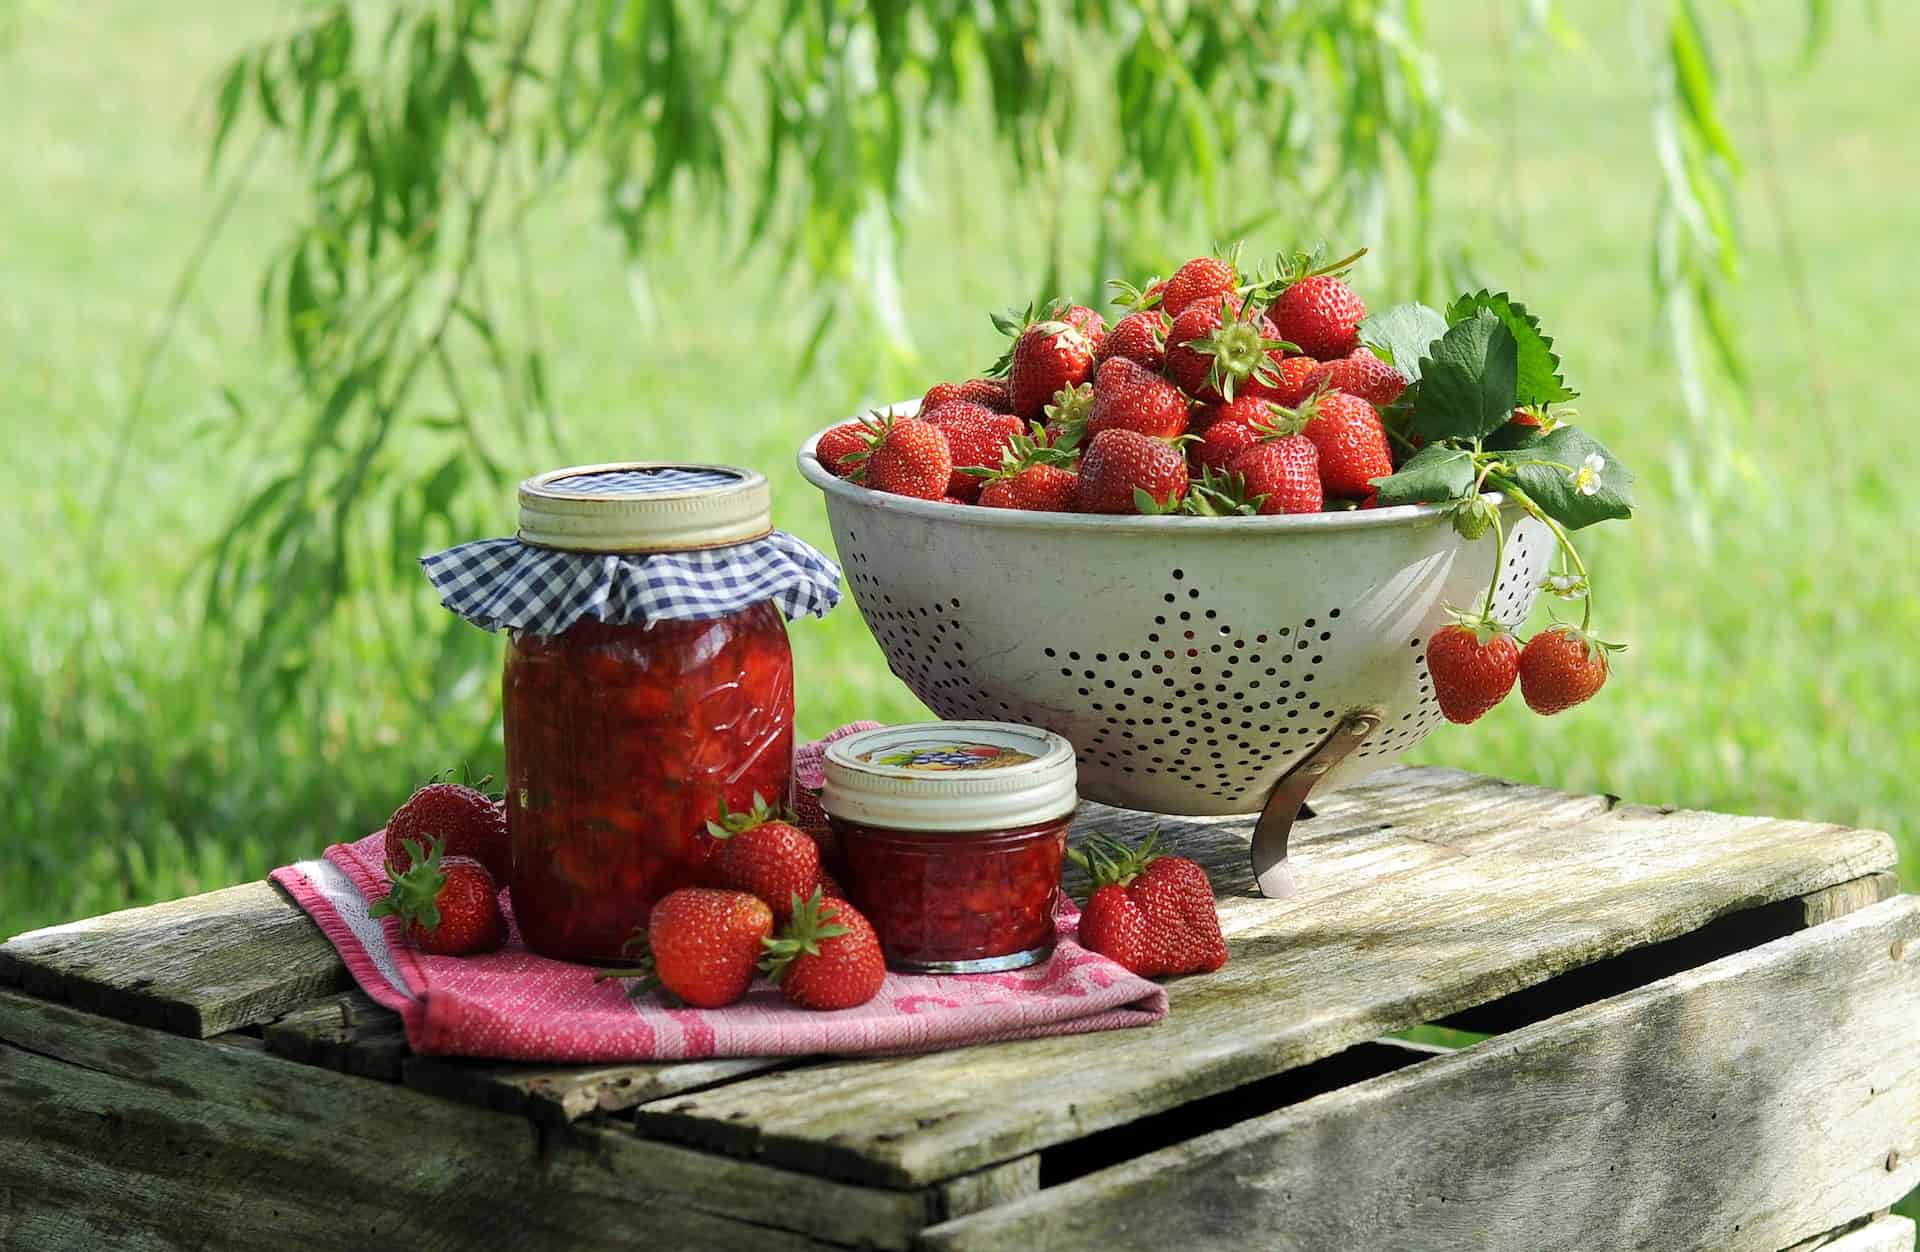
Making fruit preserves starts with choosing the right fruit. You want to choose high-quality fruit in season for the best results. Mushy, bruised, or overripe fruit won’t preserve as well as fresh fruit.
Wash the fruit well before cooking and take the time to peel and pit fruits where appropriate. Fruit peels can give the fruit an unpleasant taste and texture. If you’re using raspberries or blackberries, which contain many seeds, you should puree the fruit and strain out the seeds beforehand.
Depending on the recipe, you’ll also need to cut, puree, or crush your fruit.
Related: Lemon Lime Fruit Dip
Basic Ingredients
The ingredients you need to preserve your fruit depend on the recipe. As mentioned above, you can add spices and flavorings to give your preserves a unique flavor profile. Generally speaking, though, you’ll need:
- Fruit: Unsurprisingly, fruit is the star ingredient in fruit preserves.
- Pectin: Pectin helps preserve the fresh flavor of fruit and helps it maintain its natural color. It will also help your jam reach its desired texture.
- Granulated sugar: Granulated sugar adds sweetness and helps better preserve your fruit.
- Butter: A small dose of butter helps remove the foam that sometimes gathers on the top of fruit preserves.
- Lemon: Lemon adds sweetness and helps balance out the tartness of fruit preserves.
How to Make Your Own Preserves
Here are the steps for making your fruit preserves:
- Prep your fruit: What you need to do to prep your fruit will depend on the type of fruit you’re using for your preserves. If you’re using fruits like apples or peaches, you’ll need to peel, core, and chop your fruits. If you’re using raspberries or blackberries, you’ll want to puree your fruit and strain it to remove the seeds.
- Cook the fruit: Once you’ve prepped the fruit, it’s time to start cooking. Bring the lemon juice and fruit to a simmer over medium heat. Then, slightly mash the fruit, leaving it as chunky as you desire. If you want to incorporate spices or additional flavors, now is the time to add them.
- Add pectin: Next, sprinkle a bit of pectin over your fruit and stir it in. Increase the heat on the stove to medium/high and constantly stir until the mixture begins to boil.
- Add sugar: Add sugar to the fruit and continue stirring until the mixture reaches a roaring boil. Continue to stir for about one minute to activate the pectin.
- Add butter: Remove the fruit from the heat and add in the butter.
Finally, pour your fruit preserves into hot, sterilized jars, leaving a bit of space at the top to allow for expansion. Then, seal the jars shut. You can store your fruit preserves in the refrigerator for immediate consumption, and your fruit preserves will last one to two months in the fridge.
You can also store fruit preserves in the freezer, where they’ll last one to two years.
Canning vs. Non-Canning Methods
Generally, canning your fruit preserves with glass jars is best, as it allows you to see your creation. You can also preserve your fruit in tin cans if you have a can sealing device.
You can skip the canning process altogether, but just be aware that your fruit preserves will have a shorter shelf life.
Related: Ice Cream Cone Fruit Salad
Final thoughts
As you can see, preserving fruit is an easy process. Now that you know the steps, it’s time to start making your own fruit preserves at home.
Check out this air fryer banana split recipe for more creative ways to use fruit!