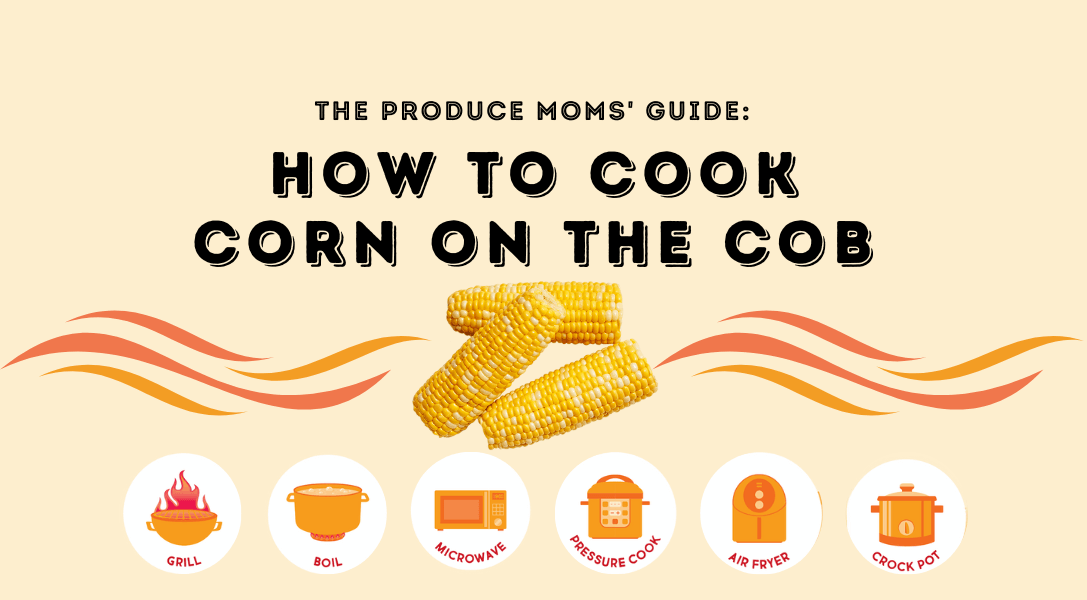
The Produce Moms’ Guide on How to Cook Corn on the Cob
Aug 04, 2023
This post may contain affiliate links. Please read our disclosure policy.
If you’re anything like us, you’ve already had a few cookouts this summer. But did you know that there’s more than one way to cook your corn on the cob?
Although we think the charred edges are the best part, corn on the cob doesn’t always need to be grilled. You can boil, microwave, pressure cook, air fry, or cook corn on the cob in a crock pot.
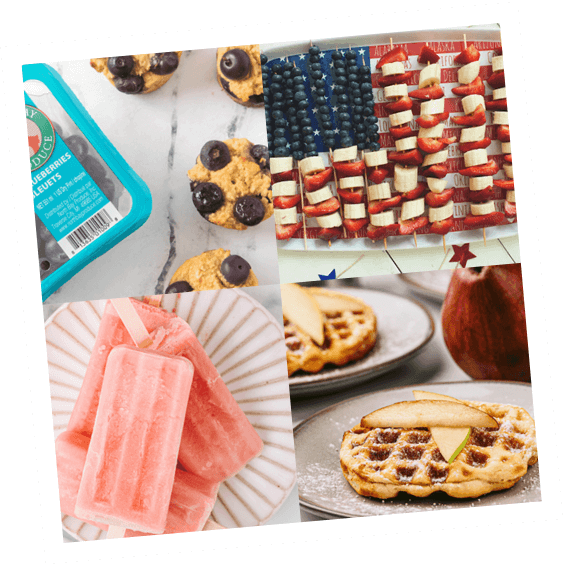
And once it’s cooked, your corn doesn’t have to be eaten right off the cob. Use your fresh-made corn in other delicious recipes.
How to make corn on the cob is sponsored by Duda Farm Fresh Foods.
To show you how versatile corn on the cob really is, we created this guide on how to cook corn on the cob (along with a few recipe ideas for inspiration).
Your family is sure to fall in love with at least one (if not more) of these recipes and cooking methods.
Hungry? Let’s get into it!
Related: Four Corn Hacks for Summer Cookouts
How to Grill Corn on the Cob
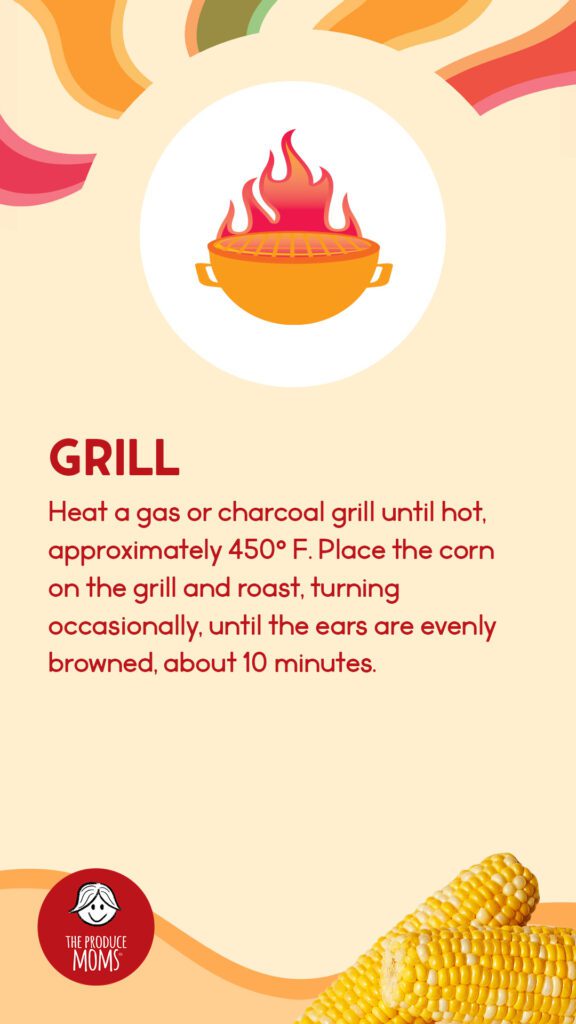
There are three ways to grill corn on the cob — the grate, foil, or husks. Our favorite way is with the husks for the best blend of char and juiciness. Try all three to see which one is your favorite.
Cook on the grate if you like more char on your corn. With this method, you cook your corn on the cob directly on the grill grate for these extra-crispy bits. This method gets the most char on your corn, but it also runs the risk of drying out quicker, so keep that in mind.
Heat your grill up to 375℉ – 450℉. Pull the leaves and silk back, and tie them together with string for an easy handle. Brush the corn with oil and place it on the grate for about six minutes. Flip the corn and grill for another six minutes until both sides are charred.
Wrapped in foil is a great method if you like moist corn and less of a smoky flavor. If you have a lot going on, you may like this method because you can put it on the grill and leave it while you focus on making other parts of your meal.
Heat the grill to 375℉ – 450℉ and pull the husks and silk completely off your corn. Wrap each cob with foil and flip it over so that the cob is sitting in the foil pouch. Brush the cob with olive oil and spices (we like to drop some butter in there too). Loosely close your aluminum foil pouches and place them on the grill for 20-25 minutes.
Cooking corn in the husk is how you get the best of both worlds with some smoky, char-grilled flavors and corn that is still moist. The husks serve as a natural aluminum foil, so to speak. It’s the easiest balance between the two previous grilling methods with flavorful, buttery, and moist results.
First, soak your corn on the cob for 20 minutes. This prevents the husks from catching fire. (We may or may not know this from experience!) Then set your grill to 375℉ – 450℉ and pull the husks back (but don’t remove them from the corn) so you can remove the silk. Next, place the husks back over the cobs and grill for 20-22 minutes. Turn the cobs every few minutes so that the outside is evenly blackened.
How to Boil Corn on the Cob
Boiling corn on the cob is a pretty straightforward (and hard to mess up) cooking method. You can boil as many shucked ears of corn as you want as long as your pot is large enough. Start by boiling a pot of salted water. While that comes to a boil, remove the husks and silk of your sweet corn. Add your corn to the boiling water, reduce the heat to medium-low, and cook uncovered for about three to five minutes.
Cooking time can vary depending on how you prefer your corn, but it should be bright yellow when it’s done. Overcooked corn releases starch and causes the kernels to absorb too much water, and leads to a soggy texture. You’ll know your corn is cooked through when the kernels look plump and feel tender.
Produce Moms Tip: If your corn is ready before the rest of your meal, turn off the stove and leave your ears of corn in the warm water. This keeps them hot until you’re ready to serve them.
How to Microwave Corn on the Cob

You’ve heard of microwaving popcorn, but did you know you can also microwave ears of corn? This is an ideal cooking method for a single serving or for a few people. Put your kids in charge of making the corn for dinner with this crazy easy cooking method.
Simply place one ear of corn in the microwave, with the husk on, two tablespoons of water, cover it, and cook for two minutes. If your corn turns out mushy and chewy, try microwaving it for less time, about one minute. The corn will be hot, so use potholders or a kitchen towel to transfer your cooked corn to a cutting board. Cut about an inch away from the stem end. The husk and the silk slip right off.
To make more than one ear of corn at a time, simply add one minute per extra ear of corn to your cooking time. So, if you make three ears, microwave for four minutes.
How to Cook Corn on the Cob in a Pressure Cooker

If you hate dealing with the silk on corn on the cob, using a pressure cooker may end up being your favorite. It’s convenient, easy, and quick.
Add two cups of water to your pressure cooker. Add as many ears of corn as you’d like to your steamer basket, with the husks on. They can be in an even layer or stacked on top of each other. Put the lid on with the valve in the sealed position and cook on high for two to three minutes. When the time is up, release the normal pressure valve and transfer your corn to the serving plate. Serve with or without the husks, the corn will slide right out.
How to Air Fry Corn on the Cob
The air fryer is your one-way ticket to crispy, buttery corn (with much less effort than grilling).
Remove the husks and silk, brush your corn with olive oil or butter, and sprinkle with salt. Preheat your air fryer to 400℉ for five minutes. Place your corn in the air fryer basket and cook for about 14 minutes, flipping it halfway. Remove the corn from the air fryer, spread some butter and your favorite toppings, and serve.
Use your air fryer to reheat corn for two to three minutes for a fresh, sweet corn flavor.
Crock Pot Corn on the Cob
The crock pot is amazing for cooking while keeping your house cool, travels well, and makes large portions.
Remove the husk and the silk and rinse under cool water to be sure all of the silk is removed. Brush each ear with olive oil and a sprinkle of salt and pepper. Use a knife to cut each corn ear in half and place it in the bottom of your crock pot. Pour in ⅔ cup of water, place the corn on the bottom, cover with the lid, and cook for three to four hours on high, or five to six hours on low. Garnish with your favorite toppings, such as butter, and enjoy.
How to Select
When it comes to corn on the cob, you shouldn’t really go around pulling back the husk to take a quick look at the corn underneath. But you really don’t need to do that. Instead, know what to look for on the outside.
First, look at the husk. It should be bright green and tightly wrapped around the ear of corn. This means that it’s fresh. It may even feel slightly damp (and that’s totally fine).
Next, take a look at the tassels on the top of the corn. If they are dry or black, that ear of corn is old. But if it’s brown and sticky, it’s a good one to choose.
Last, see how it feels. Wrap your fingers around the husk and feel all the way up or down. You should be able to feel the kernels through the husk. The kernels should feel plump and abundant. If you feel a lot of missing kernels, try another ear of corn.
Proper Storage
It’s best to eat corn the same day you buy it. However, if that’s not doable, loosely store your corn, with the husk on, in the fridge for up to two days. The longer it sits between being picked and eaten, the more it dries out and loses its sweetness. Be sure not to bunch your corn together in a plastic bag to avoid mold from forming.
Summer is a great time to load up on corn because it can also be stored in the freezer. Shuck the corn completely and remove any lingering silk, then store it in a plastic bag in your freezer for up to nine months. You can also cut off the corn kernels and store them in the freezer as well. Whether you store it whole or not, be sure to label the bag so you know how long it’s been in the freezer.
Don’t forget to freeze your cobs to make corn broth!
Related: How to Freeze Corn
Corn on the Cob Recipes
Serve corn on the cob hot or cold, sweet or savory. Give these recipes a try for a tasty corn side.
Honey Butter Skillet Corn — simple side dish made in under 15 minutes with frozen corn, honey, butter, and cream cheese.
Skillet Hot Corn Dip — loaded with cheese and veggies, this creamy dip is made and served in an iron skillet for less clean up and a happy crowd.
Elote Salad — also called Mexican street corn, this salad is packed with heat and freshness from the jalapeños, cilantro, and lime juice.
Hot Honey Boiled Corn on the Cob — try this recipe for creamy, spicy, and sweet corn on the cob on a whole new level.
Related: How to Select, Store, and Serve Corn
Why We Love Duda Farm Fresh Foods
After six generations and almost 100 years of farming, Duda Farms is committed to raising high-quality produce that tastes fresh for your family. They do their best to use up every piece of the produce they grow to cut back on food waste. We love partnering with them to show you all the versatile ways you can use their incredible corn, celery, and radishes.
After all, each of us plays a role in building sustainable habits for future generations.
As moms ourselves, we love Duda Farms’ line of grab-and-go products for easy nutrition, prep, and snacking. Try their coin radishes as a crispy chip (already washed and ready to enjoy), celery with peanut butter, and of course, corn on the cob for your next family BBQ.
Ever made elotes? Click here to find out how to make corn on the cob — Mexican style!