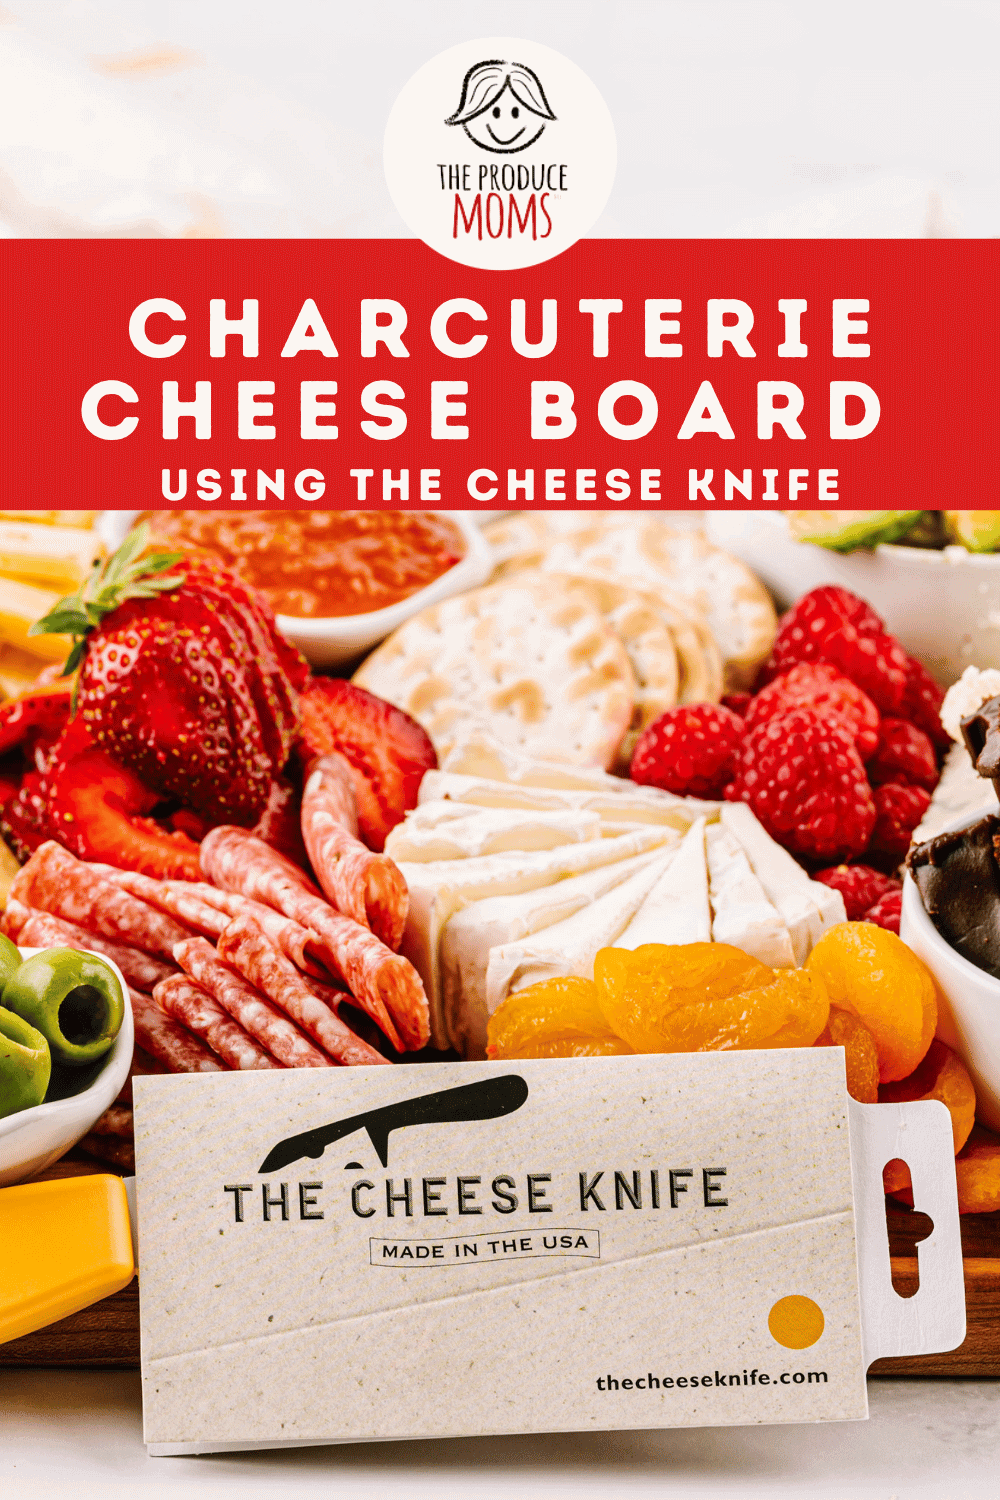
Charcuterie Cheese Board — Filling, Affordable, and Easy to Assemble
Nov 03, 2023
This post may contain affiliate links. Please read our disclosure policy.
Whether you’re having a date night with wine, entertaining friends for a BBQ, or want a quick and easy weeknight meal, the charcuterie cheese board is where it’s at. No cooking required. You’re good to go for an easy and filling meal or snack with just a few raw ingredients, minimal chopping, and plating.
Ever made a charcuterie cheese board?
If not, you’re missing out!
We hesitate to call this a recipe because it’s so simple and doesn’t require any cooking. There aren’t even exact measurements for you to follow.
You only need a few simple ingredients — cheese, charcuterie (meat), fruit, crackers, and some dips.

The charcuterie cheese board is sponsored by The Cheese Knife.
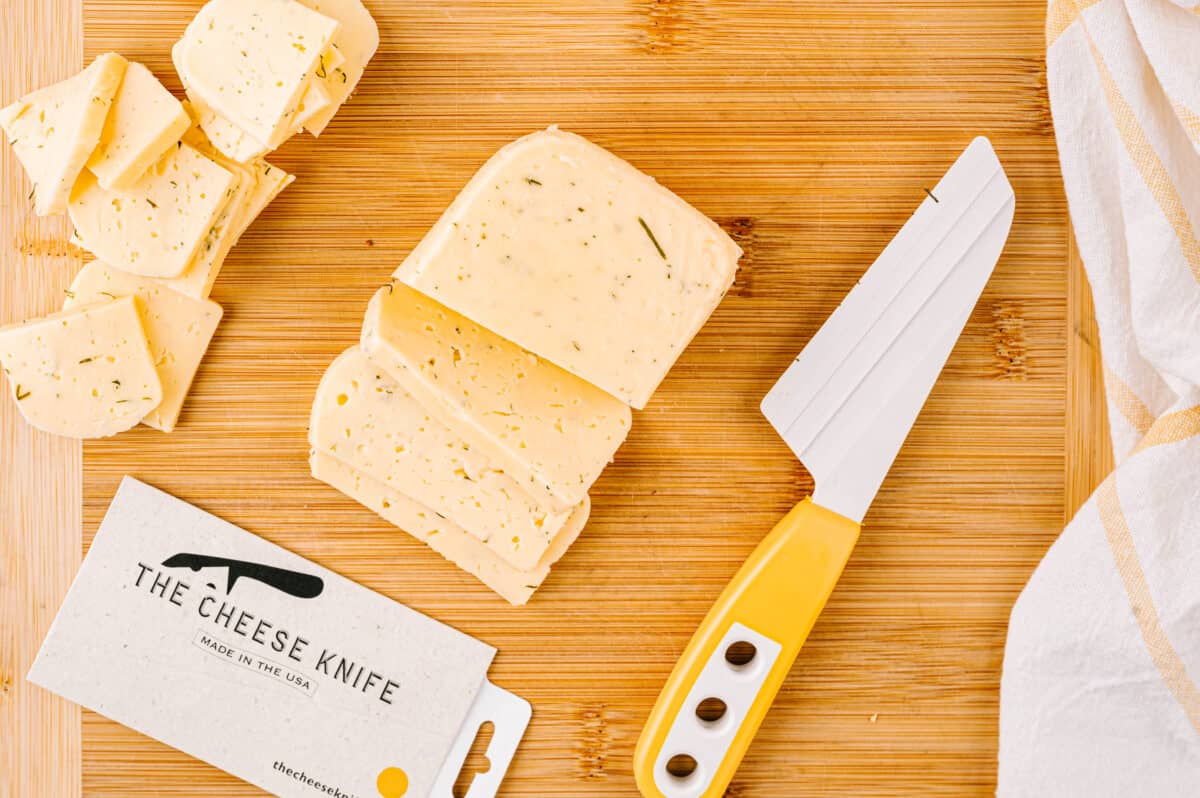
Use The Cheese Knife to cut all of your ingredients (not just cheese) into bite-size pieces, arrange them on a plate, and serve. It will make creating a charcuterie board so much easier. Your whole family will be happy and satisfied — we promise.
Let’s see how simple it is to throw together a charcuterie board.
What Is Charcuterie?
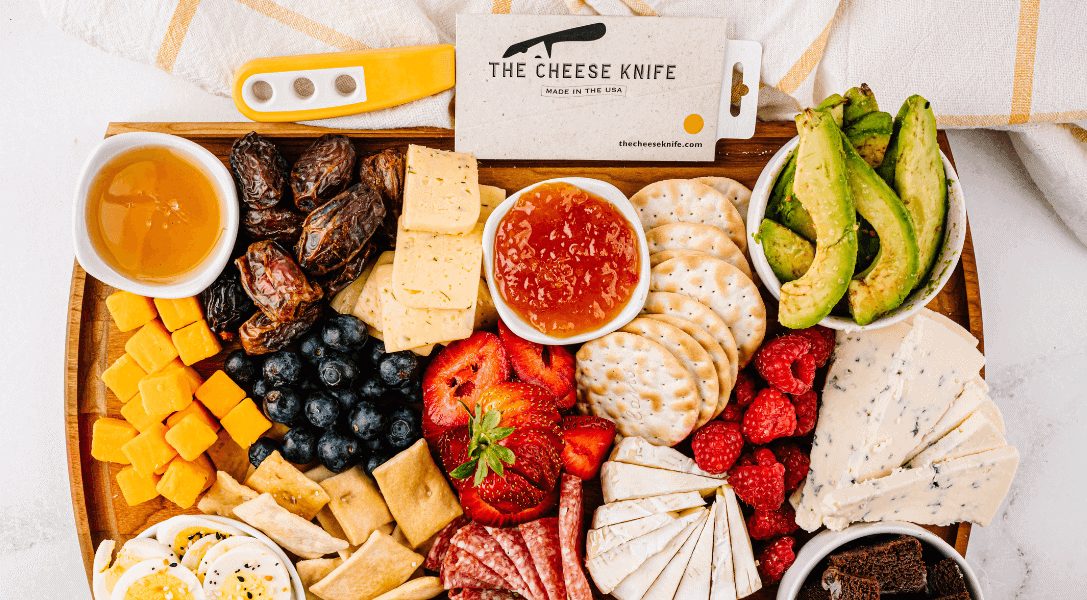
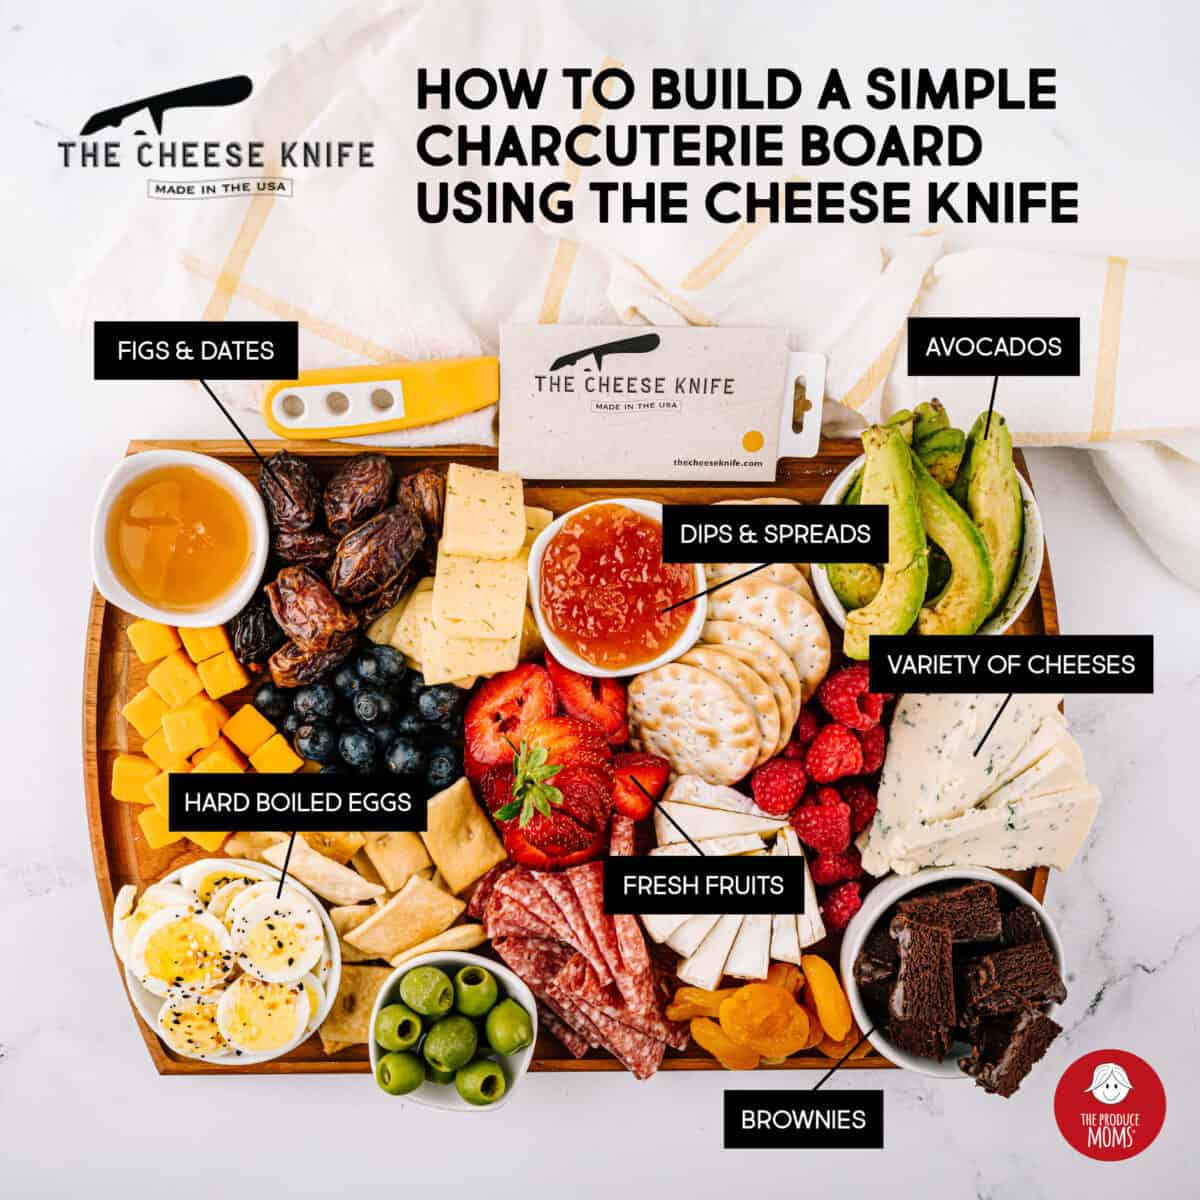
Charcuterie, by definition, is referring to the preparation of cured meats like prosciutto or salami. But what probably came to your mind is the meat and cheese board that pairs well with wine for entertaining — or an easy snack for your kiddos. We used four different kinds of cheese as the base of our charcuterie cheese board. Then we built it out from there with meat, eggs, fruit, and dips.
It’s a beautiful, easy, and affordable take on simple ingredients with a classy flare that’s sure to impress.
Charcuterie Board vs. Cutting Board?
The biggest difference between the two boards is that a charcuterie board is used to serve the food, and a cutting board is used to cut meat, cheese, fruit, and veggies. Cutting boards get wear and tear from the knife. Eventually, all cutting boards develop deep enough grooves from your knife that they become harder to clean. When that happens, it’s time to get a new board.
The best boards for your charcuterie board are made out of wood like maple, acacia, olive, cherry, or bamboo. You can also go the natural stone route and use boards made from slate or marble. Both wood and stone create an eye-catching charcuterie cheese board that looks so appetizing — your family and friends will gawk at your creativity before digging in.
For this recipe, let’s use a cutting board and The Cheese Knife to keep things simple.
However, be sure that your charcuterie board is designated for serving cheese, meat, and fruit only. This preserves the life of your charcuterie board and prevents cross-contamination from raw meat.
Ingredients
One thing you’ll love about making your own charcuterie cheese board is you can swap or omit any and every ingredient. Whether you want to use some leftover pieces of charcuterie meat and cheese or you’re thinking ahead of what to put on your board — make it yours.
Here’s what we used for our charcuterie cheese board.
Cheese
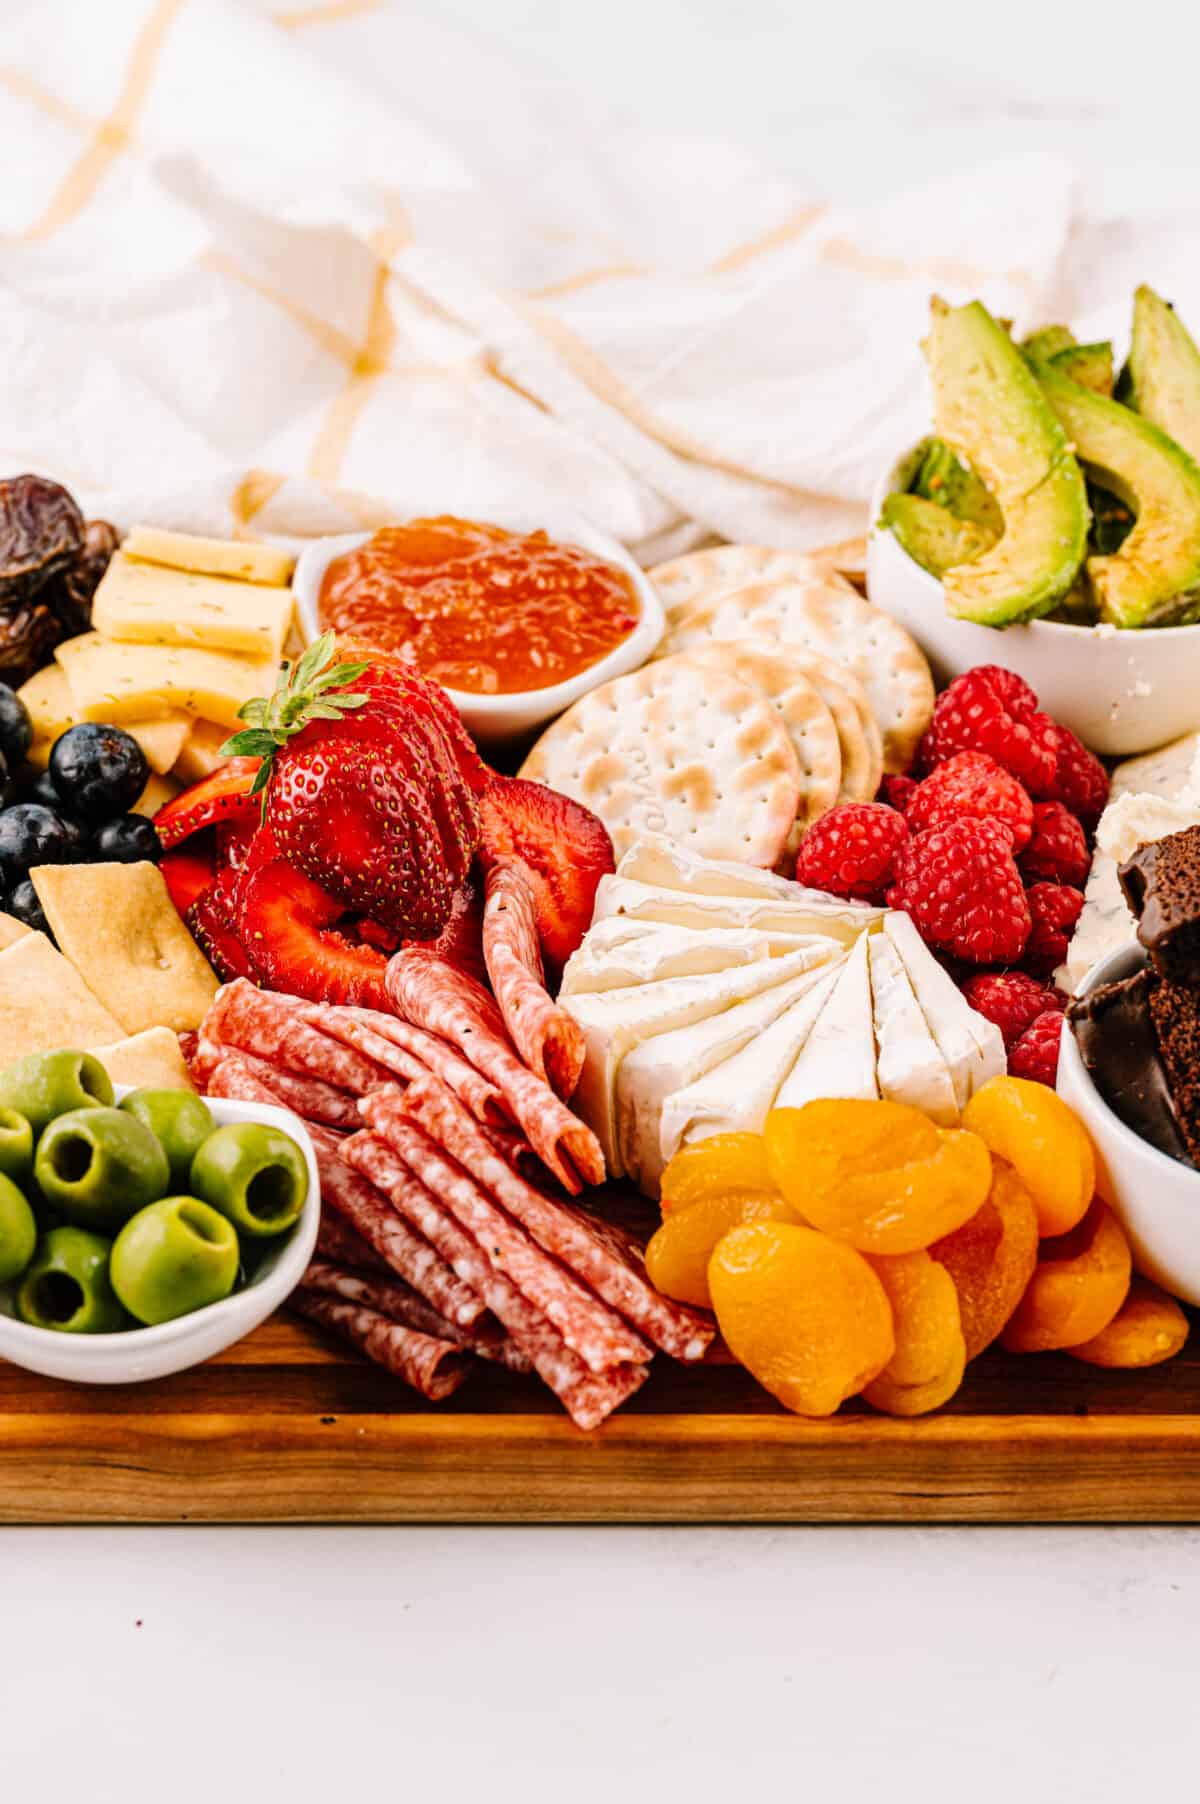
Since this is a cheese board, start with your cheeses because that’s the foundation. We used a few of our favorites, like Brie and Cheddar, and spread them out on different areas of the board — the corners, the middle, anywhere you’d like. If you’re unsure which cheeses to try, check out the artisan cheeses at your local store and see what they have on sale. You may find some exciting and unique cheeses that become your new favorites.
Dips
Honey and jelly pair well with the brie and figs we used on our cheese board. Even though no cooking is involved, it’s still important to think about what dips will pair well with your ingredients. You could also use hummus, chocolate sauce, or yogurt for dipping.
Meats/Protein
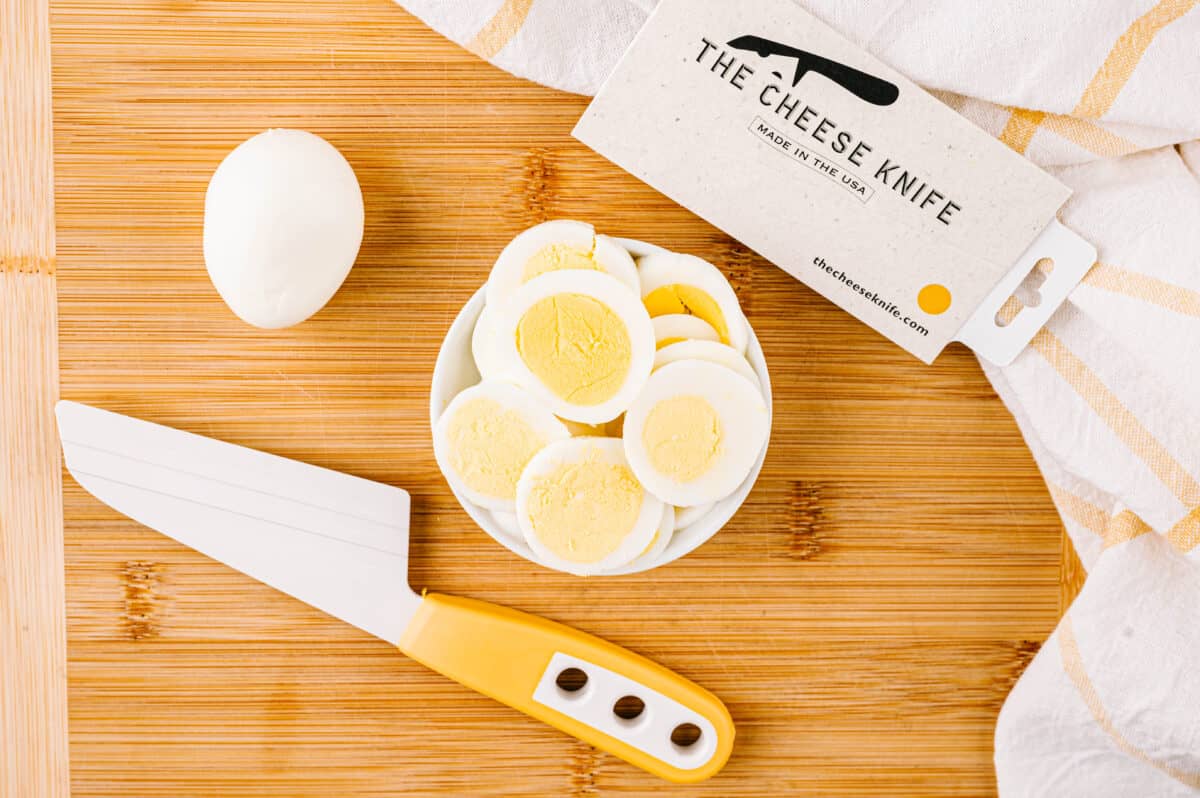
You only need two eggs and a handful of prosciutto slices, and you’ve got some added protein to your cheese board. Hard boil your eggs and pick up some salami from your deli for a simple way to round out your board. Add nuts or your favorite kind of charcuterie (prepared meats) for a complete and satisfying meal.

Fruit
You know how much we love our produce, so we didn’t skimp on fruit. Strawberries, raspberries, dried apricots, blueberries, and figs round out the creamy, salty flavors of the cheeses. Look for what’s in season for more affordable, fresh fruits that are juicy and sweet.
Having a recipe per se for your charcuterie cheese board is tricky. As you put your board together, you can move things around and add extras as you go. But you’ll definitely want to use The Cheese Knife because nothing sticks to it, not even the cheese.
How to Make a Cheese Board

Step 1: Lay your charcuterie board in front of you so your workspace is ready. Use The Cheese Knife to smoothly cut your cheeses into bite-size pieces — rectangles, triangles, or cubes. Cut each type of cheese into the same shape for an elevated cheese board or keep it simple and cut all the cheese the same.
Step 2: Evenly arrange the cheese onto your board. Place it in the corners, the middle, in a straight line, curved, swirly — get creative.
Step 3: Put the honey and jam into separate ramekins or small bowls. They should have at most half an inch of room at the top.
Step 4: Fold each salami piece in half and stand them up with the open side down. Press the salami pieces together and use the cheese and ramekins to help keep them in place.
Step 5: Next, arrange your colorful fruits between the empty spaces around your board. Add the strawberries, raspberries, blueberries, and avocado. Make it colorful.
Step 6: Last, add crackers, dried apricots, dates, brownies, and olives. Add the dry ingredients right onto your board or into a small bowl for each ingredient.
Step 7: Garnish with herbs or serve as is. Enjoy!
How to Serve
Now, you’ve assembled your charcuterie cheese board, and it’s ready to be eaten. Before you place it out for your family and guests, take a minute to admire your board. It looks beautiful! Simply set your serving board on the table and let everyone graze and grab things as they like.
Be sure not to let your board sit out for longer than two hours at room temperature. After that, it needs to be refrigerated.
How to Store
When you make your cheese board right before serving, it can be stored for up to 24 hours in the fridge after you’re done eating. Remove the crackers and wrap the board tightly in plastic wrap to prevent the meat and cheese from drying out. If you already stored your cheese board before serving, store the ingredients in an airtight container for up to three days. Wrap your sliced cheese in wax paper to keep it soft and fresh.
Should Charcuterie Boards Be Refrigerated?
Yes! Because of the cheese and meats that are on your cheese board. Packaged, cured meats are ok at room temperature until they’re opened. Once they’re opened and set out on the board, charcuterie needs to be refrigerated after two hours of being at room temperature.
Can Charcuterie Be a Meal?
Absolutely! It can be a meal, snack, or appetizer. When the whole family pitches in, charcuterie boards are a fantastic, easy weeknight meal. Serve it with a salad, nuts, roasted veggies, or baked potatoes to round out your cheese board into a meal.
Can a Cheese Board Be Made Ahead of Time?
Everything can be prepped ahead of time, except for the fruit. We recommend cutting the fruit right before you serve your charcuterie board. If you wrap your board properly, it stays fresh for up to 24 hours.
Expert Tips
Whether this is your first or your hundredth cheese board, remember to have fun creating it. There isn’t a right or wrong way to make your charcuterie — that’s what makes it an easy “dish” to prepare.
Involve your kids. Kids love to help out in the kitchen. With no cooking required, this is a great recipe (can we even call it that?) they can help out with. Plus, kids have a unique imagination and can help your creative juices flow when assembling your cheese board.
Keep it simple. Although it may feel like a lot is going on when you see finished boards, it’s really not that difficult. Take one ingredient group at a time and start placing things on your board. Before you know it, your board will be complete, and you’ll have a beautiful charcuterie to serve.
Fill up your board. No one wants to see a half-full board. People came to eat. Fill up your dip containers so there’s no more than half an inch of room at the top. Use smaller ingredients like fruit to fill in spaces. This helps your board look fuller and encourages everyone to eat.
Add color. Fruits, veggies, and dips add vibrant pops of color to your cheese board. Think about what fruits pair well with a specific cheese or your kid’s favorite veggies to guide you in adding those extra yummy ingredients to your board.
Why We Love The Cheese Knife
Designed in the ’40s, The Cheese Knife is produced right here in the U.S.A. with environmentally friendly packaging. We love this knife because the cheese stays on your charcuterie cheese board, not the blade. We know you’ve been there, too, especially when it comes to the variety of soft cheeses we love for charcuterie.
The Cheese Knife comes in a variety of handle colors and is made with a high grade resin that’s stain-resistant, dishwasher safe, affordable, safe for the kiddos to use and leaves the cheese intact on your board. This knife not only easily cuts soft cheeses but eggs, cakes, butter, avocados, and many other foods that stick to an ordinary blade.
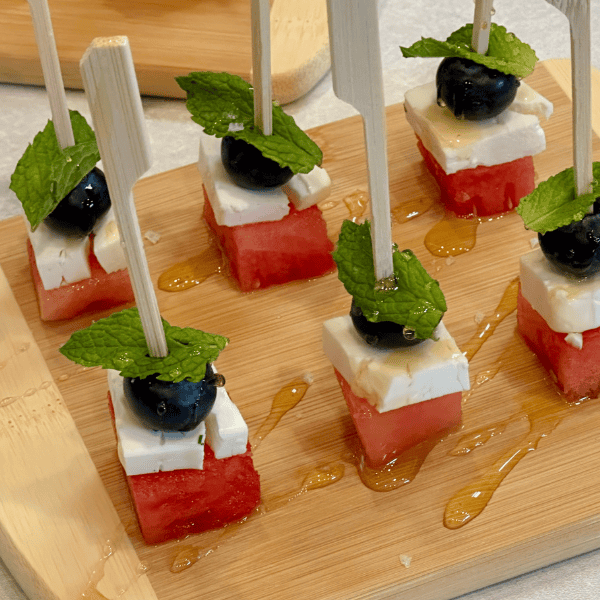
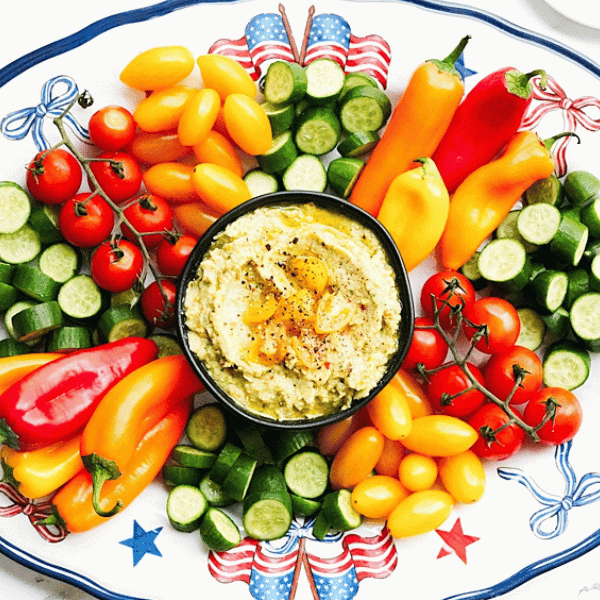
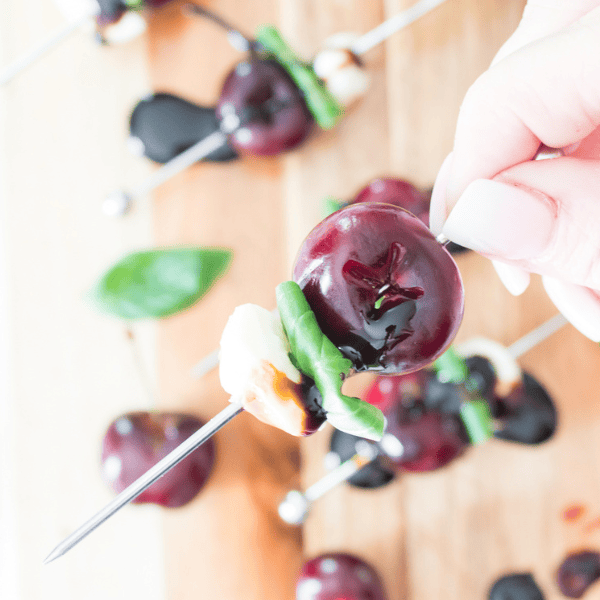
More Charcuterie Ideas
- Tropical Fruit Charcuterie Board — snag a box of tropical fruits delivered to your door for a refreshing summer fruit board
- Charcuterie Board: Bloody Mary Bar — bloody mary toppings with a few snacks to boot for an easy entertaining idea
- Apple Charcuterie Board — the perfect party platter for easy, yet elegant entertaining
- Mango Jarcuterie — mobilize your board with charcuterie in a jar

Charcuterie Cheese Board
Equipment
- The Cheese Knife
Ingredients
- 4 varieties of cheeses (your choice – variety of texture and color, pre-cut, whole, or wedges)
- Proscuitto
- Brownies
- Avocado (sliced and placed in a ramekin with an olive oil drizzle and sea salt)
- Hard-boiled eggs (sliced and placed in a ramekin with everything bagel seasoning)
- Fruit (strawberries, raspberries, blueberries)
- Dried fruit (figs and apricots)
- Olives
- Dips (jam and honey)
- Crackers
Instructions
- Cut with The Cheese Knife and add cheese evenly around your charcuterie board.
- Transfer your honey and jam into a ramekin, each near a different kind of cheese on your board.
- Fold the salami pieces in half and add to your cheese board.
- Add strawberries, raspberries, blueberries, and avocados into the open spaces on your cheese board.
- Arrange crackers, dried apricots, brownies, and avocados around your board to fill in the rest of the space and serve.
Video
Notes
Nutrition
Nutrition information is automatically calculated, so should only be used as an approximation.