Nov 09, 2022, Updated Nov 21, 2022
This post may contain affiliate links. Please read our disclosure policy.
How To Cut an Orange is sponsored by Pro Citrus Network.
Did you know there are different ways to cut an orange?
There isn’t necessarily a right or wrong way to do it. But one way might be more fun for a garnish on a drink and another is more practical for kids to snack on.
If you’ve never cut an orange or you’re curious about what your slicing options are, you’re in the right place.
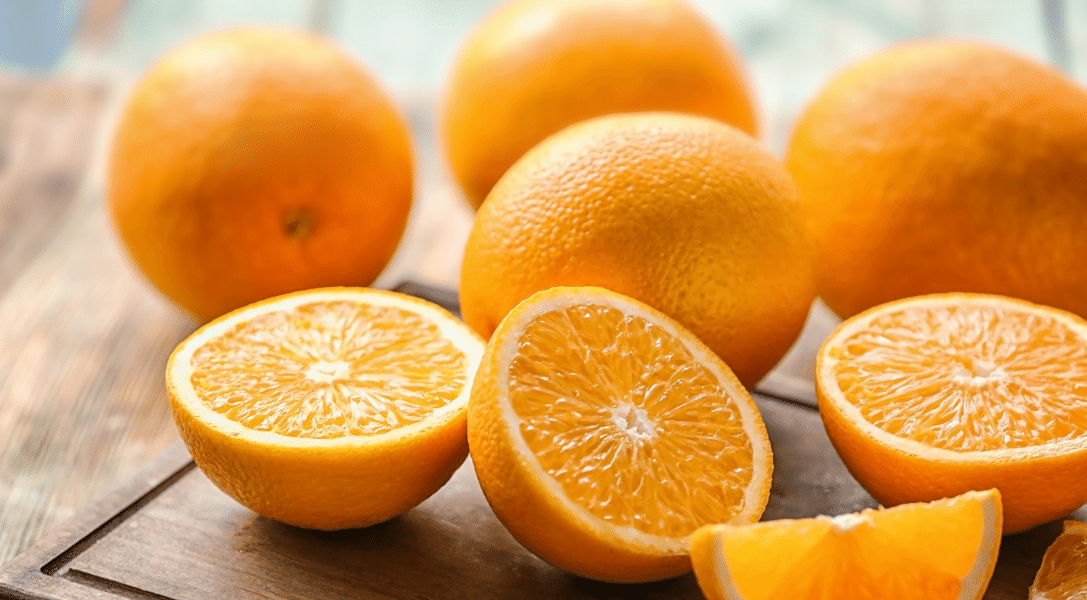
Navel and Valencia Oranges are some of the most nutritious fruits in the produce section. Just one orange has 116.2% of the recommended daily dose of Vitamin C! Vitamin C can help build up a strong immune system before we head into cold and flu season.
Oranges are loaded with antioxidants. Pectin (a starch in produce) is found in oranges and has a water-soluble fiber that can help balance blood sugar and keep you feeling full for hours. Learn more about how eating citrus can make a difference.
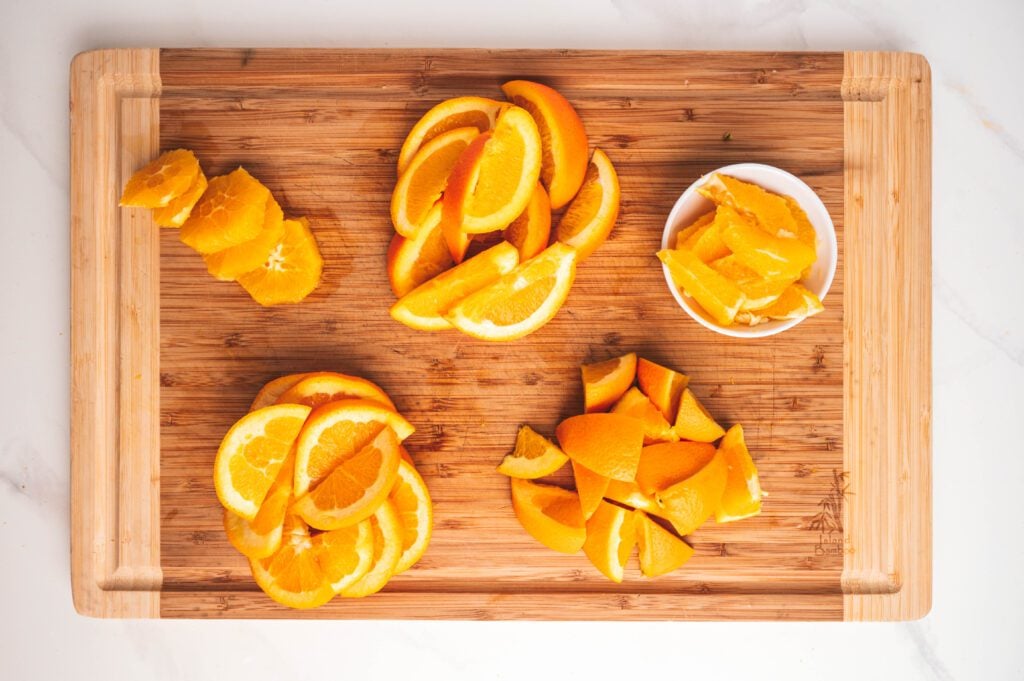
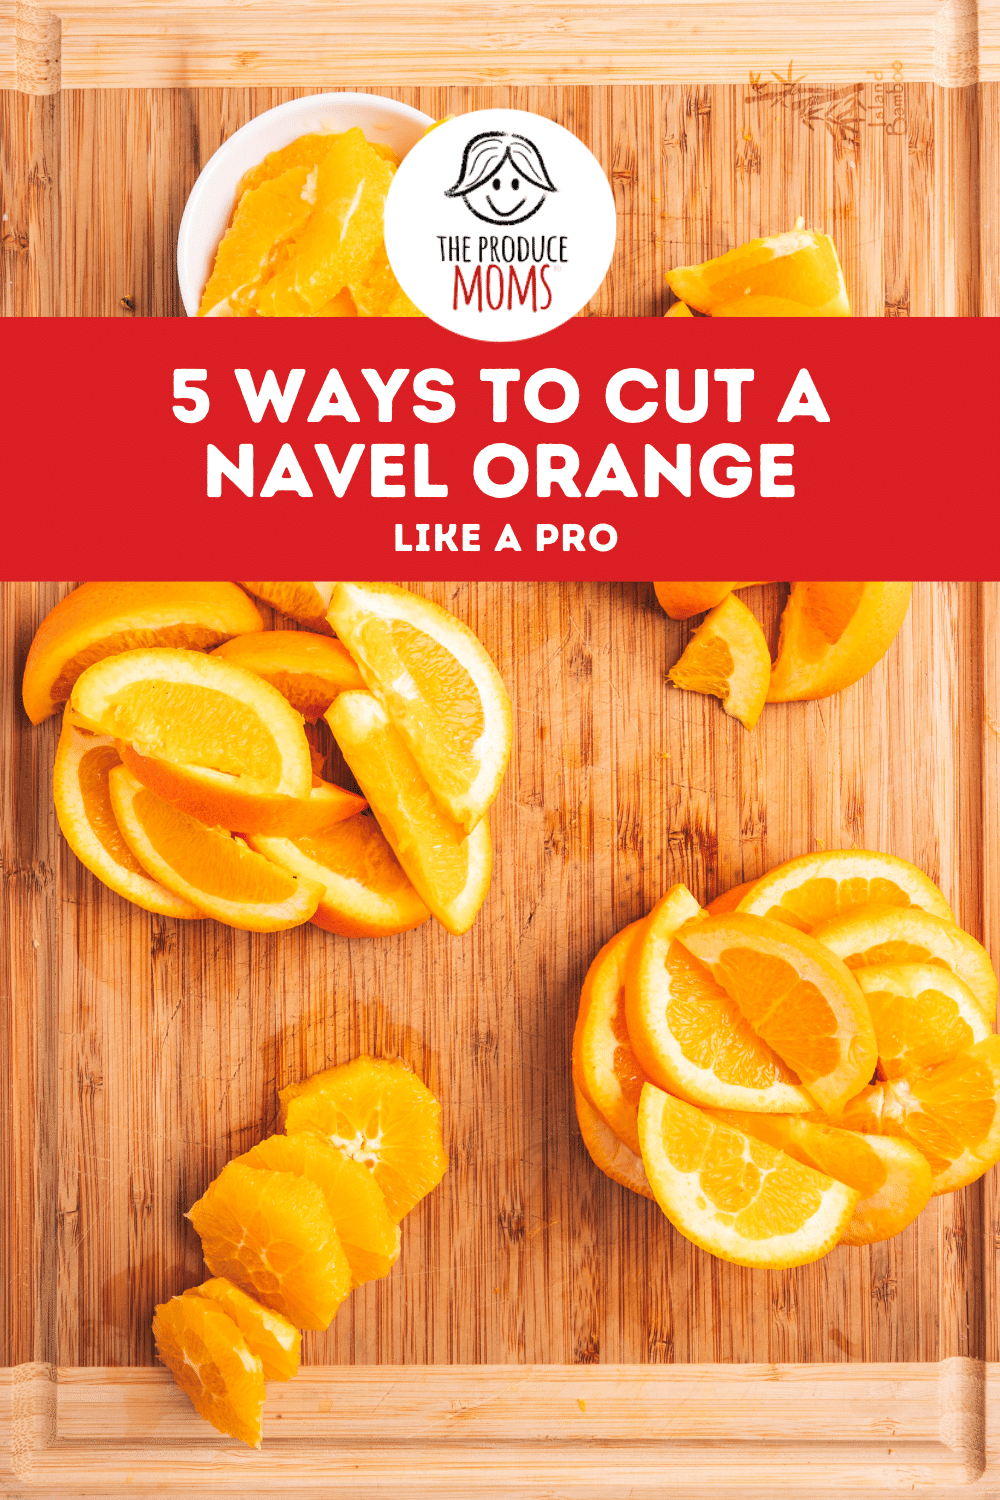
We’ll go over five ways to cut a navel orange so you can try each one, then pick your favorite.
Get out your knife and cutting board!
What Is A Navel Orange?
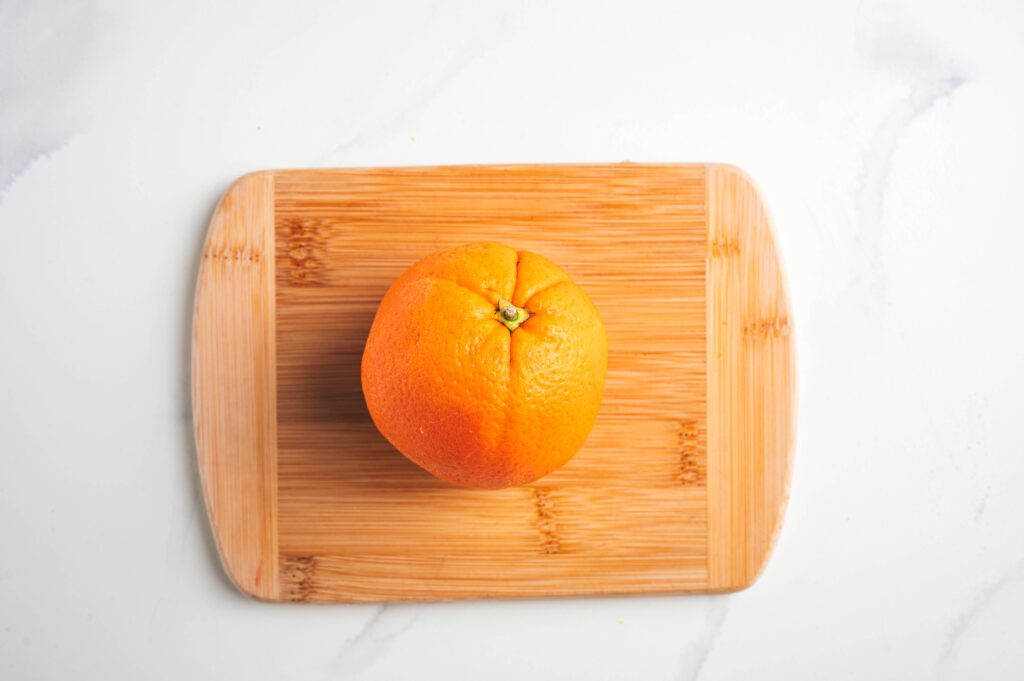
Navel oranges are sweet and seedless with thick rinds (or skin) that are easy to peel. Because you can peel off the rind easily, navel oranges are a favorite since you can eat them right off a tree, without a knife.
Navel oranges bloom with fragrant white or pink buds around the springtime. The spot on the orange that blooms, develops a secondary fruit that looks like a tiny navel. They are typically available from California from November to June. They are imported from July to October so your kids always have a citrusy snack year-round.
Related: A Guide to Mandarins: Types of Mandarin Oranges and Health Benefits
How to Choose Navel Oranges
There are a few tricks for picking the sweetest, ripest orange. Start by picking up a few navel oranges and see which one feels heaviest. The heavier it is, the juicier it is. Navel oranges should be firm, not squishy. And you should be able to feel that the rind is attached to the entire flesh of the orange.
Next, have your kids help you check the sweetness of your orange — they’ll love this part. We’re going to use the scratch and sniff technique, like scratch and sniff stickers from when you were a kid. So scratch a small area of the rind and sniff the area you scratched. You should be able to smell a sweet, citrusy scent. If you do, it’s a keeper.
WHAT’S A …
Membrane
This is the thin, paperlike parts you see when an orange is peeled and only the flesh is left. It separates each section of the orange but also holds all the sections together to create a round shape. Many people don’t like the membrane because it gets stuck in your teeth but it is very easy to remove.
Rind
The rind is the tough, orange, outer skin. It’s not usually eaten but you can use the zest from the rind to brighten up a recipe or as a garnish in drinks, like an old fashioned. As soon as it’s zested or peeled, its citrusy, sweet aroma fills the air around you.
Pith
The pith is the white spongy part that connects the rind to the flesh of an orange. It’s stringy and tastes a little bitter. But it has nutrients, like fiber, vitamin C, and calcium1. Toss it in with a smoothie or cut your orange into wheels to avoid the stringiness of the pith and still get the benefits.
HOW TO CUT A NAVEL ORANGE
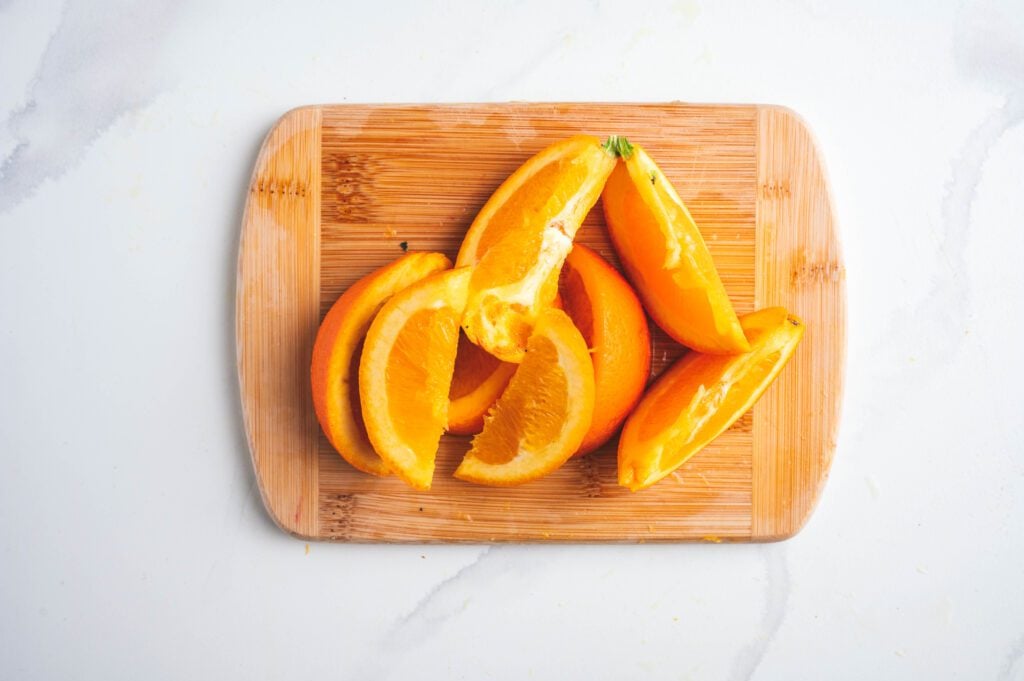
Points
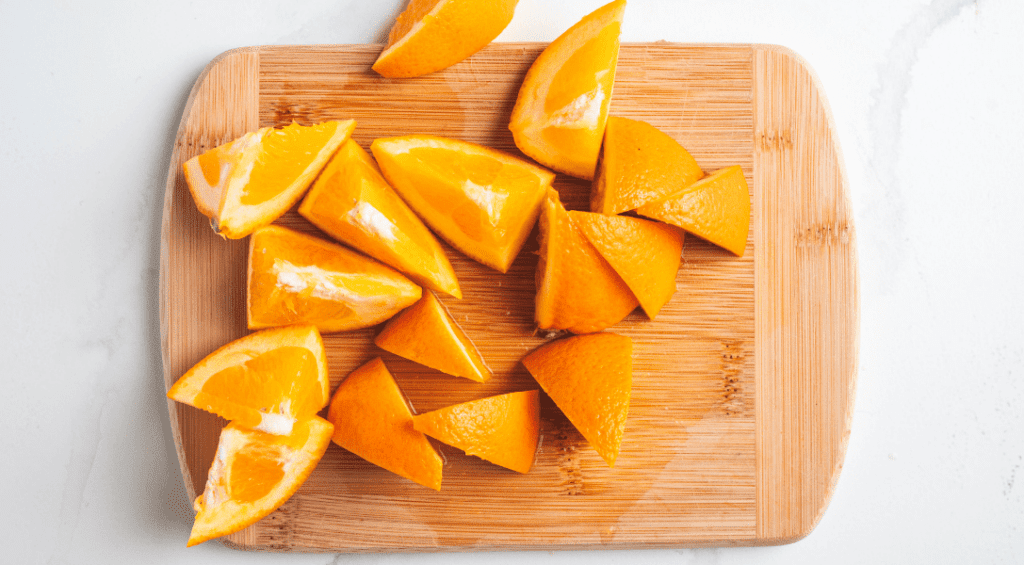
First, slice your orange in half, cutting through the stem end with your knife. Then, put one of your orange halves on your cutting board, cut side down. Cut your orange half through the stem end, again. Now you have 2 fourths and 1 half of an orange. Keeping the orange on its flesh side, turn one of your fourths sideways with the skin facing you. Finally, cut your orange crossways, right down the middle. Repeat with the sections you have left over.
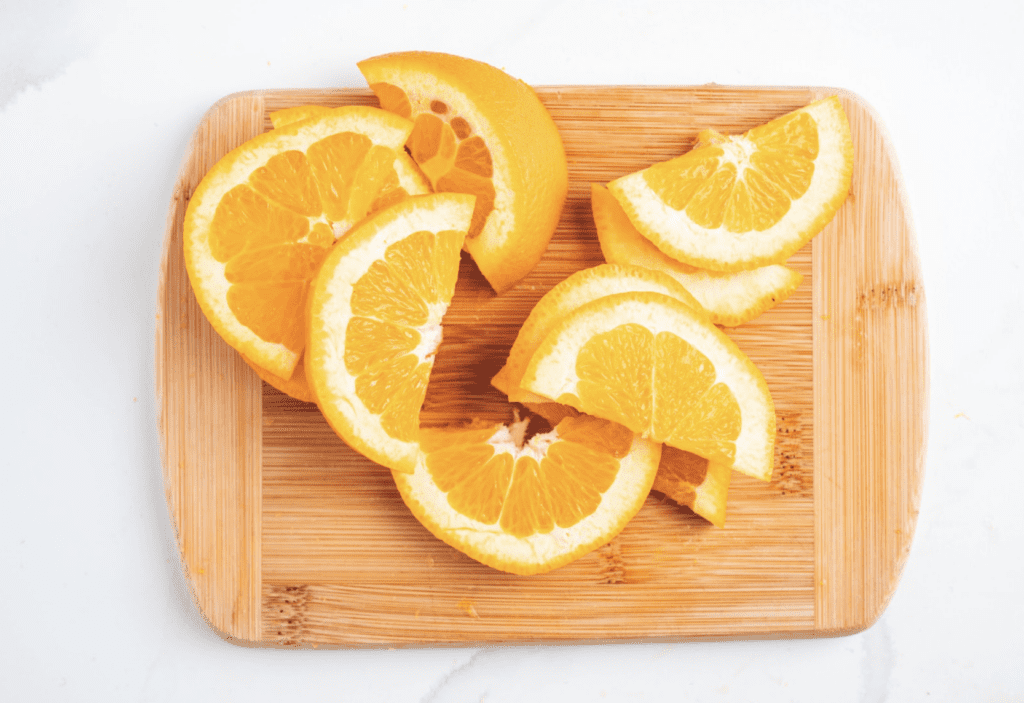
Smiles
First, use a knife to cut your orange in half through the stem end. Next, lay one half of your orange, flesh side down, and cut stem to stem down the middle. Now you have 2 fourths of an orange. Keep your orange fourths where they are and cut those pieces in half again, from stem to stem. Repeat the last two steps with your other orange half.
Slicing (Rounds)
Put your orange sideways on your cutting board so the stems are facing out, not toward you. Then, firmly hold onto your knife and cut off the navel and stem ends of your orange. Leave the skin on, and cut the orange into slices as wide or as thin as you like.
Produce Moms Tip: Cut your rounds in half to make a half moon and store them in ziplock bags or storage containers for easy, after school snacks on the go.
Wedges
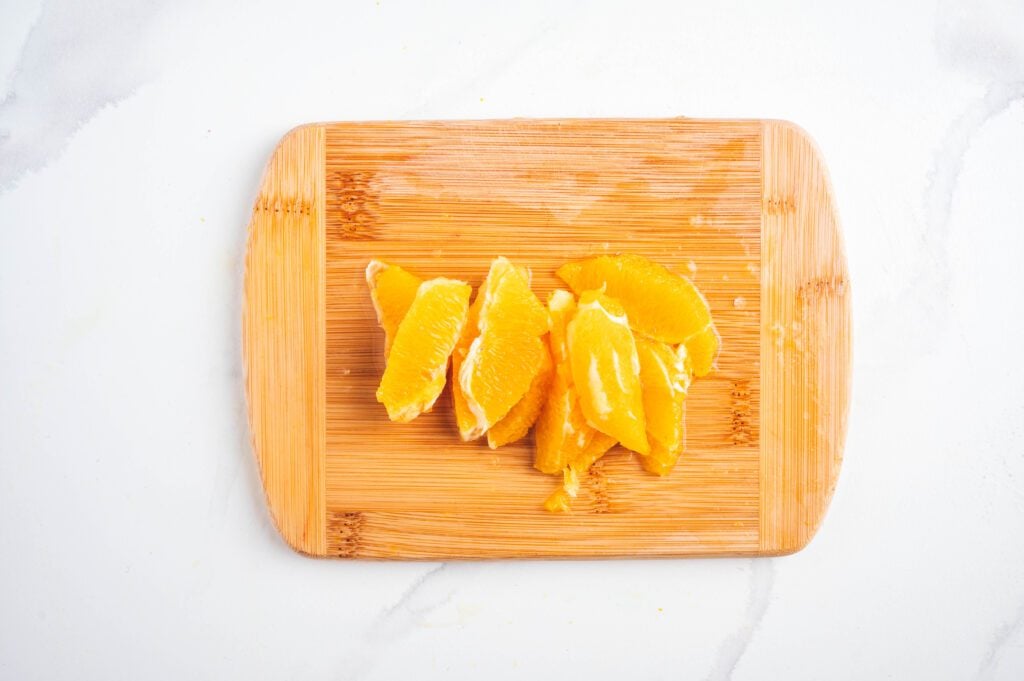
Start by slicing off the navel and stem ends of your orange. Cut off just enough of the rind that the flesh is barely visible. Then lace your navel orange on one of the sides that you just cut for stability. At an angle, put your knife in between the flesh and the rind so you can move it along the curve where the flesh and the rind meet. Move your knife gently but firmly, back and forth to cut between the rind and the flesh. Take your time so you can slice off thin sections of the rind at a time.
Once you’ve cut away the rind, use your knife to cut away any leftover white parts. Hold your orange in one hand, and look for the thin, white membrane that separates each section of your orange. Pick a section of your orange and use your knife to cut as close to the inside of the membrane as possible. Cut from the outside inward toward the core. Stop cutting just before you reach the core. On the opposite side of the same orange slice, cut along the inside of the membrane, stopping just before you reach the core.
Now that you have one wedge, repeat the last two steps on each section of your orange until you’ve cut all the sections. Here’s a quick tutorial.
Produce Moms Tip: Cut your wedges over a bowl so they’re ready for recipes and snacks.
Wheels
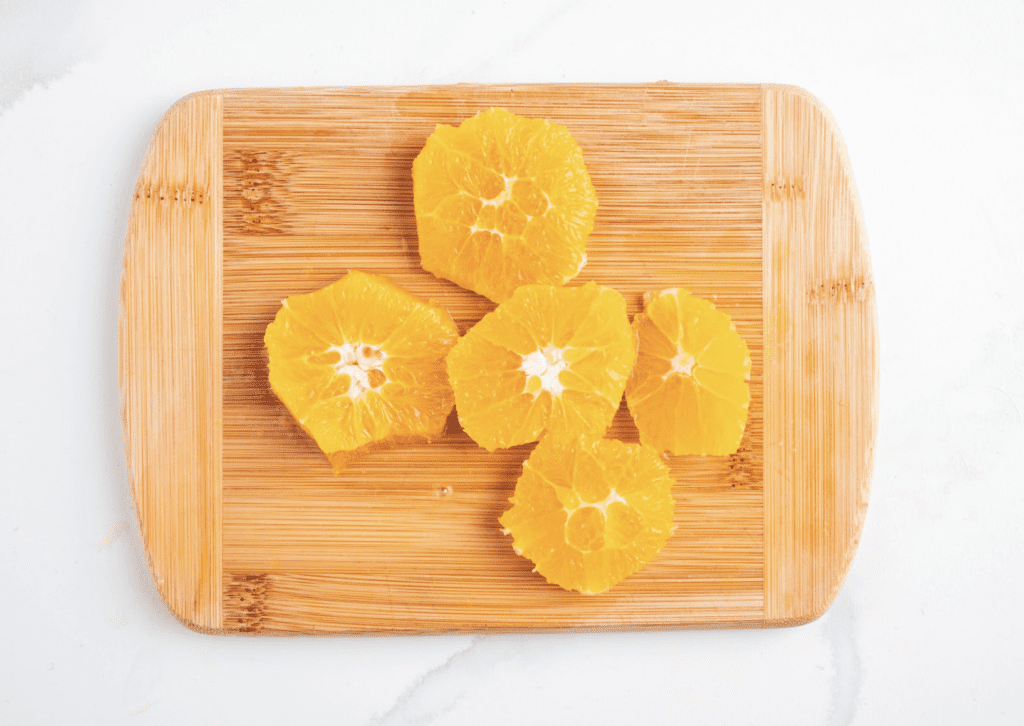
Use your knife to cut off the stem and navel ends of your orange. Next, lay your orange on one of it’s cut sides for stability. Put your knife between the flesh and the skin at an angle. Use your hand to guide the knife back and forth around the curve of the flesh. Continue slicing off the rind in sections until the flesh is exposed. You may need to go back and use your knife to trim any pith pieces that got left behind.
Now that the rind is totally removed, put your orange on your cutting board so that it lays on its side, not one of the ends you cut off. Gently cut about a ¼ of an inch thick in a downward motion, forward and back, from top to bottom. You should have an orange slice that resembles a wagon wheel. Cut as many wheels as you can from your orange.
Try each cutting method on your oranges to see which ones work best for you. Share with us your favorite.
Some of Our Favorite Citrus Recipes
- Broccoli and Orange Salad
- Mandarosa Salad
- Mandarin Tigers
- Cranberry Citrus Smoothie
- Sheet Pan Salmon with Citrus
- Fresh Citrus Shrimp Ceviche
- Pummelo, Jicama and Radish Salad