Butterfly Fruit Art
Jun 24, 2022, Updated Apr 26, 2023
This post may contain affiliate links. Please read our disclosure policy.
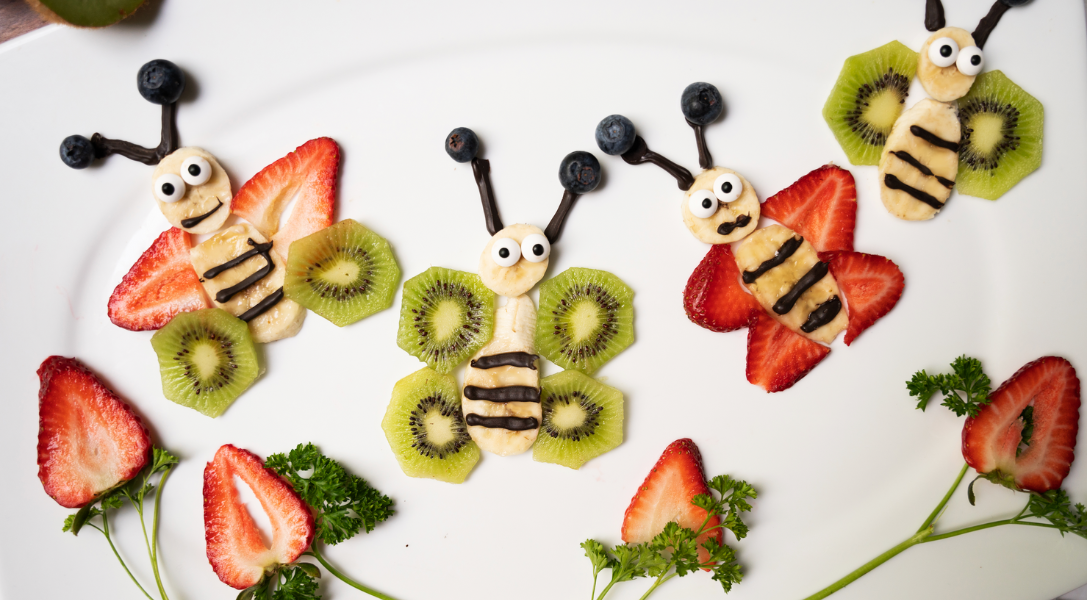
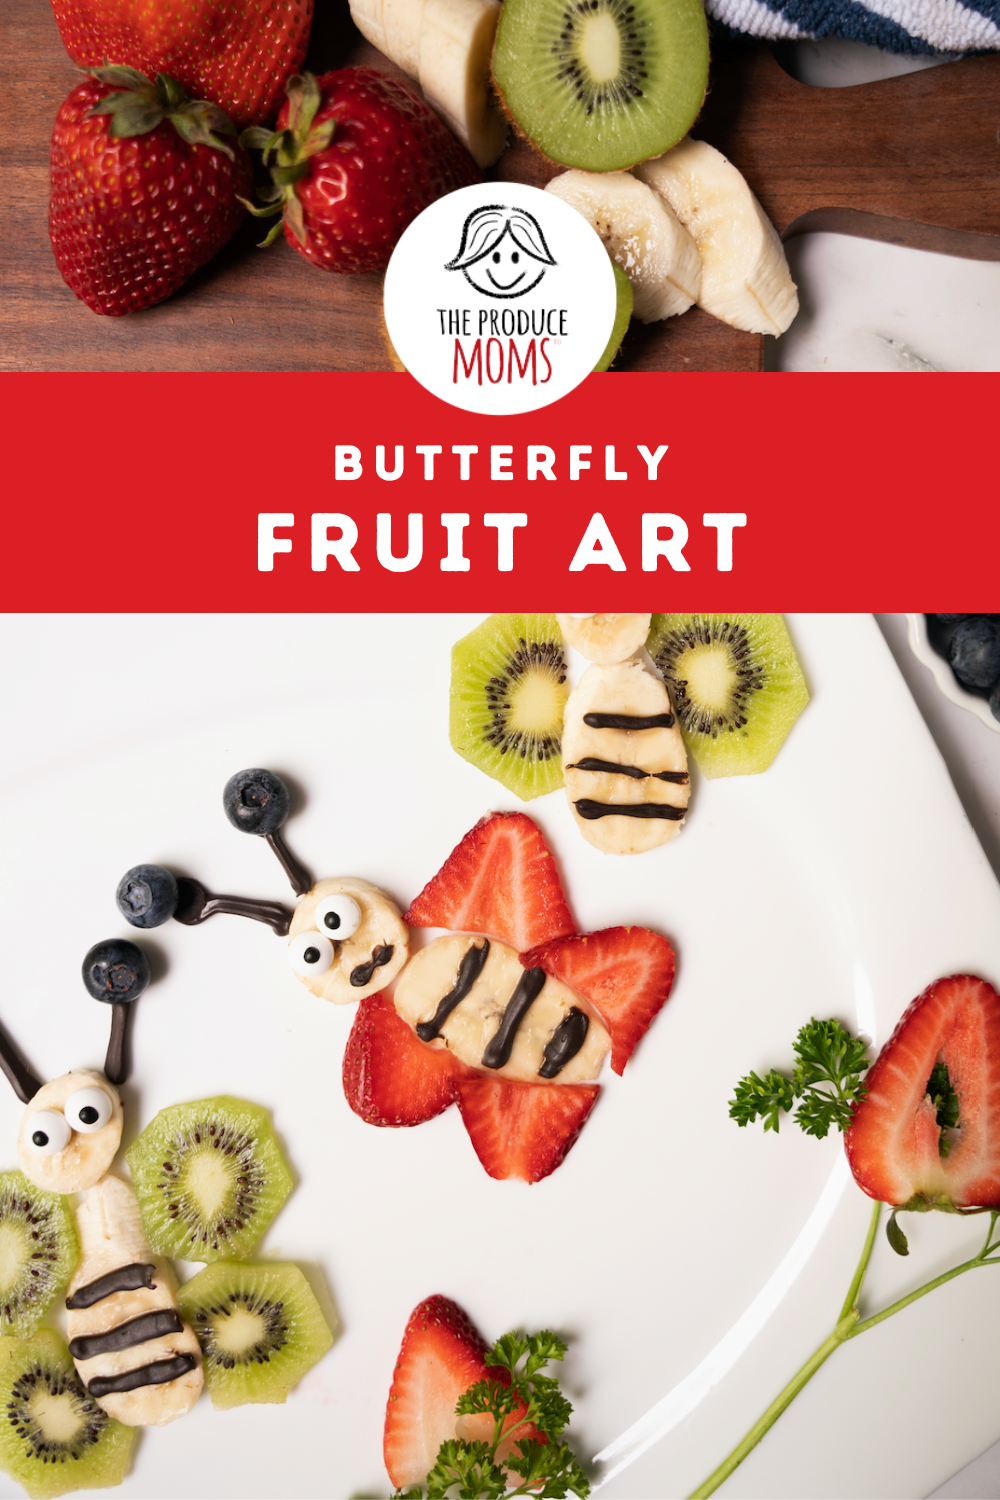
This butterfly fruit art is a delightful snack even for the pickiest little eaters. With only 5 ingredients (a majority of them fruit) and a few minutes, you can create your own butterfly garden with your kids!
We are always looking for creative ways to get kids to try new fruits and veggies. We have found that kids are more likely to try something if they help make it. Not only will your kids enjoy using their creativity as they build out their butterflies, but you will also see them “sneaking” the fruit to enjoy! Little do they know that is all part of our plan.
And if you aren’t quite ready for them do cut their own fruit, you can take care of that part for them. Slice and cut what they need, so all they have to do is grab and assemble. Let their creativity flow and capture the magic of excitement when they put together the magnificent butterfly!
Ingredients Need for Butterfly Fruit Art
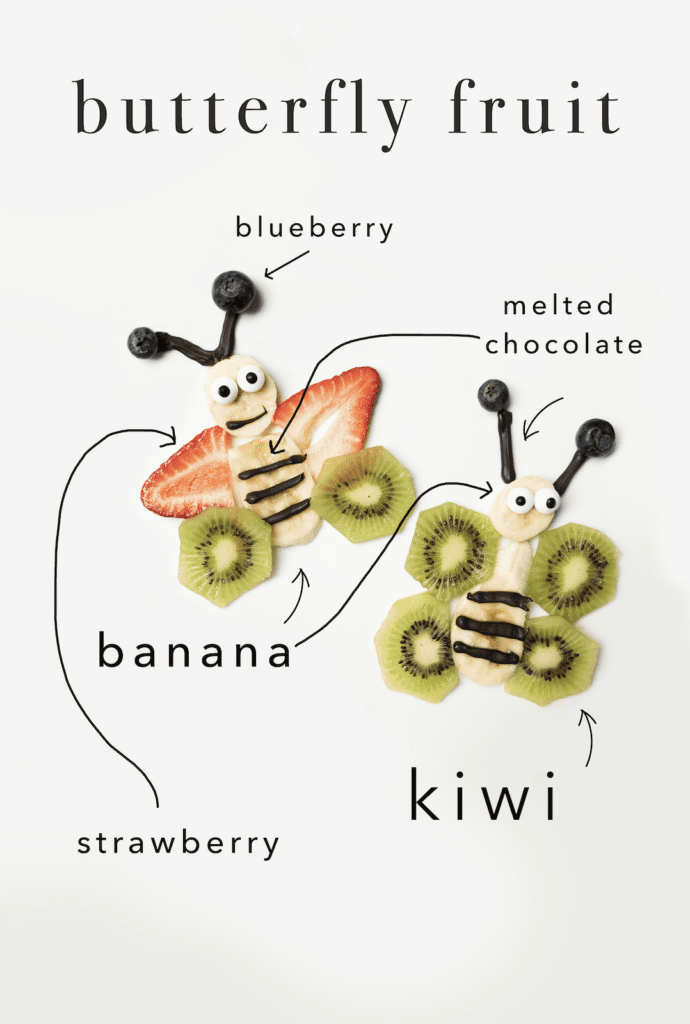
- Banana
- Blueberries
- Kiwi
- Strawberries
- Chocolate Melts
- Eye Candy (if desired) – you can also just create the eyes with melted chocolate
- Parsley for stem decor (if desired)
What Other Fruits Can I Use for Butterfly Fruit Art Garden?
This is where you can be creative or use what you already have on hand. You could easily use grapes or raspberries for the body or antenna. Orange or watermelon slices could also make for great wings. Red or green apple slices could also easily make wings of a butterfly.
If you are more of a vegetable fan, you can also easily make butterflies with some of your favorite veggies. For the head, you could use cucumber round or a carrot chip. The body could be made from cherry tomatoes, a green bean, a carrot stick or even an asparagus spear. And while you create your butterfly veggie tray, you can easily add it to this easy-to-build Flower Vegetable Tray.
Prepping to make the butterflies
First, we suggest cutting your fruit. We started with banana. In this butterfly, we use the banana for both the head and the body. For the banana rounds (the head), you will peel the banana and then slice into 1/4 inch rounds. Go about half way down the banana. And then for the body, cut the rest of the banana in half. Then, slice the halves into strips.
Next, we cut the strawberry. First, you should hull your strawberry. What does that mean? The fastest way to hull strawberries is with your go-to paring knife. All you have to do is lay your strawberries on the cutting board and slice off the top of the berry. That’s it! Did you know that you could also use a straw? Place the straw at the bottom of the strawberry. Then, gently push through, aiming for the green leaves at the top. The leaves and stalk should pop out in one push and voilà! You’ve just hulled a strawberry. Once the strawberry has been hulled, you will want to make think vertical slices. Put a strawberry on a cutting board with the tip facing upwards. Use a paring knife to cut slices of your desired thickness.
Every wonder how chefs get perfectly round slices of kiwi? Place the kiwi on a cutting board on its long side. Using a small knife, slice off both ends of the kiwi. Next, insert a small spoon near the edge of the kiwi. Push it against the side of the skin. Then, rotate it around staying as close to the skin as possible. Once the spoon has made a complete circle around the kiwi, you can easily slide out the peeled kiwi. Finally, slice the kiwi into perfectly-round coins.
The last thing you should do before assembling the butterflies is to melt your chocolate. Follow the directions on the packaging.
Assembling the Butterfly Fruit Art
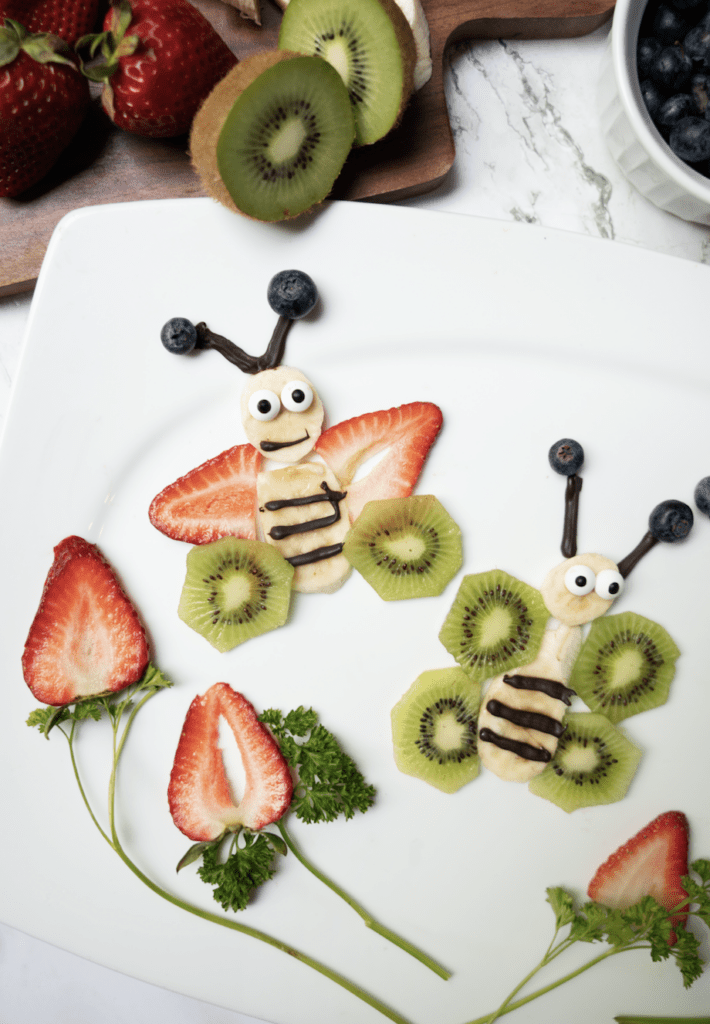
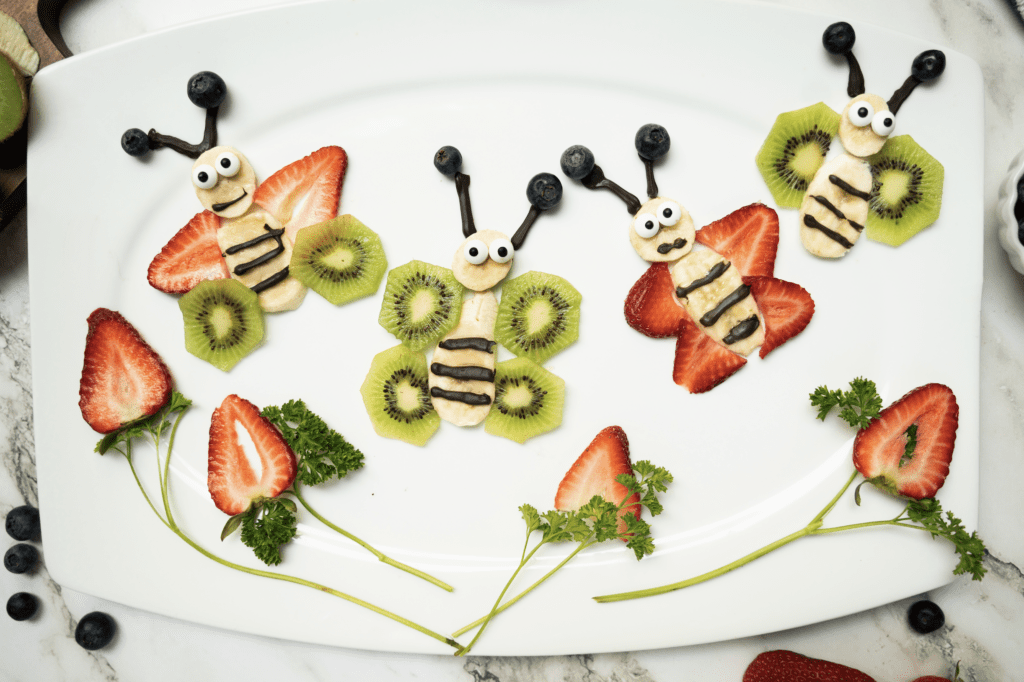
Now that everything is ready to go, it is time to assemble the butterflies and your plate or tray.
More Food Art Ideas We Love
Please share your butterfly fruit art garden pictures with us on Instagram @theproducemoms.

I loved. I also thought it was super important to encourage children to eat fruit. Thanks for the creative way, Kristin Ahaus ! I think it will help me a lot when I have my son!