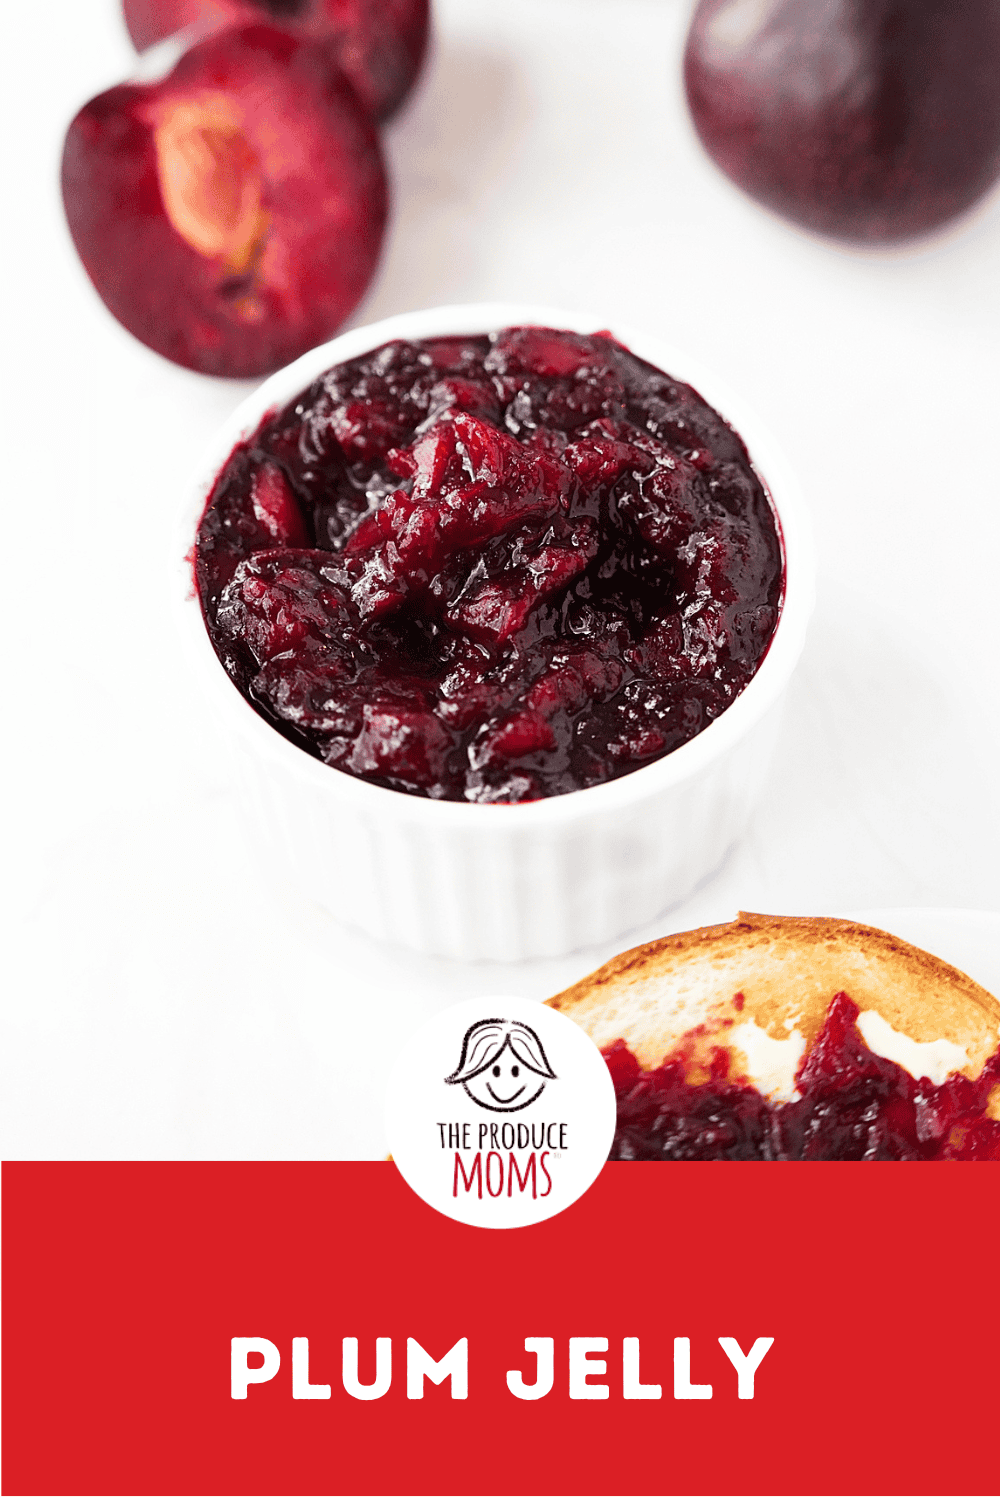
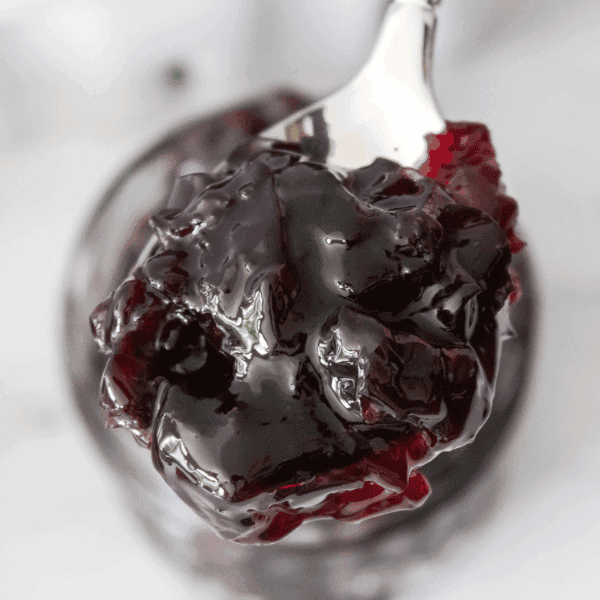
Homemade Plum Jelly
Nov 03, 2025
This post may contain affiliate links. Please read our disclosure policy.
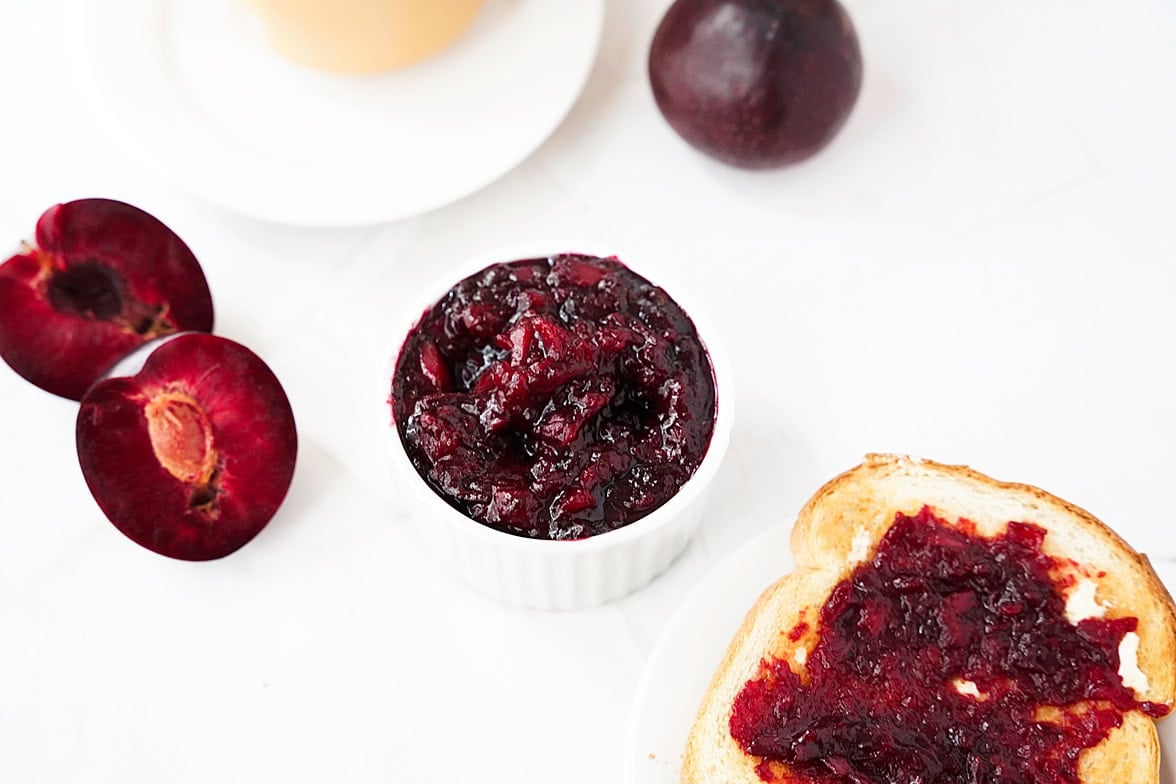
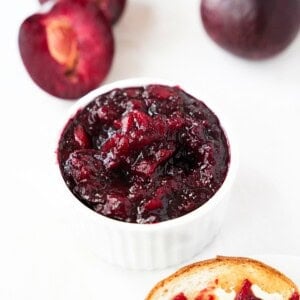
There is nothing quite like the brilliant jewel-tone color and sweet, tangy flavor of homemade plum jelly. Whether you have a small harvest from a backyard tree or just a handful of plums from the market, this small-batch plum jelly recipe is the perfect way to capture the essence of summer.
Because plums are naturally high in pectin and acid, this simple recipe requires just four ingredients and no commercial pectin, making it perfect for beginners and purists alike. If you are like us and enjoy making jellies and jams, check out there recipes: Jalapeno Blueberry Jam, Homemade Blackberry Jam, Homemade Cherry Jam and Small Batch Strawberry Rhubarb Jam recipes!
Making jelly relies on a delicate balance of pectin, acid, and sugar. Here’s what to know to ensure a perfect set every time.
Frequently Asked Questions
Why didn’t my jelly set (it’s too runny)?
This is the most common issue! The cause is almost always an incorrect balance of the three key ingredients (pectin, acid, sugar) or not cooking the jelly long enough.
The Fix: The simplest solution is to boil the jelly again. Return the runny mixture to the saucepan and boil rapidly for an additional 2-5 minutes, testing for the gel point every minute. If you are certain your plums were very ripe (low pectin), try dissolving 1/2 teaspoon of commercial pectin in a tablespoon of hot water and adding it to the re-boiling jelly.
Can I reduce the sugar in this recipe?
It is generally not recommended in traditional jelly recipes. Sugar is not only for sweetness but is crucial for flavor, preservation, and, most importantly, for activating the natural pectin to form a proper gel. Reducing the sugar without using a low-sugar pectin product will likely result in a runny syrup.
Why is my jelly cloudy?
Cloudiness typically happens during the juice extraction phase (Step 3).
The Cause: You likely squeezed the cheesecloth or pressed the fruit pulp to get more juice.
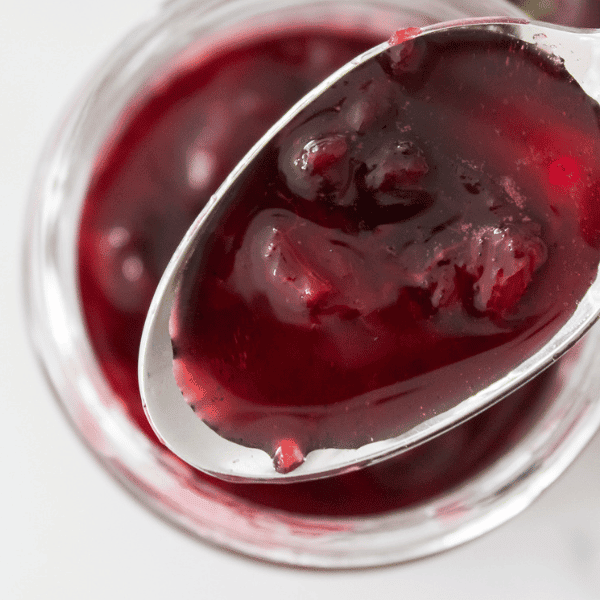
The Fix: To get clear, jewel-toned jelly, you must allow the juice to drip naturally through the cloth without pressing. For this batch, the cloudy jelly is perfectly safe and still tastes great!
What is a “rolling boil” and why is it important?
A rolling boil is a rapid, vigorous boil that continues even when you stir the mixture. Boiling rapidly is critical because long, slow boiling can actually destroy the fruit’s natural pectin, preventing the gel from forming. You need a fast, hard boil to hit that setting point quickly!
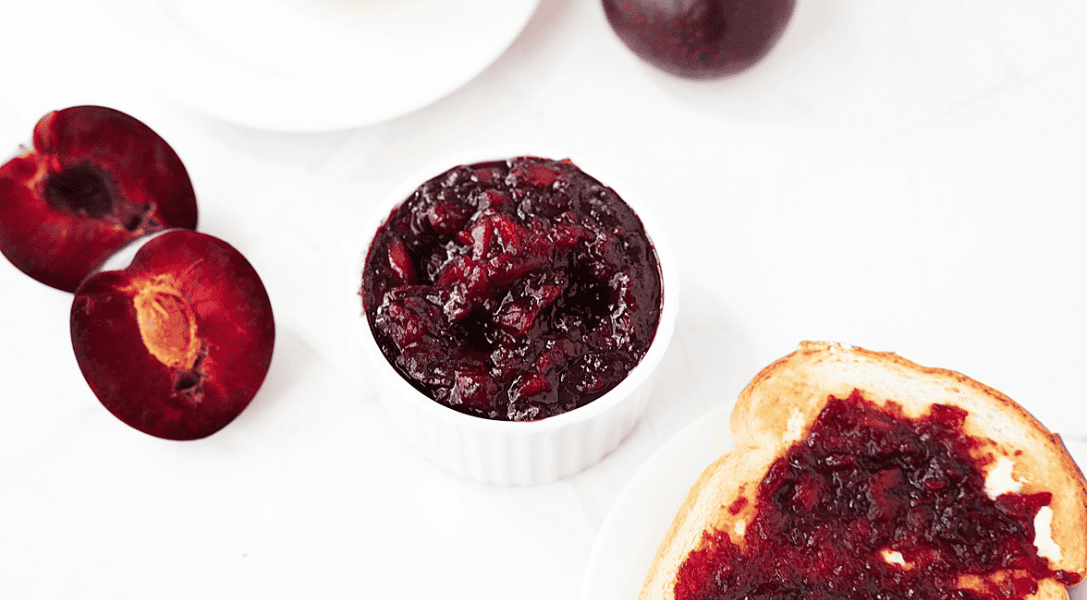
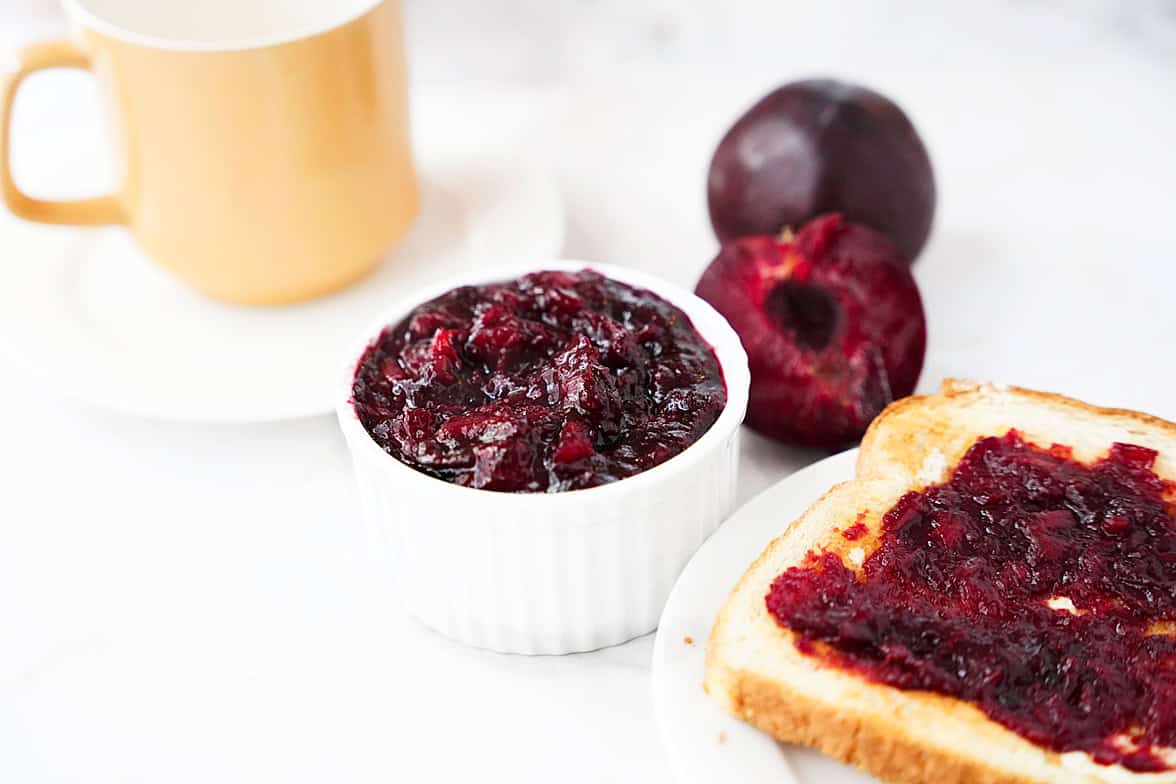
Delicious Ways to Enjoy Plum Jelly
Plum jelly offers a superb balance of sweetness and tartness that elevates more than just toast!
- Classic Pairing: Spread generously on warm biscuits, croissants, or a slice of sourdough bread.
- Savory Glaze: Melt a spoonful of jelly and whisk it with a splash of soy sauce or Dijon mustard for a quick, tangy glaze for grilled chicken, pork chops, or turkey meatballs.
- Cheese Board Star: Serve it alongside soft, creamy cheeses like brie or goat cheese, or hard, salty cheeses like Parmesan and a handful of crackers.
- Baking & Fillings: Swirl into plain yogurt, use as a filling for thumbprint cookies, or bake a simple jam tart.
Related: Thumbprint Cookie Recipe
Plum Jelly Variations
Customize your small batch with these simple additions!
- Spiced Plum: Add 1/4 teaspoon of ground cinnamon and a pinch of cloves when cooking the plums in Step 2 for a warm, autumnal flavor.
- Almond-Plum: Stir in 1/4 teaspoon of pure almond extract right before skimming the foam in Step 6.
- Vanilla Bean: Drop a1/2-inch piece of a scraped vanilla bean into the saucepan while making the jelly brine for a rich, aromatic twist. Remove before jarring.
- Ginger-Plum: Add a few thin slices of fresh ginger to the plums while they are simmering.
Ingredients Needed To Make This Easy Plum Jelly Recipe
- 3 Plums
- 1/3 c Water
- 1/4 c Sugar
- 1 tsp Lemon
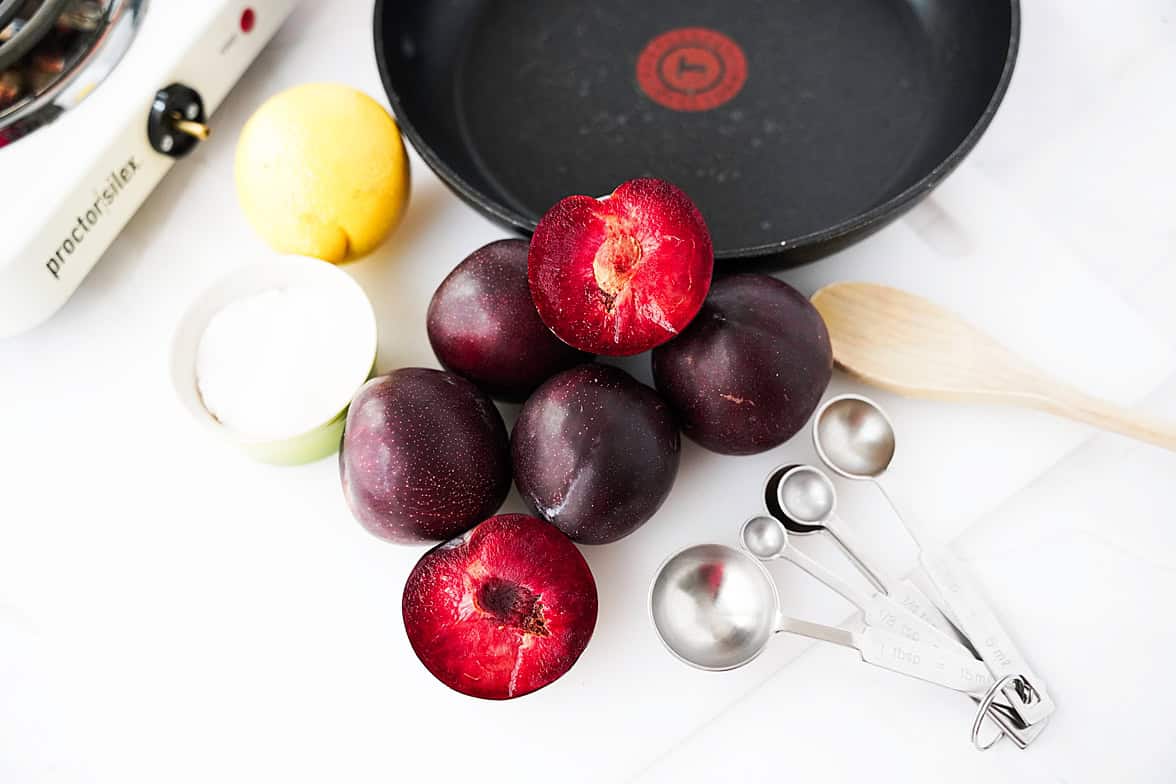
Equipment You’ll Need
- Small saucepan
- Potato masher or spoon
- Fine-mesh sieve or a piece of cheesecloth
- Candy thermometer (optional, but helpful)
- Clean glass jar (half-pint or smaller)
How To Make Plum Jelly
Prepare the Plums: Wash the plums well. Halve them and remove the pits. There is no need to peel the skin, as it adds color and natural pectin!
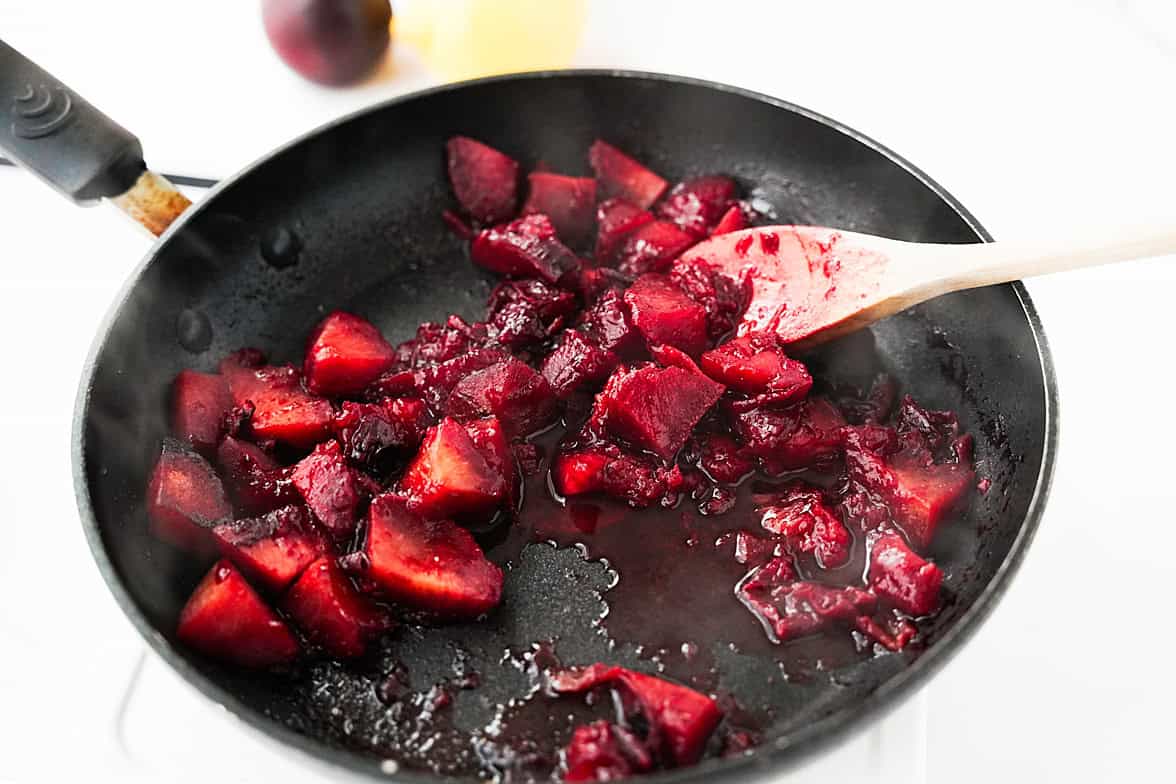
Cook the Fruit: Place the pitted plum pieces and 1/3 cup of water in your small saucepan. Bring to a gentle boil, then reduce heat to a simmer. Cook for about 15-20 minutes, or until the plums are very soft and broken down, stirring occasionally and mashing gently with a potato masher.
Extract the Juice (The Jelly Step!): Line a fine-mesh sieve with a few layers of cheesecloth and place it over a bowl. Pour the cooked plum mixture into the sieve. Do not press or squeeze the fruit, as this will make your jelly cloudy. Allow the clear, liquid juice to drip into the bowl for at least 30 minutes.
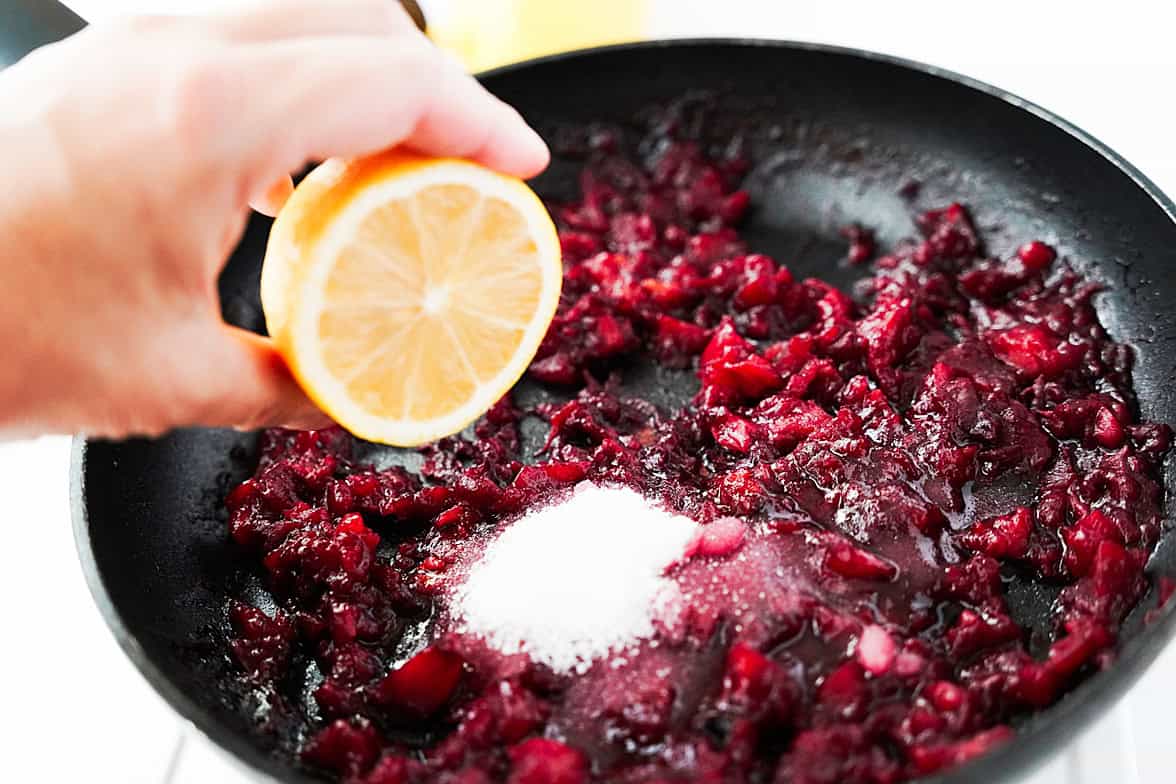
Make the Jelly: Measure the plum juice. You should have around 1/3 to 1/2 cup. Return the juice to the clean saucepan. Add the 1/4 cup of sugar and 1 teaspoon of lemon juice.
Boil to Setting Point: Bring the mixture to a rapid, rolling boil (a boil that cannot be stirred down). Stir constantly until all the sugar is dissolved. Continue to boil rapidly until the mixture reaches the jellying point (220°F on a candy thermometer, or until a drop of the mixture dropped onto a cold plate wrinkles when pushed). This usually takes 5-10 minutes of fast boiling.
Jar and Cool: Remove the pan from the heat and quickly skim off any foam on the surface with a spoon. Pour the hot jelly into your clean jar, leaving about 1/4 inch of headspace. Cool completely on the counter. Once cool and set, seal the jar and store it in the refrigerator.
More Plum Recipes
- Plum & Ricotta Salad
- Roasted Plums
- Plum & Blackberry Grain Salad
- Homemade Plum Wine Pops
- Plum BBQ Sauce
Homemade Plum Jelly
Equipment
- Small Sauceplan
- Potato Masher
- Fine Mesh Sieve or Cheesecloth
- Candy Thermometer optional
- Clean Glass Jar
Ingredients
- 3 plums
- 1/3 c water
- 1/4 c sugar
- 1 tsp lemon
Instructions
- Prepare the Plums: Wash the plums well. Halve them and remove the pits. There is no need to peel the skin, as it adds color and natural pectin!
- Cook the Fruit: Place the pitted plum pieces and 1/3 cup of water in your small saucepan. Bring to a gentle boil, then reduce heat to a simmer. Cook for about 15-20 minutes, or until the plums are very soft and broken down, stirring occasionally and mashing gently with a potato masher.
- Extract the Juice (The Jelly Step!): Line a fine-mesh sieve with a few layers of cheesecloth and place it over a bowl. Pour the cooked plum mixture into the sieve. Do not press or squeeze the fruit, as this will make your jelly cloudy. Allow the clear, liquid juice to drip into the bowl for at least 30 minutes.
- Make the Jelly: Measure the plum juice. You should have around 1/3 to 1/2 cup. Return the juice to the clean saucepan. Add the 1/4 cup of sugar and 1 teaspoon of lemon juice.
- Boil to Setting Point: Bring the mixture to a rapid, rolling boil (a boil that cannot be stirred down). Stir constantly until all the sugar is dissolved. Continue to boil rapidly until the mixture reaches the jellying point (220°F on a candy thermometer, or until a drop of the mixture dropped onto a cold plate wrinkles when pushed). This usually takes 5-10 minutes of fast boiling.
- Jar and Cool: Remove the pan from the heat and quickly skim off any foam on the surface with a spoon. Pour the hot jelly into your clean jar, leaving about 1/4 inch of headspace. Cool completely on the counter. Once cool and set, seal the jar and store it in the refrigerator.
Nutrition
Nutrition information is automatically calculated, so should only be used as an approximation.