How to Make Homemade Papaya Skin Oil for Radiant Skin
Jan 10, 2024
This post may contain affiliate links. Please read our disclosure policy.
This papaya skin oil recipe is made with two ingredients in just 30 minutes. Its hydrating properties are perfect for irritating skin conditions and bringing life back into dull hair. It’s ideal for adults and children and very inexpensive to make. You and your kids will love the results of this easy homemade skin oil.
Skincare is sooo expensive!
But did you know that you can use whole fruits and veggies for easy and affordable ways to improve the health of your skin and hair?
It’s true.
We used two simple ingredients: papaya and coconut oil.
And you can make this hydrating skin oil right from your very own kitchen.
Go ahead and invite your kids in on the fun — they may be more excited than you to use it when it’s ready.
Is Papaya Oil Good for Your Skin?
The short answer is yes! Papaya oil is light on the skin and easily absorbed without that icky, greasy feeling that many oils cause. Whether you have dry or oily skin, you’ll develop that dewy glow from applying papaya oil to your face regularly. It’s routinely used to relieve itchy, scaly, and irritated skin conditions such as eczema and psoriasis.
Papaya oil also has a ton of vitamin C to aid in fighting against wrinkles, acne, and dark spots.
However, it is possible to apply too much, too often, depending on your skin type. We recommend trying a daily application, and if your skin feels too oily, cut back to every other day.
Since it helps with a variety of skin conditions, it’s an easy, affordable, and effective way to treat multiple skin types for the whole family.
Use papaya oil to promote the healing of wounds and prevent infection from burns.1
Is Papaya Oil Good for Hair?
Not only is papaya oil great for treating irritating skin conditions, but it’s also great for treating dandruff and dry scalp. Papaya oil has essential fatty acids to help smooth and soften dry, damaged hair for luscious locks.
Add papaya oil to your hair once a week for 20-30 minutes and wash thoroughly to promote strong, thick hair.
What You’ll Need to Make Papaya Skin Oil
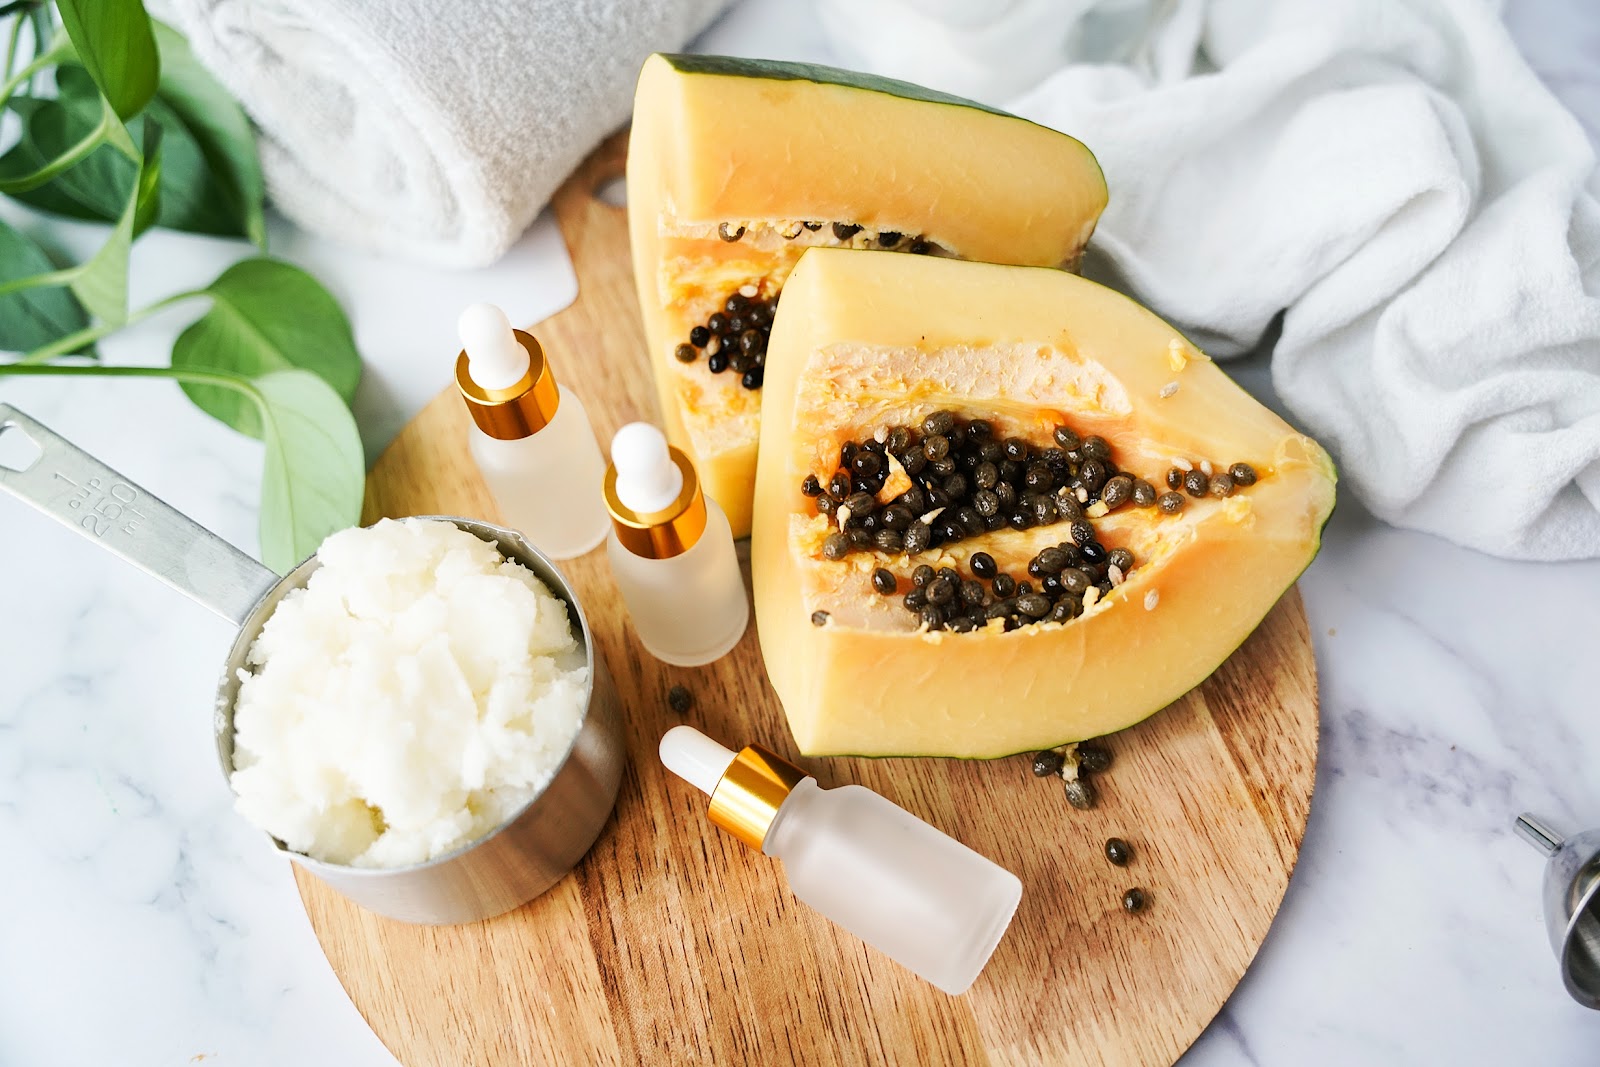
One of our favorite things about this face oil with papaya is that you only need two ingredients. And you don’t need a hard-to-find ingredient from a health food store either. Just papaya and coconut oil.
Here’s what to look for when you get ready to make your facial cleansing oil with papaya.
Papaya
Did you know that only two states in the US grow papaya — Hawaii and Florida? Papayas are in the melon family and can vary in size and shape. You can tell your papaya is unripe when it’s still green and smooth. As papayas ripen, they develop a deep orange or yellow color on the outside.
The inside of papaya is buttery and smooth, with bright orange flesh and black seeds in the middle. The flesh is so easy to slice that it’s an easy intro for your kids to try their hand (or hands) in the kitchen.
Look for papayas all year round in the produce section.
Coconut Oil
You probably already have this sitting in your pantry, so you’re all set. But if you don’t, coconut oil is available at every grocery store, within the baking goods aisle.
Coconut oil is recommended for replenishing dry skin and treating mild wounds like razor burns. However, it’s not recommended for use on your face. This is because it’s highly comedogenic, which means it clogs pores. Although it helps hydrate the skin, it doesn’t do much to improve or prevent acne. It might actually make it worse.2
Coconut oil could hydrate your skin too much, depending on your skin type. Feel free to use it on your body or on areas of your skin that aren’t prone to acne.
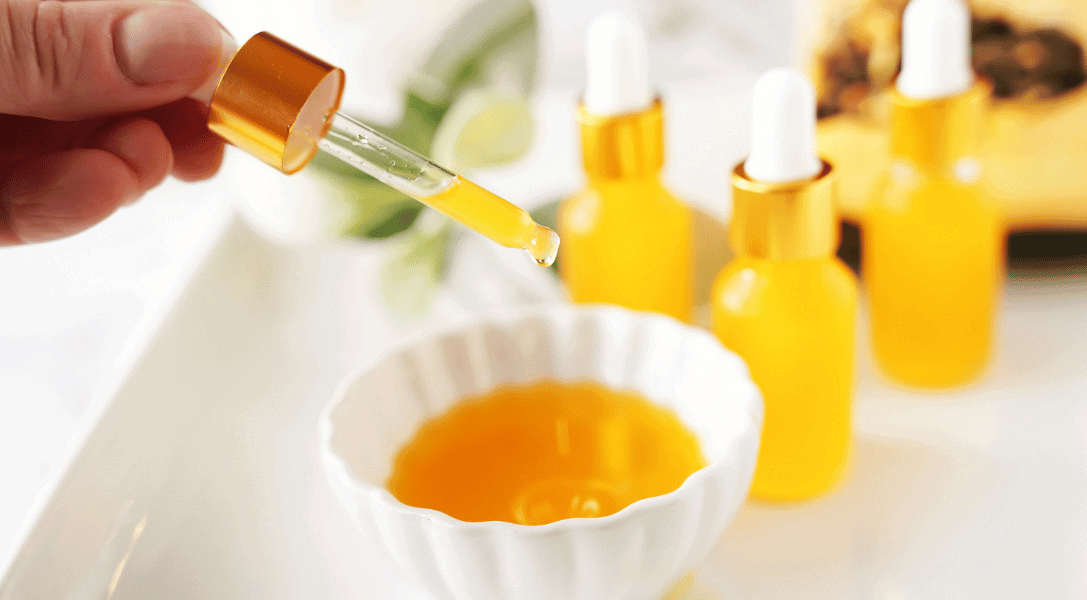
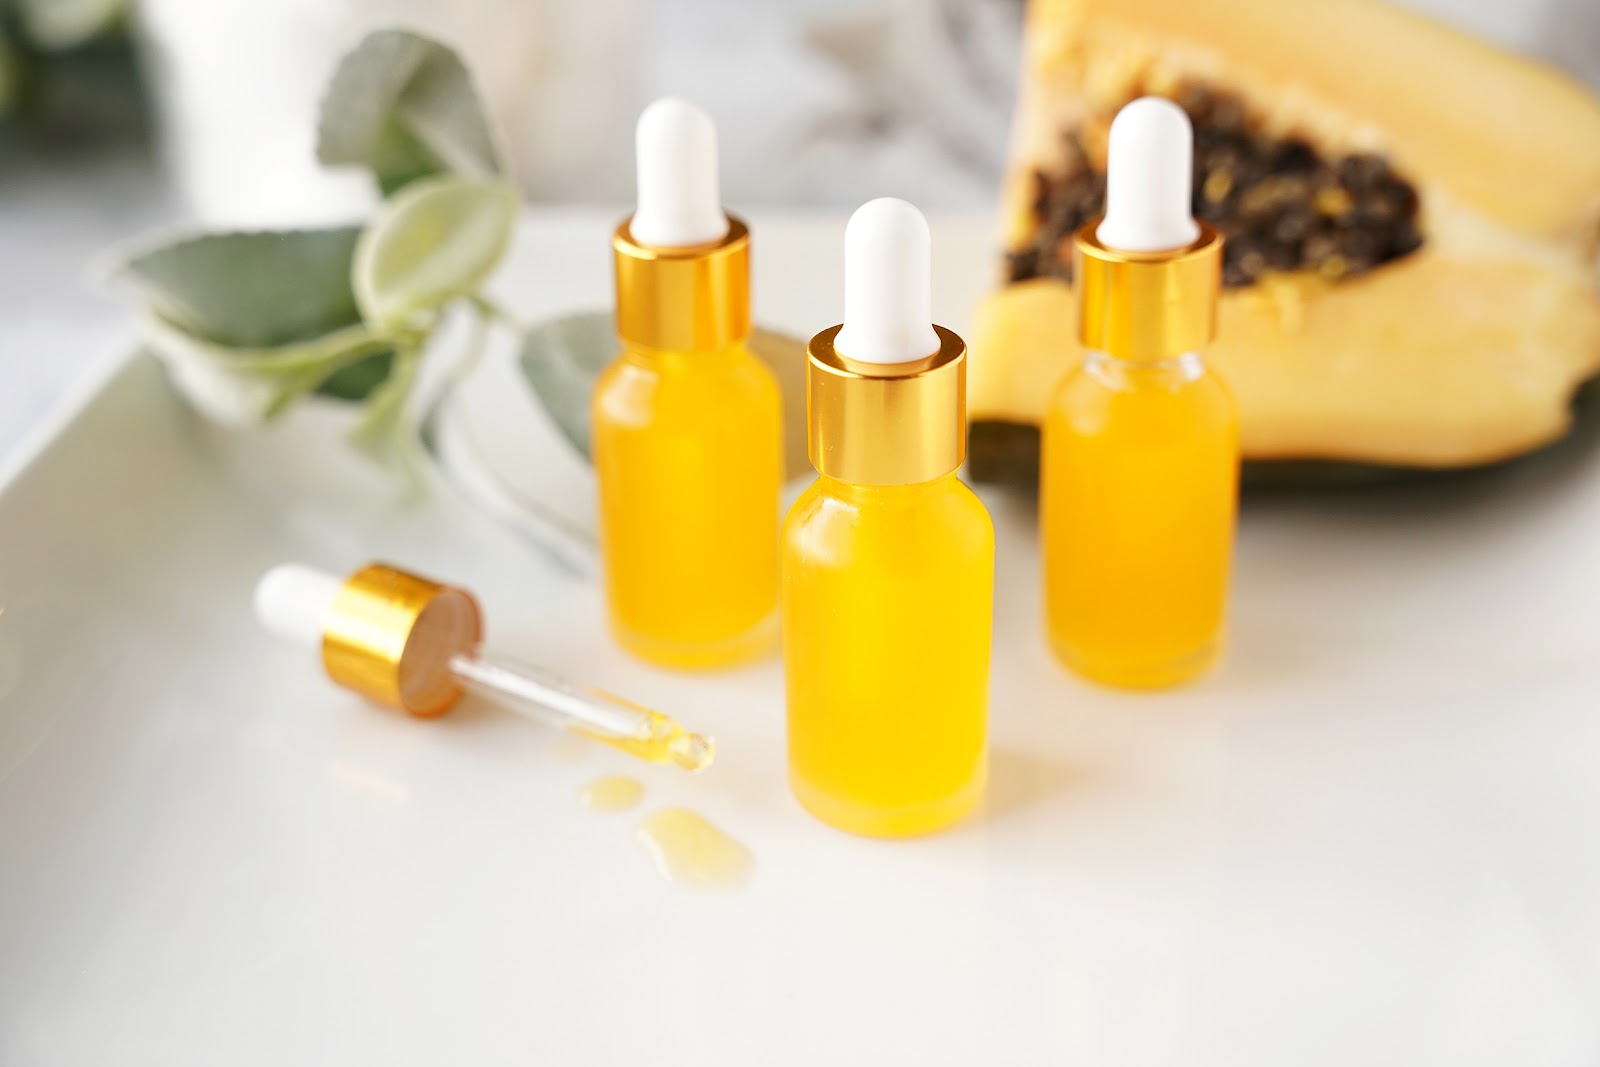
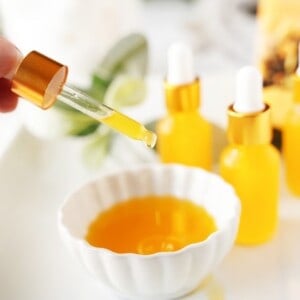
Beauty Oil Dispensers
If you can’t find dispensers at your local arts and crafts store, you can always look for them online. They either have a dropper or a small pump bottle so you can control the amount of skin oil that comes out. You can even get creative with it and use any small container with a pump or dropper.
How to Make Papaya Skin Oil
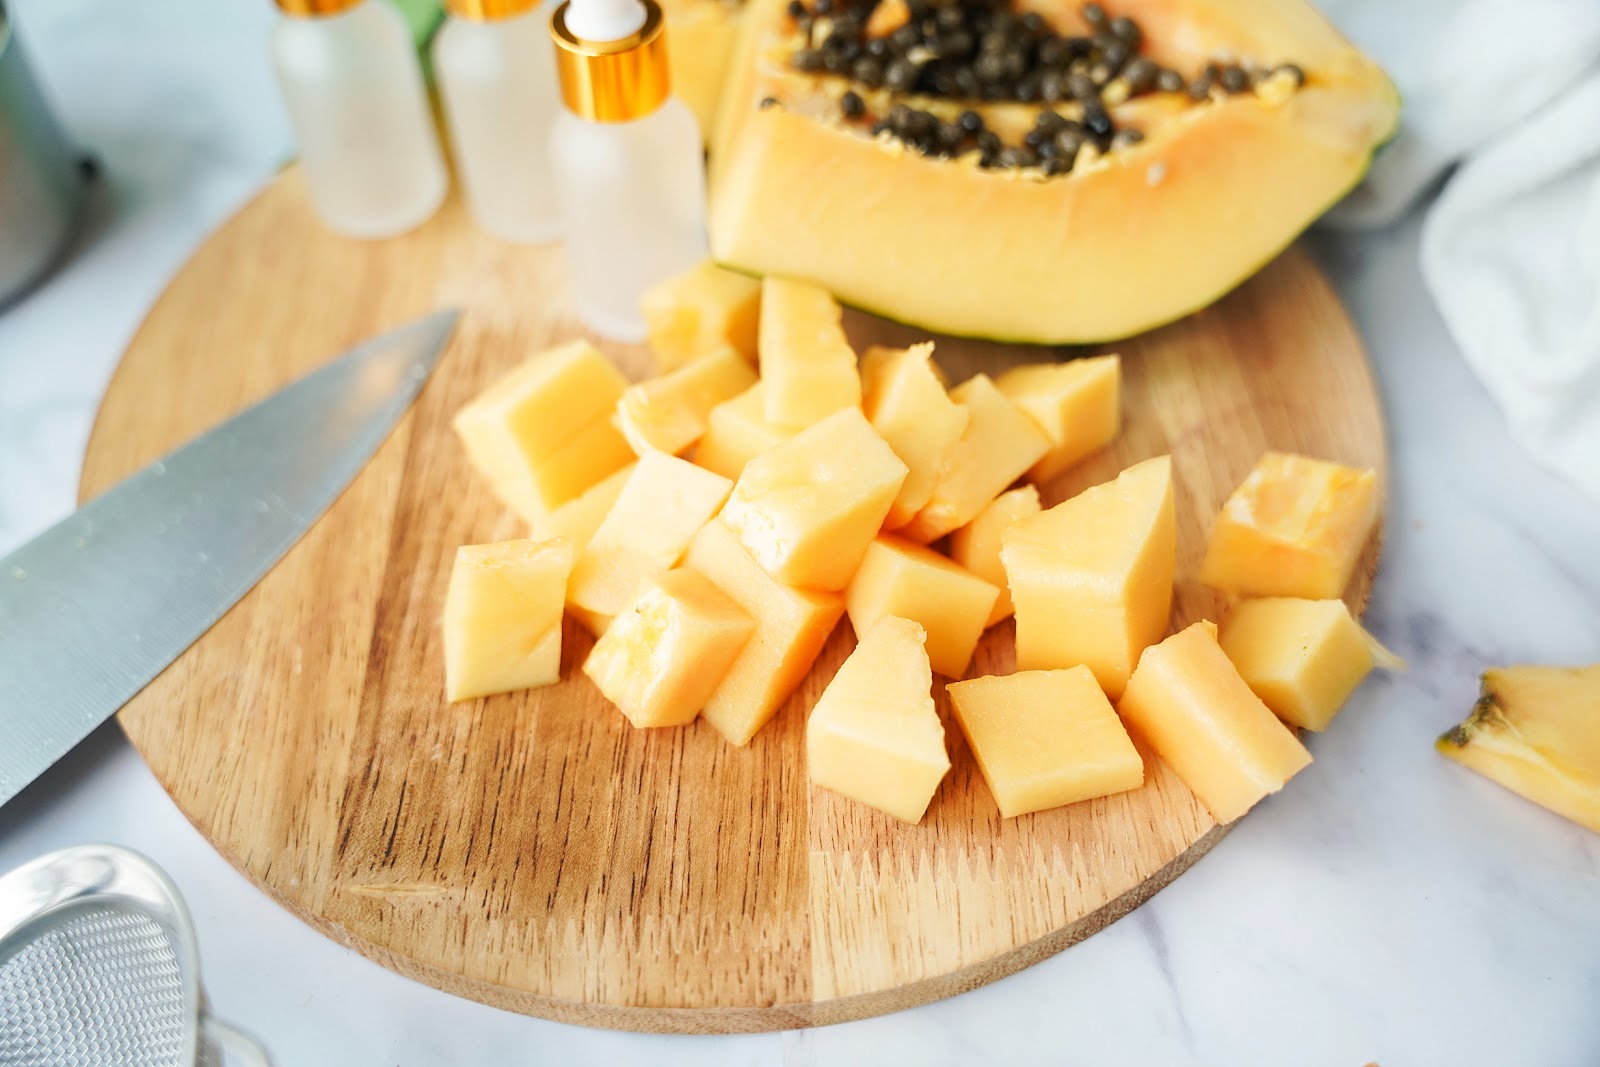
Step 1: Cut your papaya in half and use a spoon to scrape out the seeds. Use a knife to cut away the skin and then cut each slice into cubed pieces. Set the papaya cubes aside.
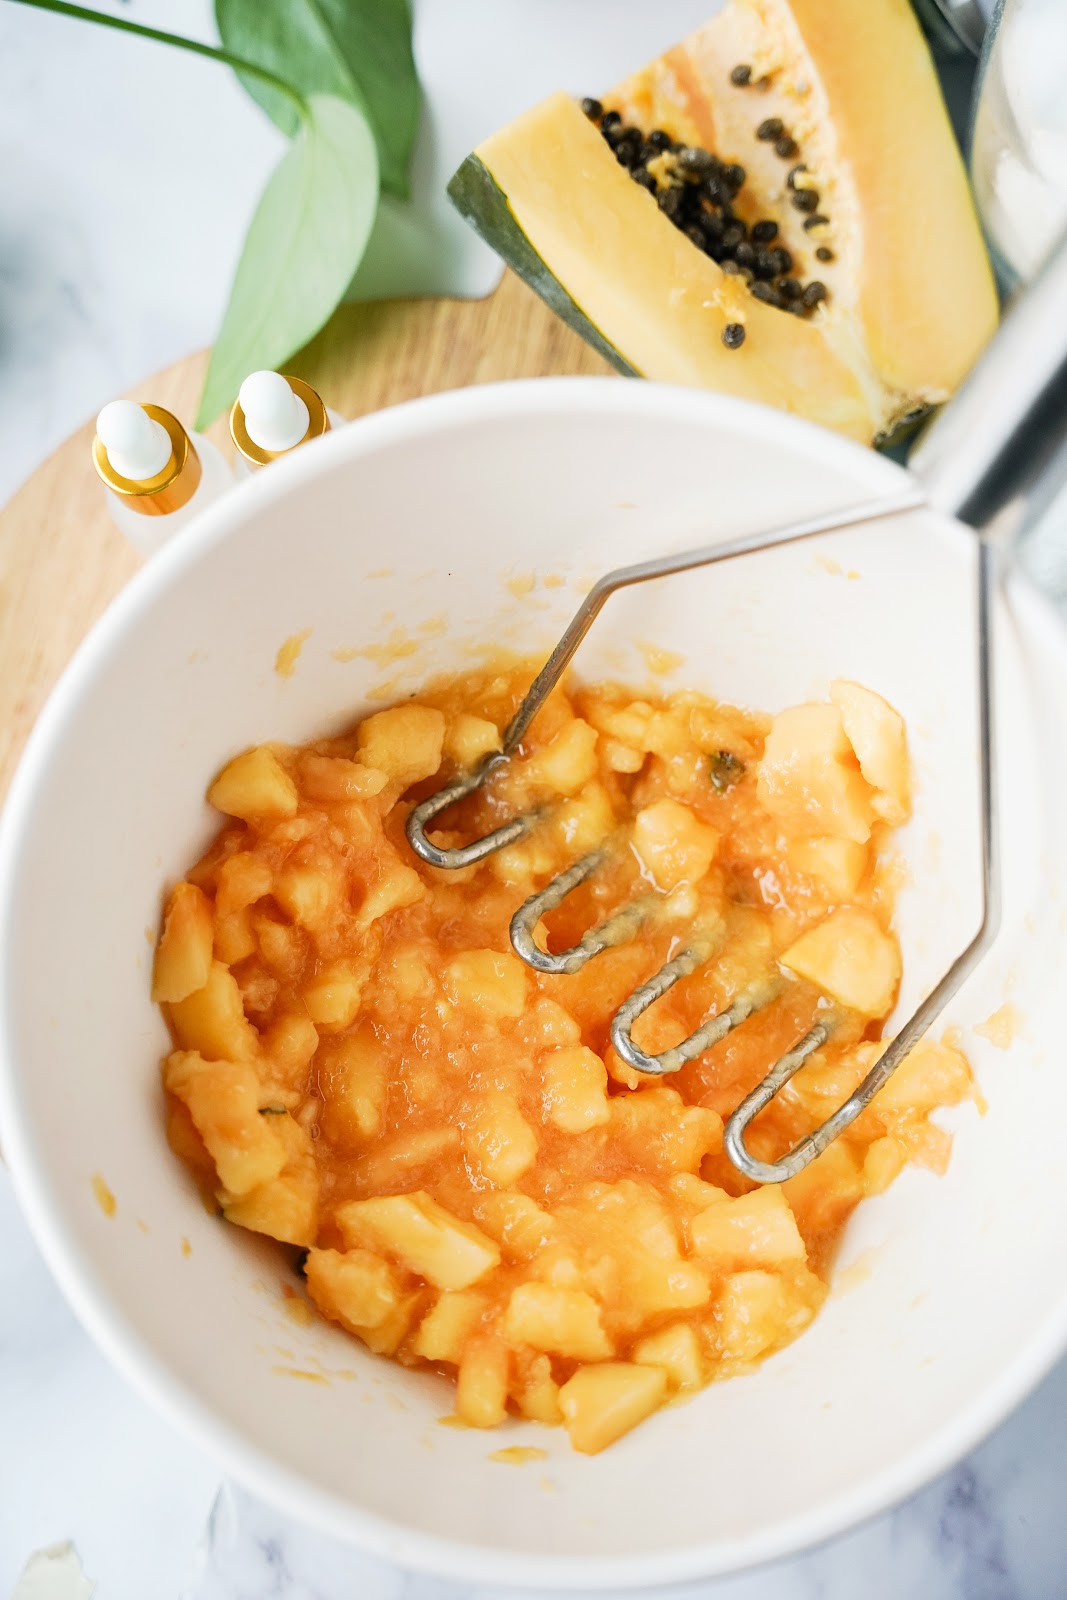
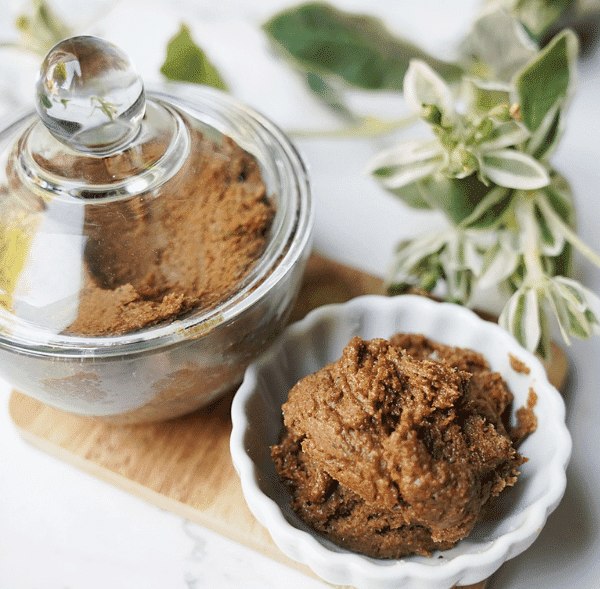
Step 2: Use a masher to squish the flesh of the papaya until it has a chunky consistency.
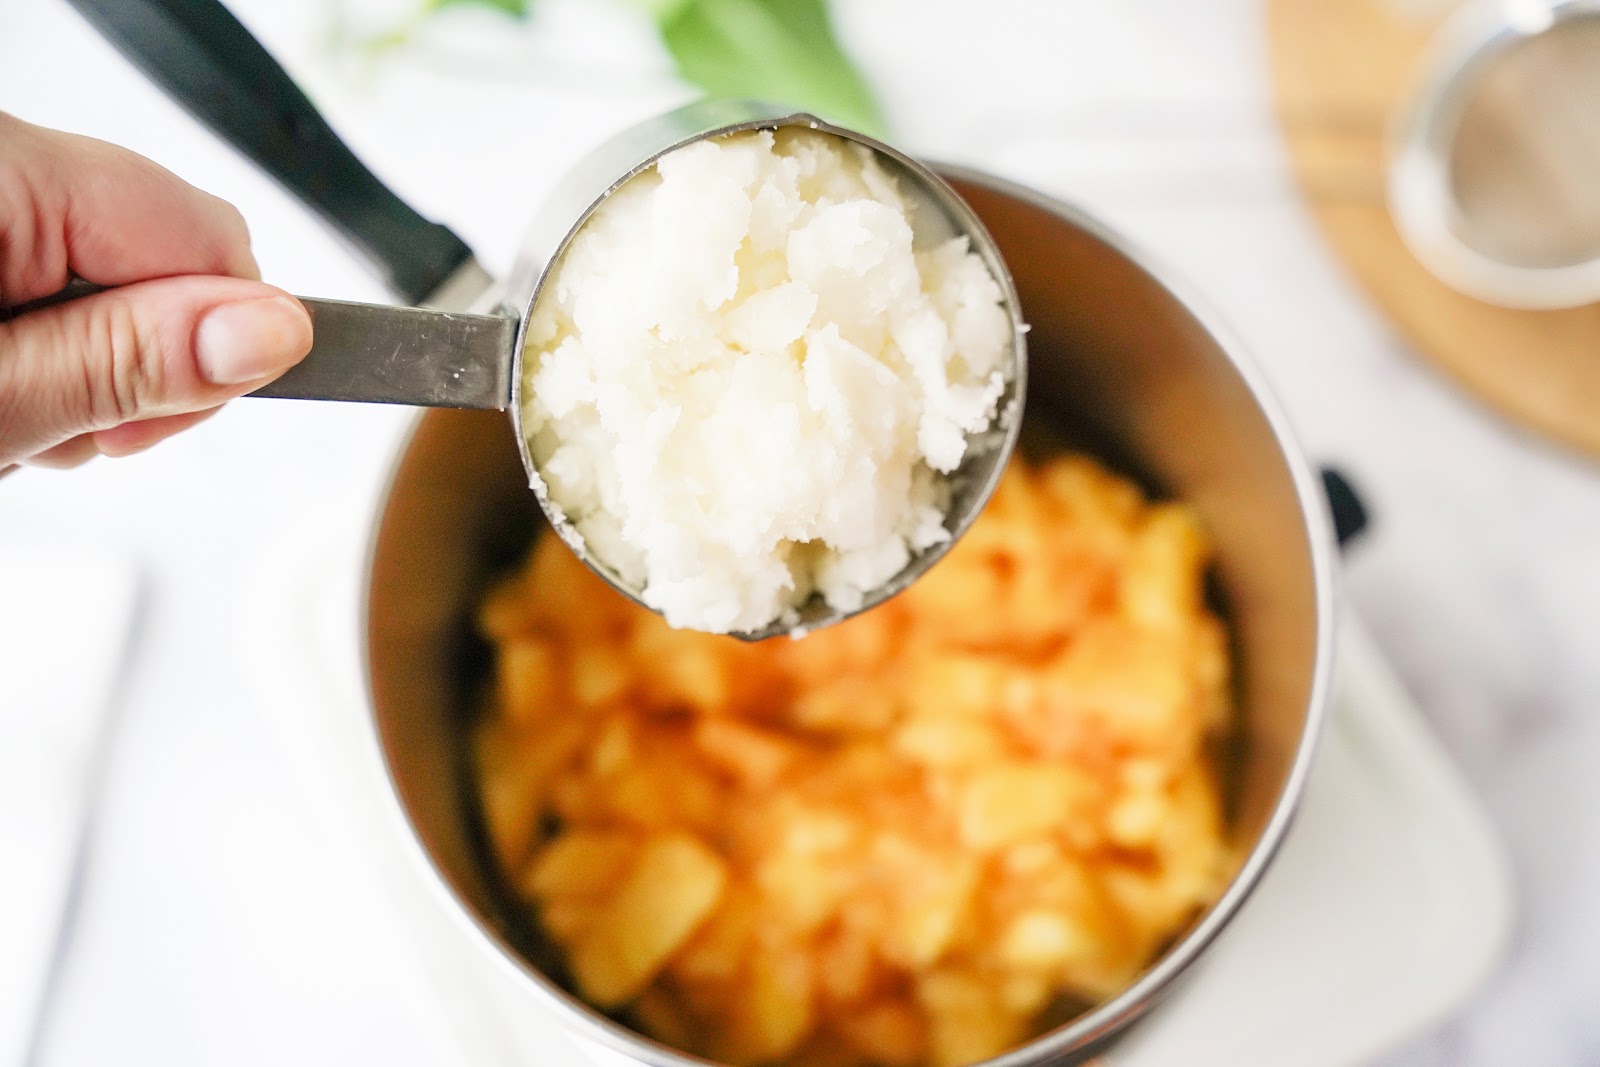
Step 3: Add the mashed papaya and coconut oil to a saucepan. Mix the ingredients with a spatula until the ingredients are combined.
Step 4: Bring the papaya mixture to a low boil on medium-high heat for 30 minutes. Mix with a spatula occasionally to prevent burning.
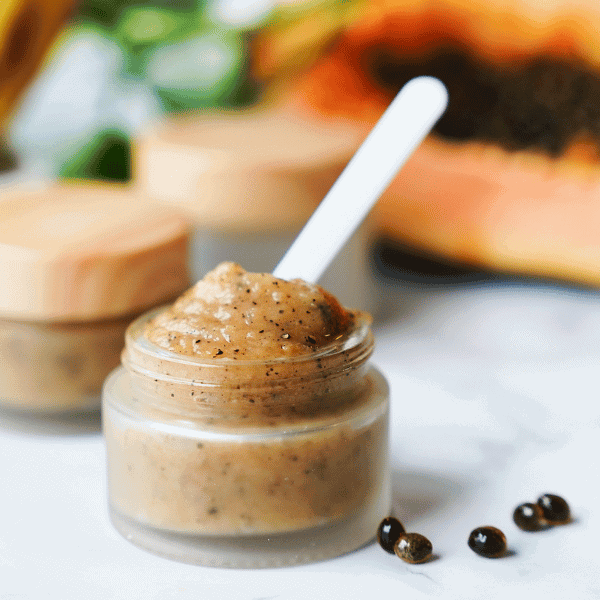
The papaya skin oil is finished cooking when the oil rises to the top of the pan. You should be able to press your spatula from the top of the liquid, and all of the papaya chunks should be settled at the bottom. It should be dark orange in color.
Step 5: Place a mesh strainer on top of your measuring cup and use a ladle to transfer the oil from the saucepan to the jar or container of choice.
After you’ve got the oil transferred, use the ladle (or pour it) to add the cooked papaya chunks to your mesh strainer. Gently add pressure with the ladle to extract any excess oils.
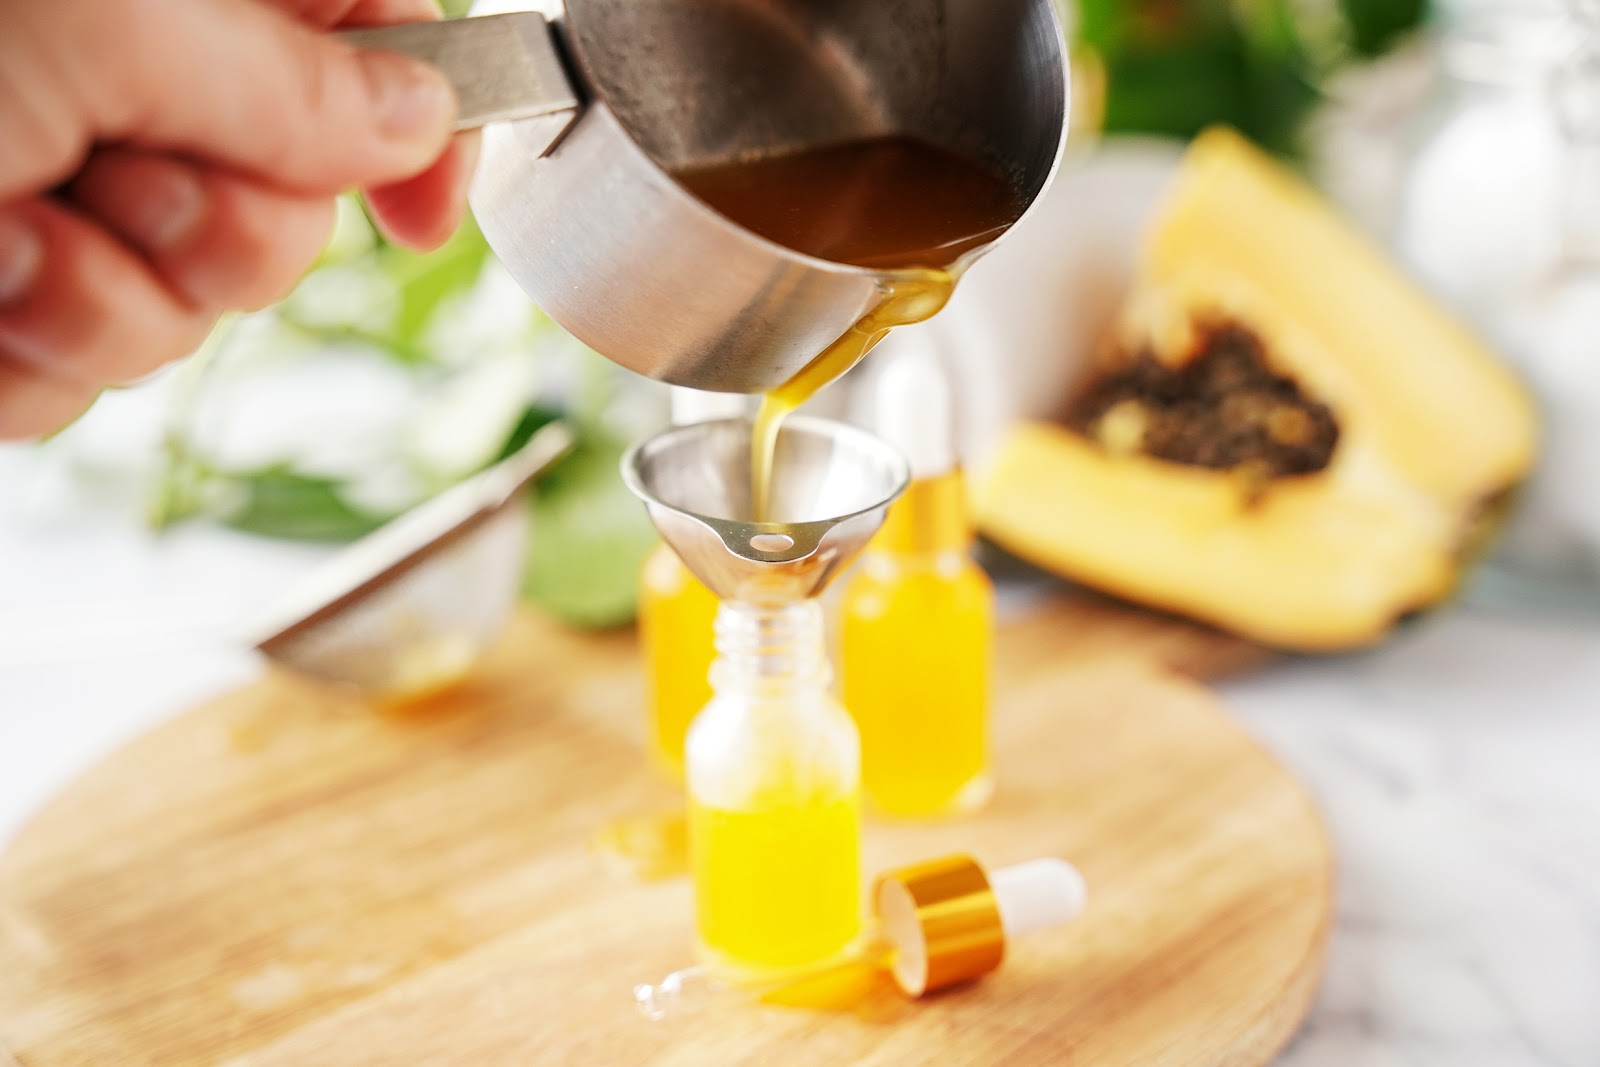
Step 6: Put a small kitchen funnel to transfer your papaya oil to 3-5 beauty oil dispensers for everyday use or as a gift to your friends.
How to Store Papaya
If you’ve bought your papaya, but you’re not quite ready to make your skin oil, store it in the fridge for up to a week. If you bought unripe papayas, store them in a cupboard until they become ripe, and then transfer them to the fridge.
When eating papayas, they are best eaten within two days. But since we’re making skin oil, it’s okay to wait up to a week.
More Skin-Friendly Recipes
- Banana Hair Mask — just two ingredients
- Celery Hair Mask — perfect for hydrating your hair
- Cucumber Eye Pads — an easy way to fit in self care
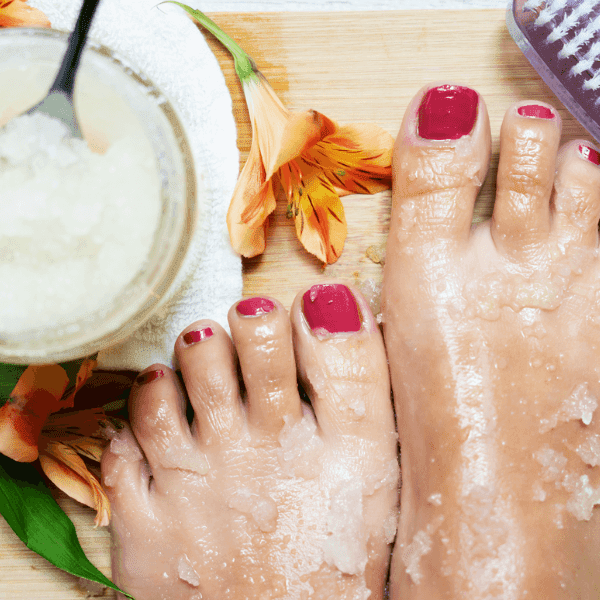
- Lemon Foot Scrub — smooth and soften your feet
- Papaya And Banana Hand Mask – helps with dry and cracking hands
Papaya Oil
Equipment
- Masher
- Mesh Strainer
- Small kitchen funnel
- 3-5 beauty oil dispensers
Ingredients
- 1 papaya cubed
- 1 cup coconut oil
Instructions
- Wash and dry the papaya. Cut the papaya in half, then into 1/2" thick cubes, and place in a bowl.
- Use a masher to mash the papaya and place it in a medium-sized cooking pot on medium-low heat.
- Add the coconut oil and cook for 30 minutes.
- When the oil rises to the top, remove the saucepan from the heat, and transfer the oil to a measuring cup through a mesh strainer.
- Place a funnel into a beauty oil dispenser and pour the papaya oil. Repeat until you run out of oil.
Notes
Nutrition
Nutrition information is automatically calculated, so should only be used as an approximation.


Can I use any oil of my choice to make papaya’ oil?
Thank you
Yes, if you have a preference of oil, you can use it!