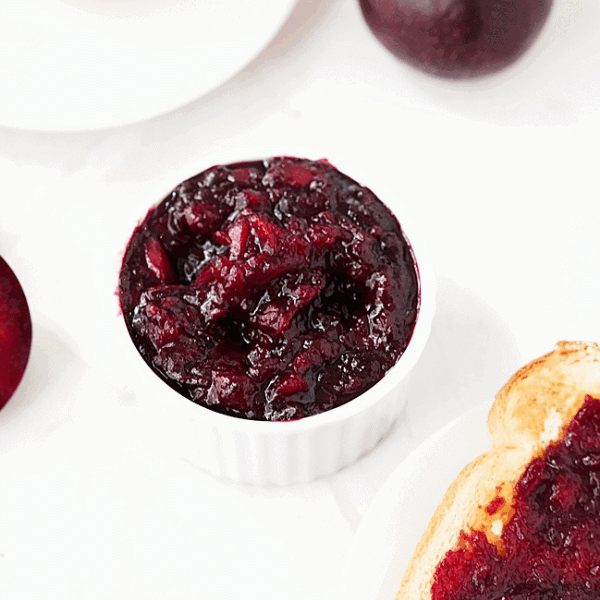
Homemade Cherry Preserves
Jul 08, 2025

This post may contain affiliate links. Please read our disclosure policy.
Preserve the taste of summer with this delightful Homemade Cherry Preserves recipe! Bursting with the sweet flavor of fresh cherries and a hint of bright lemon, this easy canning recipe allows you to enjoy delicious cherry spread on toast, yogurt, or desserts all year round. Learn how to make these simple yet satisfying cherry preserves at home!

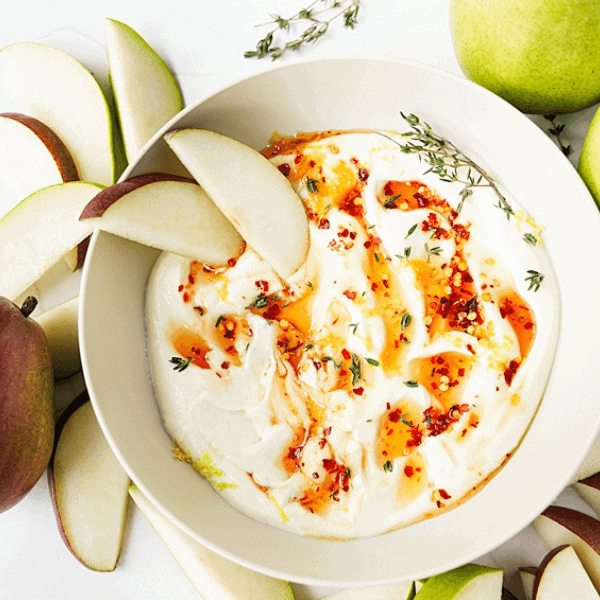
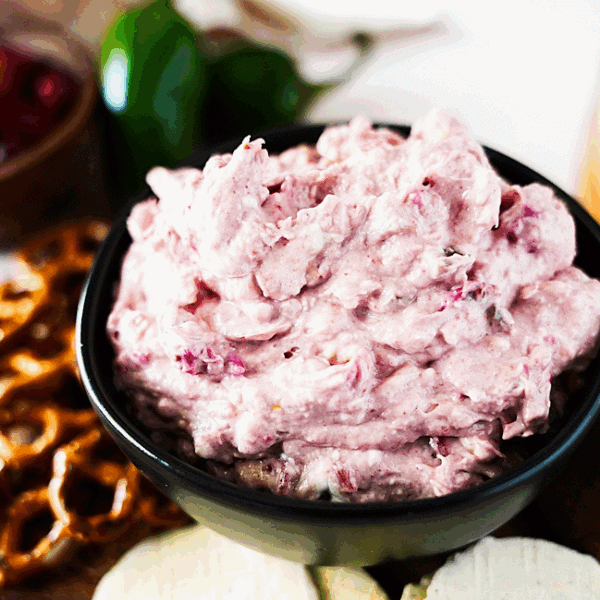
We love to make homemade jam and preserves. It really is a simple process with minimal ingredients. It’s also a great way to utilize fresh fruits when they are on sale and in season. Be sure to check out our Homemade Blackberry Jam, Jalapeno Blueberry Jam and our quick and easy Blueberry Cheesecake Dip recipes!
Related: How To Freeze Cherries
Why You’ll Love This Recipe:
- Fresh & Flavorful: Nothing beats the taste of homemade preserves made with ripe cherries.
- Easy Canning Recipe: Simple steps for safely preserving your delicious creation.
- Versatile Use: Perfect for spreading, baking, or as a topping.
- Control Your Ingredients: No artificial additives or excessive sweetness.
- Great for Gifting: Share the taste of summer with friends and family.

Frequently Asked Questions
What kind of cherries are best for preserves? Sweet cherries like Bing, Rainier, or Lambert are excellent choices. You can also use a mix of sweet and slightly tart cherries for a more complex flavor.
Do I need to add pectin? This recipe relies on the natural pectin in cherries, along with the sugar and lemon juice, for thickening. If you prefer a thicker set, you can add commercial pectin according to the manufacturer’s instructions.
Can I reduce the amount of sugar? Sugar helps with preservation and thickening. Reducing it significantly may affect the set and shelf life. If you prefer less sweet preserves, start by reducing the sugar by no more than ¼ cup and see if you like the consistency.
Why do I need lemon juice and zest? Lemon juice adds acidity, which is essential for safe canning and also helps to brighten the flavor and aid in the setting process. Lemon zest adds an extra layer of fresh citrus aroma and flavor.
Can I use frozen cherries? Yes, you can use frozen cherries. Thaw them completely before using and be aware that they might release more liquid, so you might need to cook the preserves a bit longer to reach the desired consistency.
Why is it important to remove the foam? Foam can contain air bubbles that can interfere with a good seal and may also affect the appearance of your preserves.
What if my jars don’t seal? If a jar doesn’t seal, it’s best to store it in the refrigerator and use the preserves within a few weeks. You can also try reprocessing the jar with a new lid within 12 hours.

Ingredients Needed To Make Cherry Preserves
- 2 pounds pitted sweet cherries, halved (it’s okay if a few are left whole)
- ¾ cup granulated sugar (adjust to the sweetness of cherries)
- 1 tablespoon lemon juice
- 1 cup water
How to Make Cherry Preserves
Prepare Your Canning Equipment
- Wash canning jars, lids, and rings in hot, soapy water. Rinse thoroughly.
- Sterilize the jars by placing them in a boiling water bath canner filled with simmering water for 10 minutes. Keep jars hot in the simmering water until ready to fill.
- Heat the canning lids in a separate saucepan of simmering (not boiling) water. Do not boil the lids.

Make the Cherry Preserves:
- In a large, nonstick pot, combine the chopped cherries, granulated sugar, lemon juice, lemon zest, and salt. Add water if your cherries aren’t very juicy (you want enough liquid to prevent scorching initially).
- Stir the mixture over medium heat until the sugar is completely dissolved.
- Bring the mixture to a rolling boil that cannot be stirred down.
- Continue to boil, stirring frequently to prevent sticking and scorching, for about 30-45 minutes, or until the preserves have thickened to your desired consistency. The preserves are ready when a small spoonful placed on a chilled plate wrinkles slightly when pushed with your finger. For slightly smoother preserves, you can gently mash some of the cherries with a potato masher during the last 10-15 minutes of cooking.
- Remove the pot from the heat. Skim off any foam that may have formed on the surface using a spoon.

Fill and Process the Jars:
- Using a jar lifter, carefully remove a hot, sterilized jar from the canner and place it on a heat-resistant surface.
- Using a ladle, carefully fill the hot jar with the cherry preserves, leaving ¼ inch headspace (the space between the top of the preserves and the rim of the jar).
- Wipe the jar rim clean with a damp cloth to remove any spills.
- Using a magnetic lid lifter or your fingers (being careful not to touch the underside of the lid), place a heated lid on the jar.
- Screw on a canning ring until fingertip tight (not too tight).
- Carefully lower the filled jar back into the simmering water in the canner, ensuring the water covers the jars by at least 1 inch.
- Repeat steps 3-6 for the remaining jars.
- Bring the water in the canner back to a rolling boil. Process the jars for 15 minutes at altitudes up to 1,000 feet. For higher altitudes, increase processing time by 5 minutes for every 1,000 feet above sea level.
- After processing is complete, turn off the heat and carefully remove the jars from the canner using the jar lifter. Place them on a clean kitchen towel-lined surface to cool completely, undisturbed, for 12-24 hours.

Check the Seals and Store:
- After the jars have cooled completely, check the seals. The center of the lid should be indented and should not flex when pressed.
- Remove the canning rings (they can be reused, but leaving them on can trap moisture and lead to rust).
- Label the jars with the date and contents.
- Store sealed jars in a cool, dark, and dry place for up to one year. Unsealed jars should be stored in the refrigerator and used within a few weeks.

Homemade Cherry Preserves
Ingredients
- 2 pounds pitted sweet cherries roughly chopped (it’s okay if a few are left whole)
- ¾ cup granulated sugar adjust to the sweetness of cherries
- 1 tablespoon lemon juice
- 1 cup water optional, may not be needed depending on cherry juiciness
Instructions
- Prepare Your Canning Equipment: Wash canning jars, lids, and rings in hot, soapy water. Rinse thoroughly.
- Sterilize the jars by placing them in a boiling water bath canner filled with simmering water for 10 minutes. Keep jars hot in the simmering water until ready to fill.
- Heat the canning lids in a separate saucepan of simmering (not boiling) water. Do not boil the lids.
- Make the Cherry Preserves: In a large, nonstick pot, combine the chopped cherries, granulated sugar, lemon juice, lemon zest, and salt. Add water if your cherries aren’t very juicy (you want enough liquid to prevent scorching initially).
- Stir the mixture over medium heat until the sugar is completely dissolved.
- Bring the mixture to a rolling boil that cannot be stirred down.
- Continue to boil, stirring frequently to prevent sticking and scorching, for about 30-45 minutes, or until the preserves have thickened to your desired consistency. The preserves are ready when a small spoonful placed on a chilled plate wrinkles slightly when pushed with your finger. For slightly smoother preserves, you can gently mash some of the cherries with a potato masher during the last 10-15 minutes of cooking.
- Remove the pot from the heat. Skim off any foam that may have formed on the surface using a spoon.
- Fill and Process the Jars: Using a jar lifter, carefully remove a hot, sterilized jar from the canner and place it on a heat-resistant surface. Using a ladle, carefully fill the hot jar with the cherry preserves, leaving ¼ inch headspace (the space between the top of the preserves and the rim of the jar). Wipe the jar rim clean with a damp cloth to remove any spills.
- Using a magnetic lid lifter or your fingers (being careful not to touch the underside of the lid), place a heated lid on the jar. Screw on a canning ring until fingertip tight (not too tight). Carefully lower the filled jar back into the simmering water in the canner, ensuring the water covers the jars by at least 1 inch. Repeat steps 3-6 for the remaining jars.
- Bring the water in the canner back to a rolling boil. Process the jars for 15 minutes at altitudes up to 1,000 feet. For higher altitudes, increase processing time by 5 minutes for every 1,000 feet above sea level.
- After processing is complete, turn off the heat and carefully remove the jars from the canner using the jar lifter. Place them on a clean kitchen towel-lined surface to cool completely, undisturbed, for 12-24 hours.
- Check the Seals and Store: After the jars have cooled completely, check the seals. The center of the lid should be indented and should not flex when pressed. Remove the canning rings (they can be reused, but leaving them on can trap moisture and lead to rust). Label the jars with the date and contents. Store sealed jars in a cool, dark, and dry place for up to one year. Unsealed jars should be stored in the refrigerator and used within a few weeks.
Nutrition
Nutrition information is automatically calculated, so should only be used as an approximation.