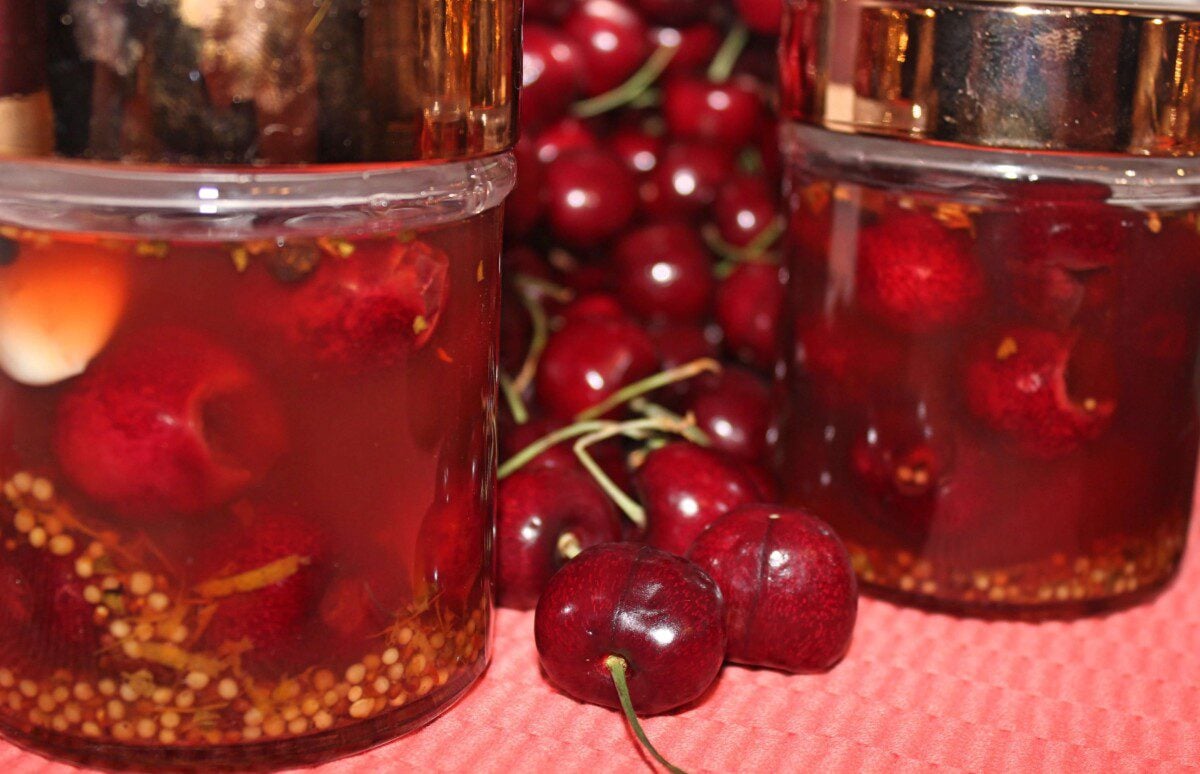
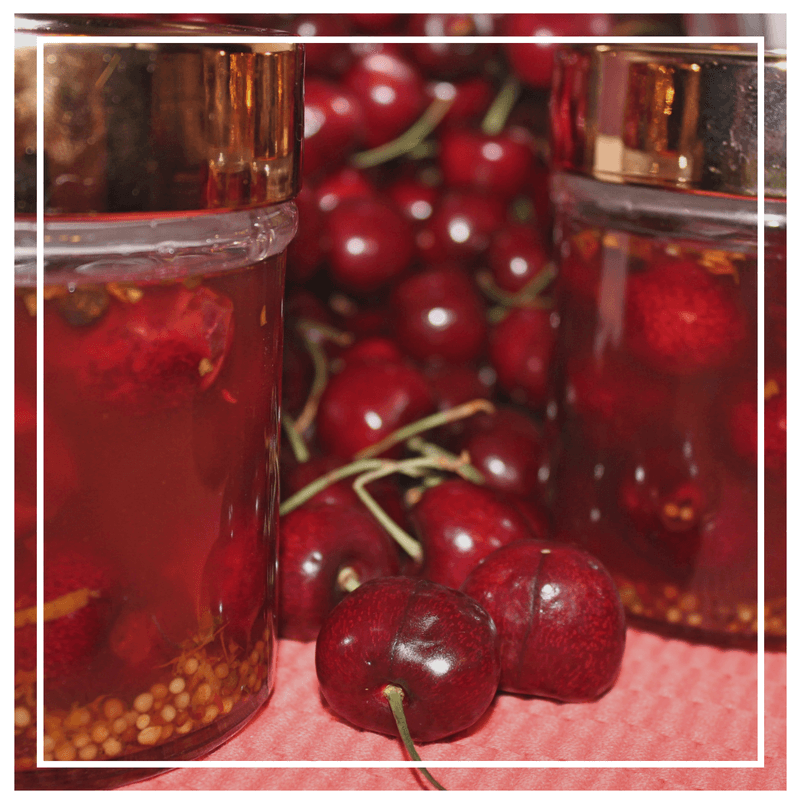
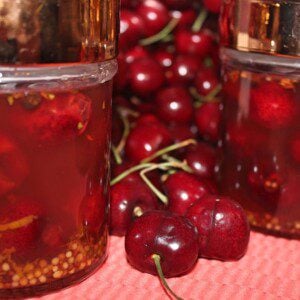
Simple Homemade Pickled Cherries
Jan 26, 2026, Updated May 28, 2026
This post may contain affiliate links. Please read our disclosure policy.
Pickled cherries, anyone?
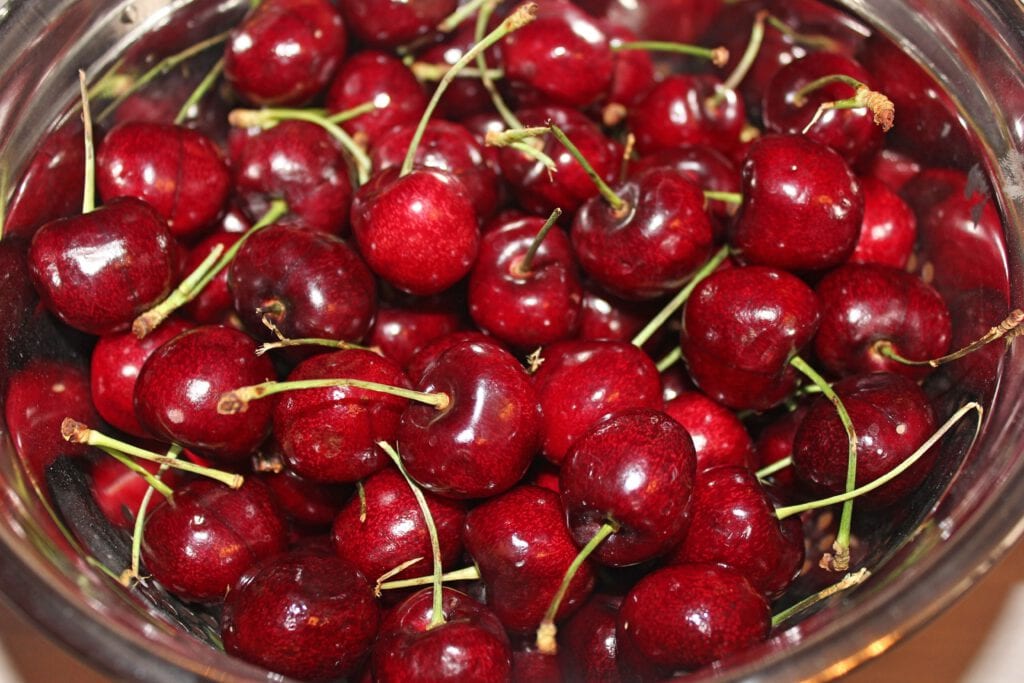
Cherry season never seems to last long enough, so we make the most of it while Pacific Northwest cherries are at their peak. These cherries are some of the freshest produce you can find, often picked, packed, and on store shelves within just days.
To help stretch the season a little further, we set out to create an easy pickling recipe that gives cherries an extra month of life. Pickled cherries make a delicious snack and a flavorful addition to salads, yogurt, or savory dishes.
This cherry pickling recipe is perfect because it checks off 3 major boxes for us:
- Easy-to-make
- Under 30 minutes
- Kid-friendly
How to Make Pickled Cherries
Step 1
After rinsing the cherries, the first step of the process is the most tedious – removal of the stem and pits. Check out our blog (with video!) that shows different ways you can pit cherries with items that you already have in your kitchen.
Step 2
Once you have your cherries pitted, you can put them in a bowl and set them to the side.
Step 3
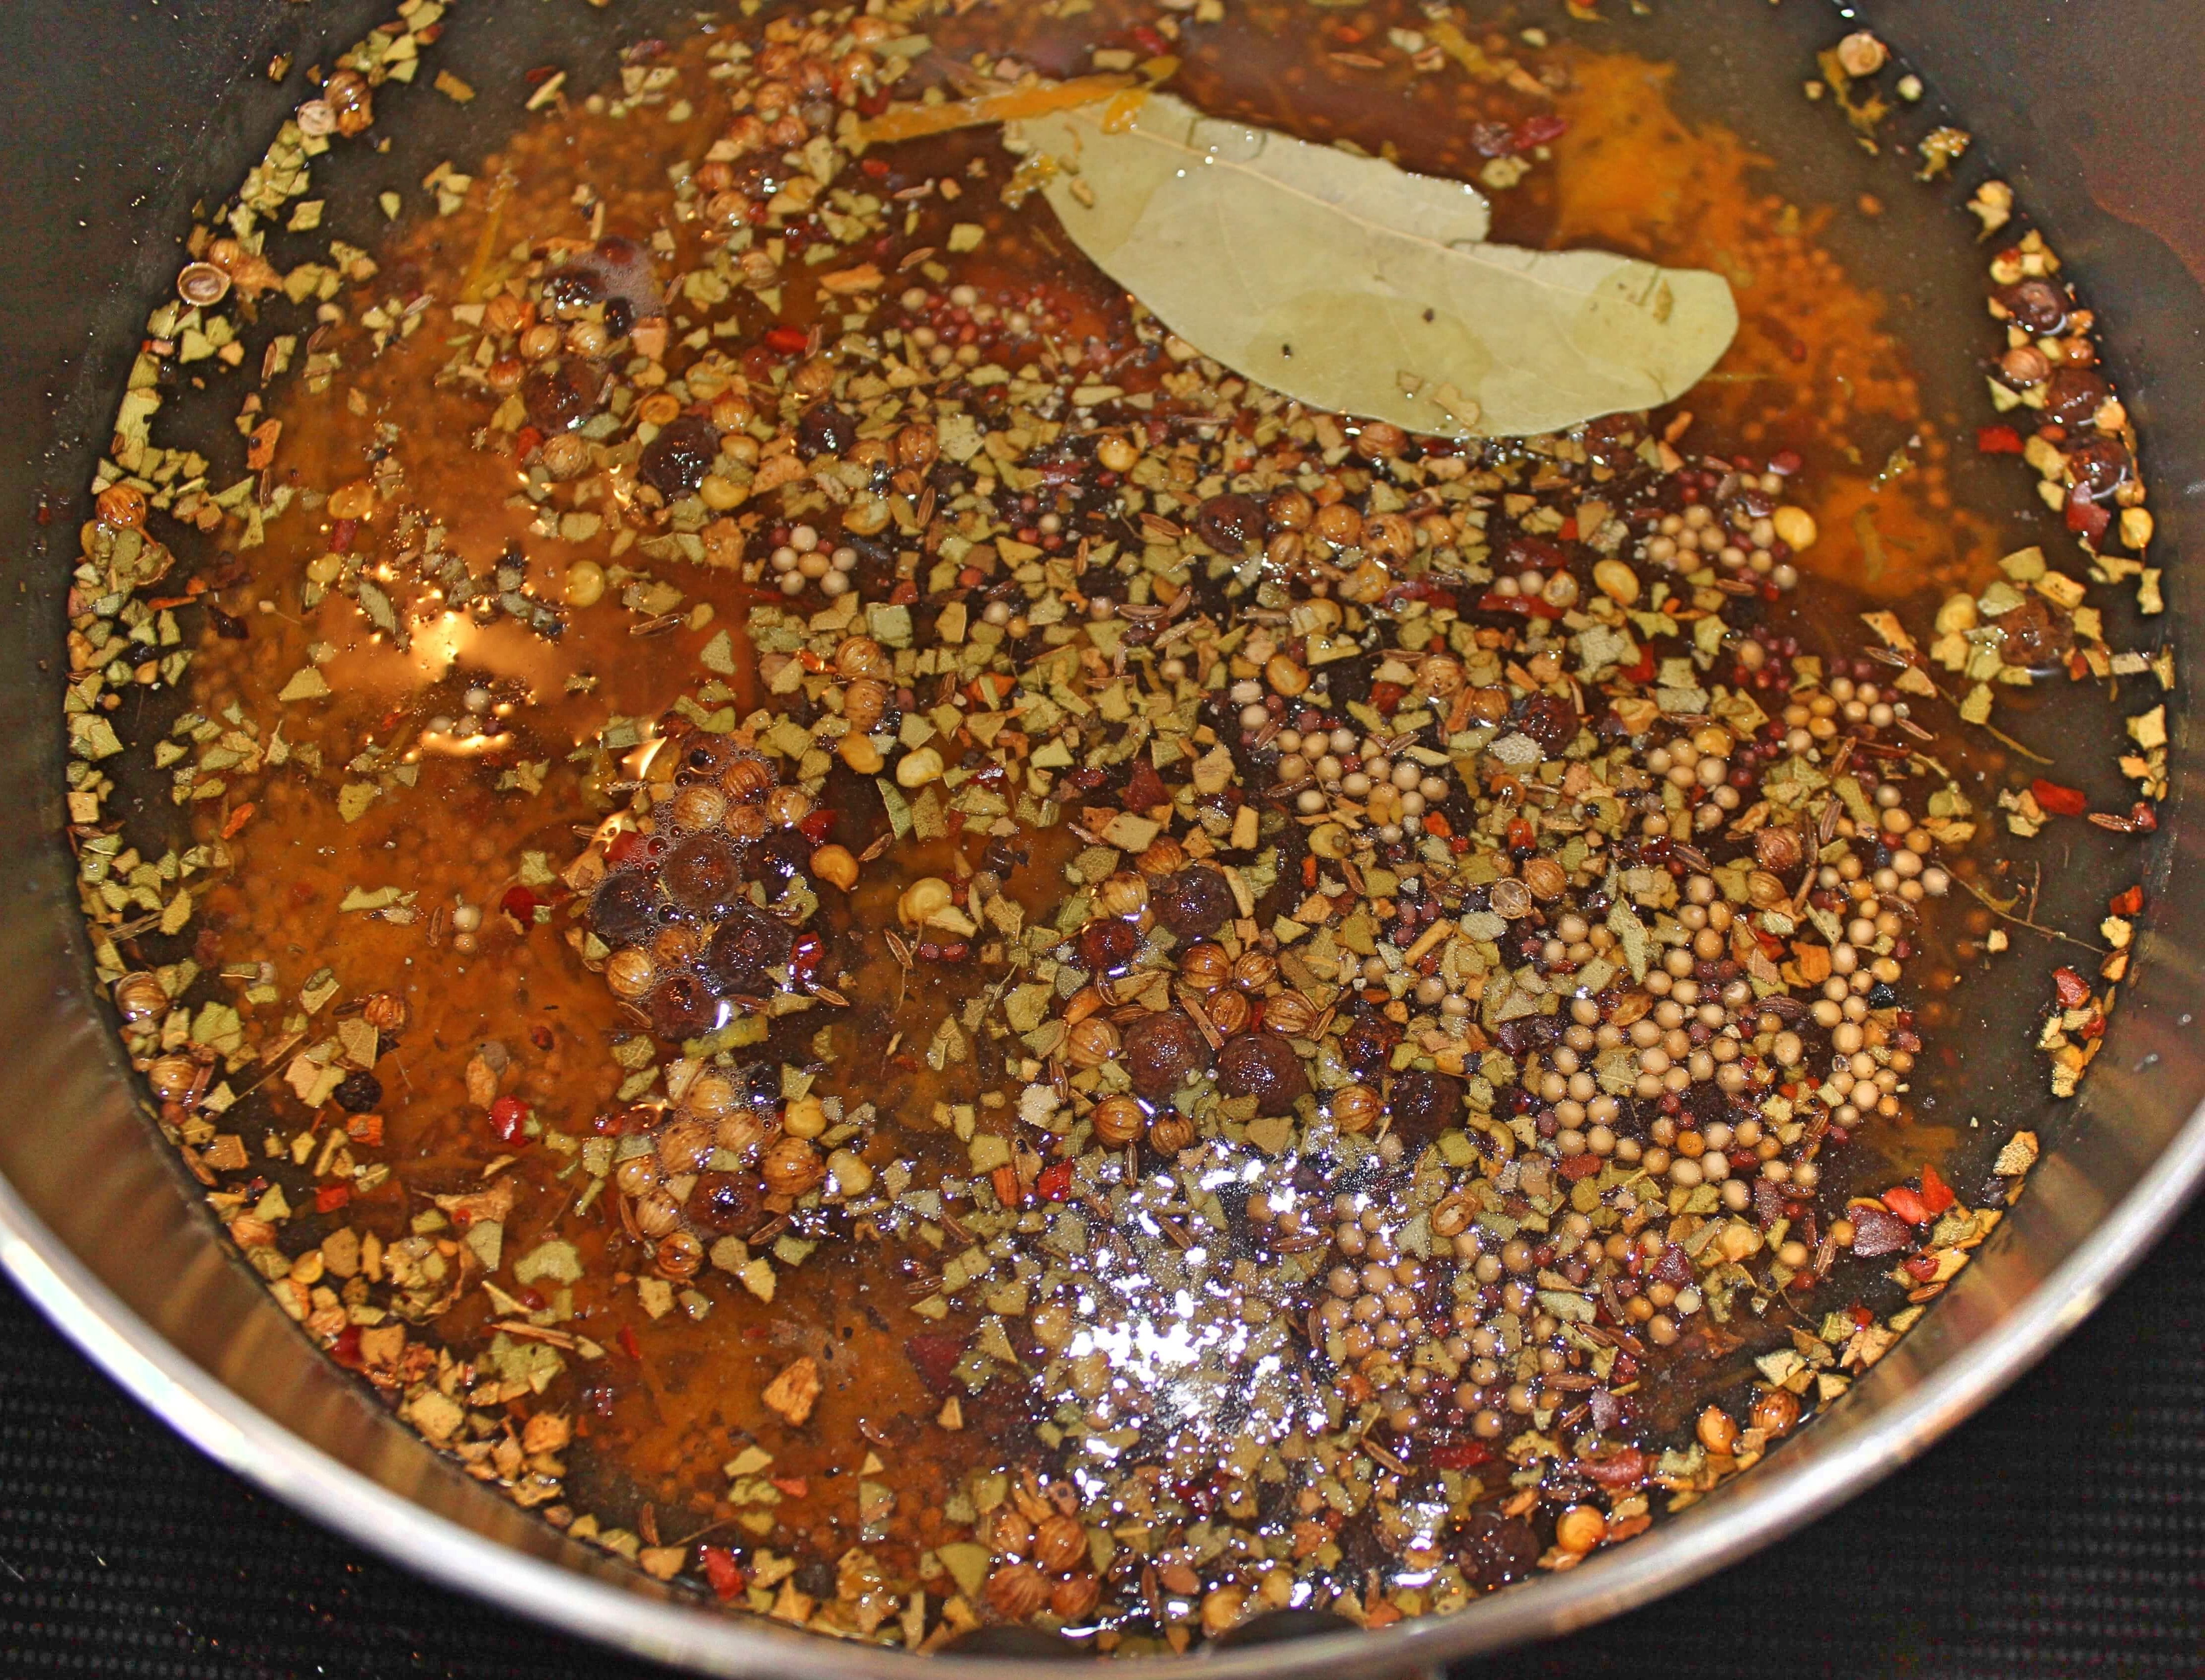
Next, you will combine the rest of the ingredients (minus the cloves of garlic) in a saucepan and bring to a boil.
Step 4
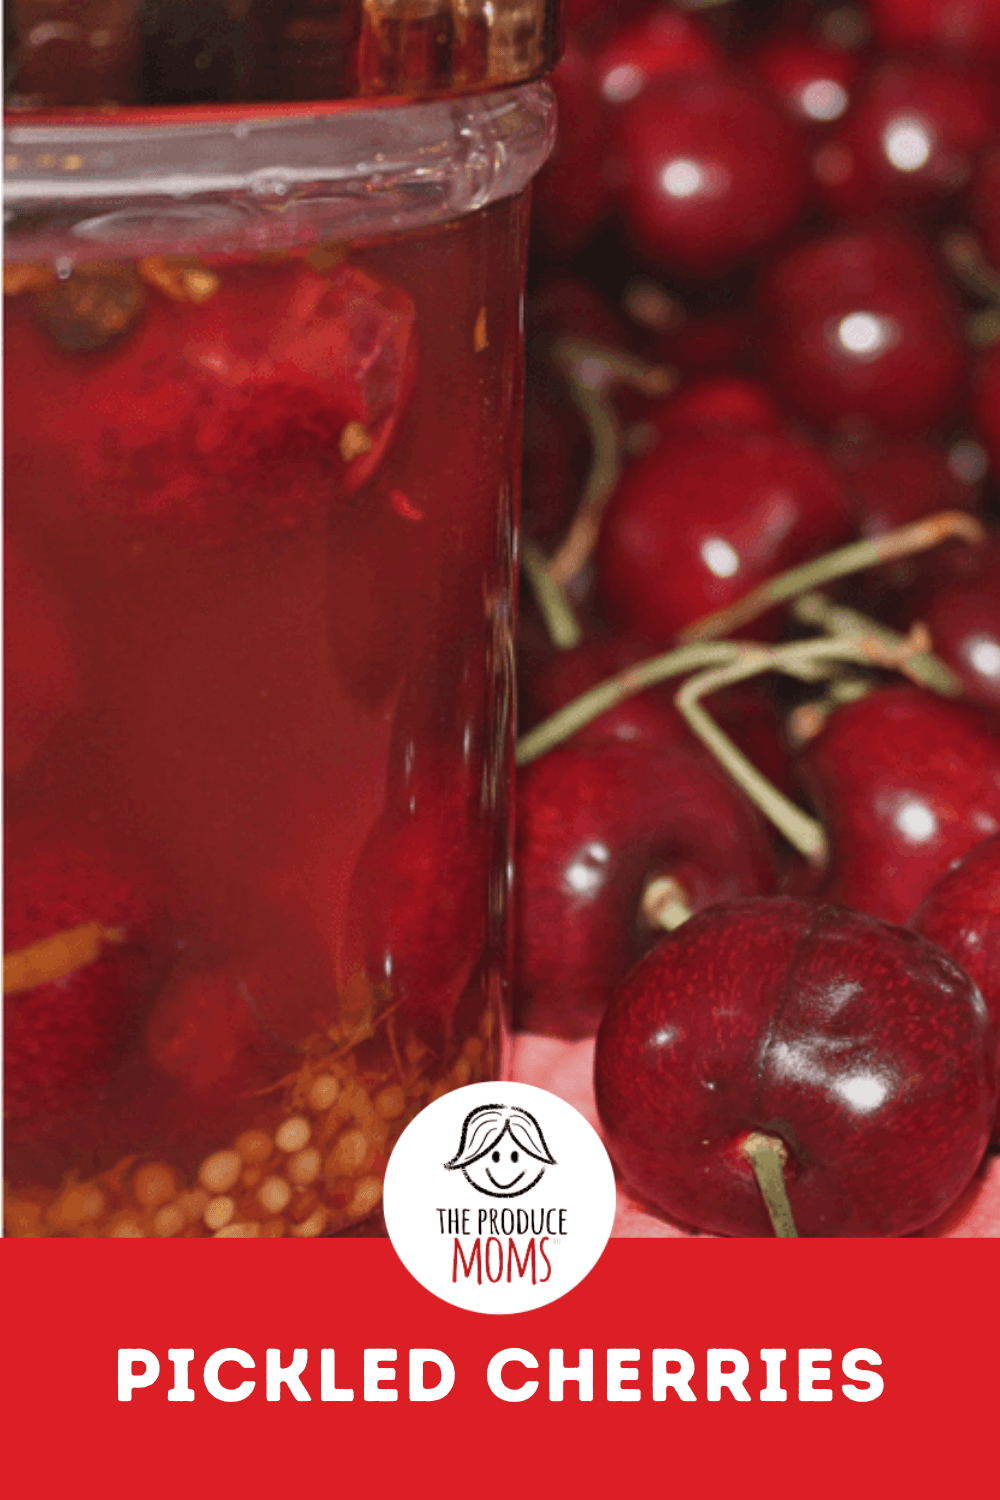
Reduce heat and let simmer for 10 minutes. While this is simmering, fill the 1/2 pint jars half way full with the pitted cherries (and one clove of garlic each).
Step 5
After 10 minutes, remove the liquid and pour into the cherry pint jars. Let them cool for about an hour before putting them in the refrigerator. They will last up to a month with proper refrigeration. If you want them to last longer, we suggest sealing the jars with a hot canning method.
Recipes Using Pickled Cherries
Now that the pickled cherries are made, we want to share with you a few of our favorite ways to eat them. First and most simplistic, you can eat them straight out of the jar as a snack! But we have a few other ideas that you might like to try:
Chopped Salad with Bacon and Pickled Cherries
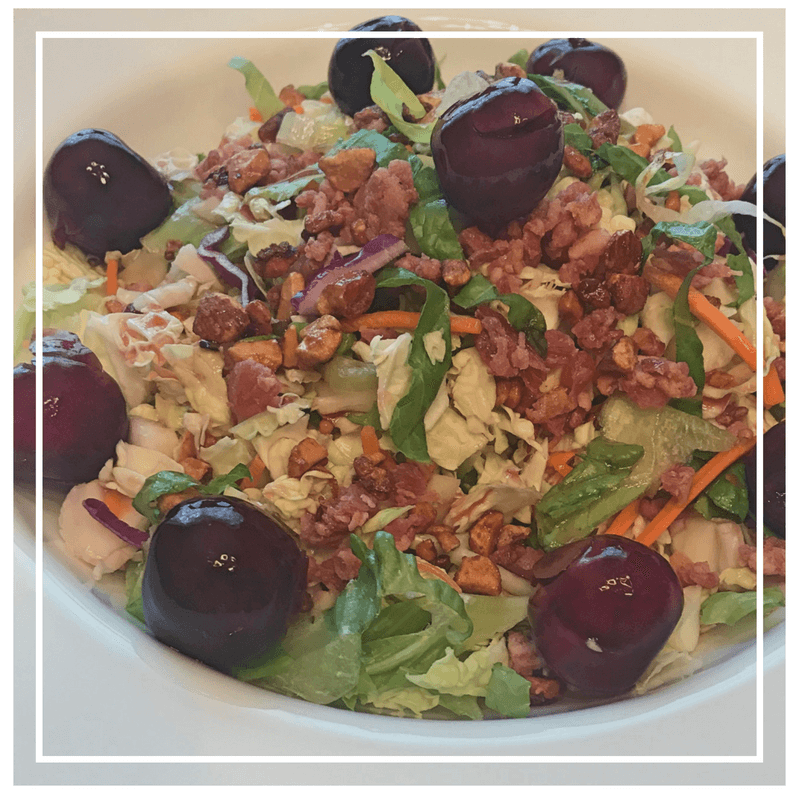
This is a simple salad that we love, and the pickled cherries make the perfect topping. You get the cherries and a vinaigrette, so you can skip the dressing!
In all honesty, you can use any salad that you prefer, or even a salad kit (nobody is judging)! In the end, the pickled cherries will add a burst of flavor to any mixed greens.
- 1 cup Chopped Romaine Lettuce
- 1/2 cup Chopped Red Cabbage
- 1/4 cup Chopped Green Onions
- 1/4 cup Chopped Carrots
- 1/4 cup Chopped Bacon
- Pickled Cherries, as desired
Pickled Cherry Yogurt
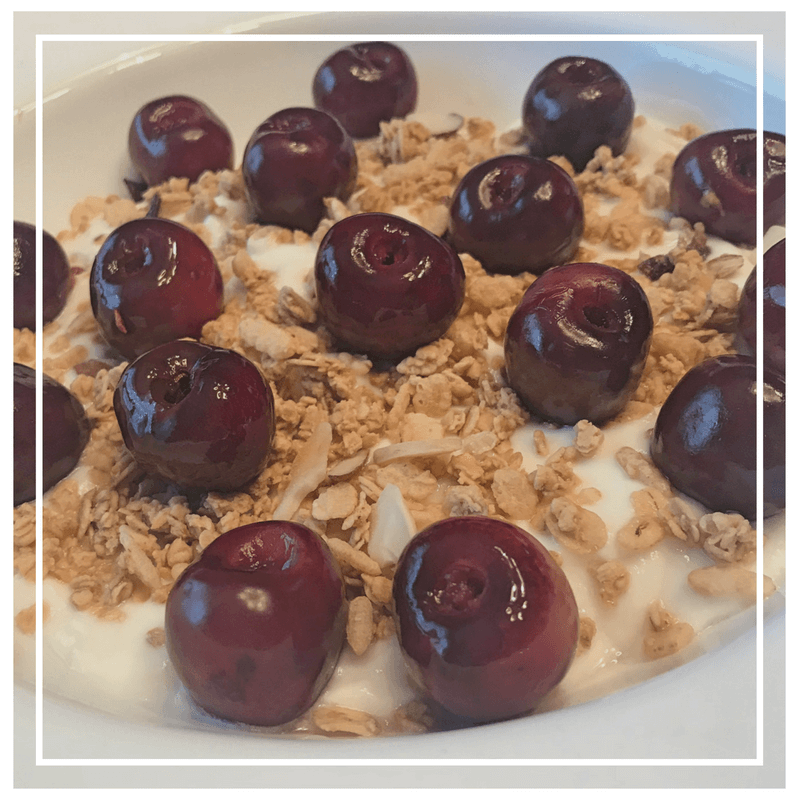
Like many people, we like to eat yogurt in the morning, and we are always looking for new ways to add more flavor and nutrients! Once again, this is a simple recipe that can be modified to your liking!
- 1 Cup Vanilla Yogurt
- 1/4 Cup Granola
- Pickled Cherries
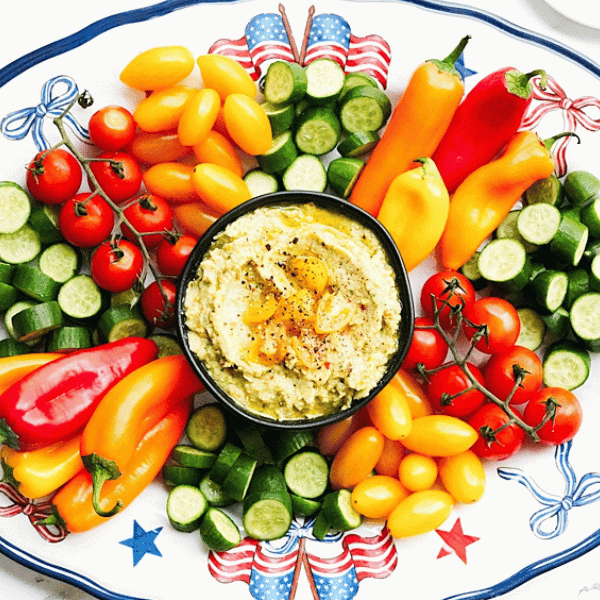
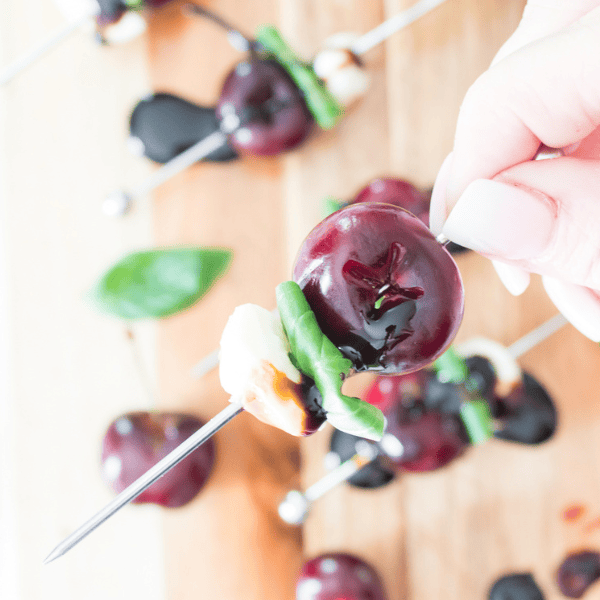
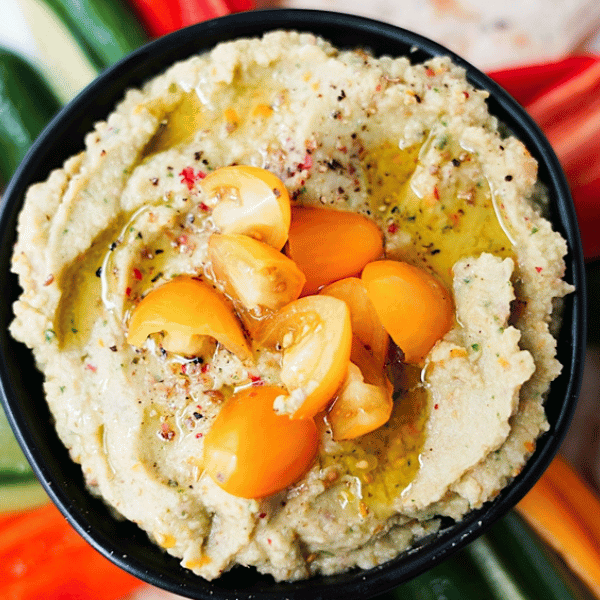
Cheese Tray + Pickled Cherries
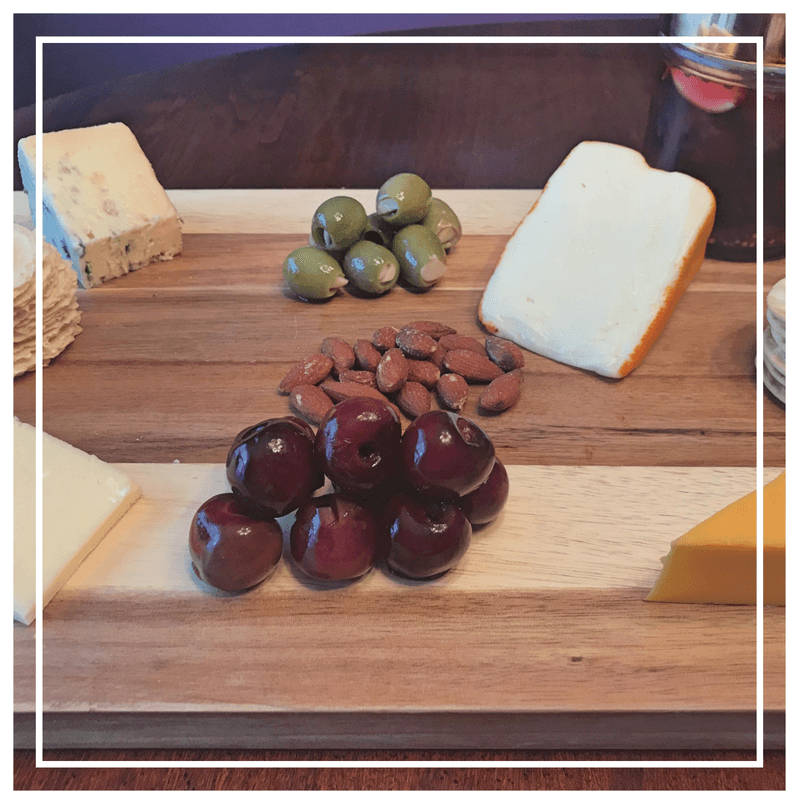
Cheese trays always elevate the level of sophistication for any event (especially when wine is involved)! And nothing enhances a cheese board like a wonderful bite of something pickled. Just like the other recipes, you can customize your cheese board with all of your favorites! When serving a cheese board, it is important to include a variety of assorted cheeses, some crackers, olives, a type of nut and something pickled…and in this case, the pickled cherries are the cherry on top!
- Assorted Cheeses
- Pickled Cherries
- Crackers
- Olives
- Almonds
More Great Cherry Recipes
- Cherry Clafoutis
- Whipped Cherry Goat Cheese
- Cherry Danish
- Gluten-Free Cherry Pie Filling
- Cherry Yogurt Bark
- Sweet Cherry Vinaigrette
- Cherry Bomb Cocktail or Mocktail
Pickled Cherries
Ingredients
- 2-2.5 lbs Dark sweet cherries
- 2 C apple cider vinegar
- 2 C water
- 2 Tbsp pickling salt
- 1 C light brown sugar
- 2 tsp black peppercorns
- 2 Strips orange zest
- 2 Cinnamon Sticks
- 1 bay leaf
- 6 Cloves garlic
- 1.5 Tbsp mustard seeds
Instructions
- Stem & Pit cherries. Fill cherries into 1/2 pint jars.
- Combine the rest of the ingredients (excpet garlic cloves) in a sauce pan and bring to a boil. Reduce heat and let simmer for 10 minutes.
- Add a clove of garlic into each 1/2 pint jar.
- Pour the hot liquid over the cherries. Let cool and then refrigerate.
Notes
Nutrition
Nutrition information is automatically calculated, so should only be used as an approximation.
What is your favorite way to eat pickled cherries? Leave your answer in the comments below!

Can you use sour cherries?
You can use an cherries you would like!