Focaccia Bread Art: Flower Garden
Mar 20, 2021, Updated May 15, 2023
This post may contain affiliate links. Please read our disclosure policy.
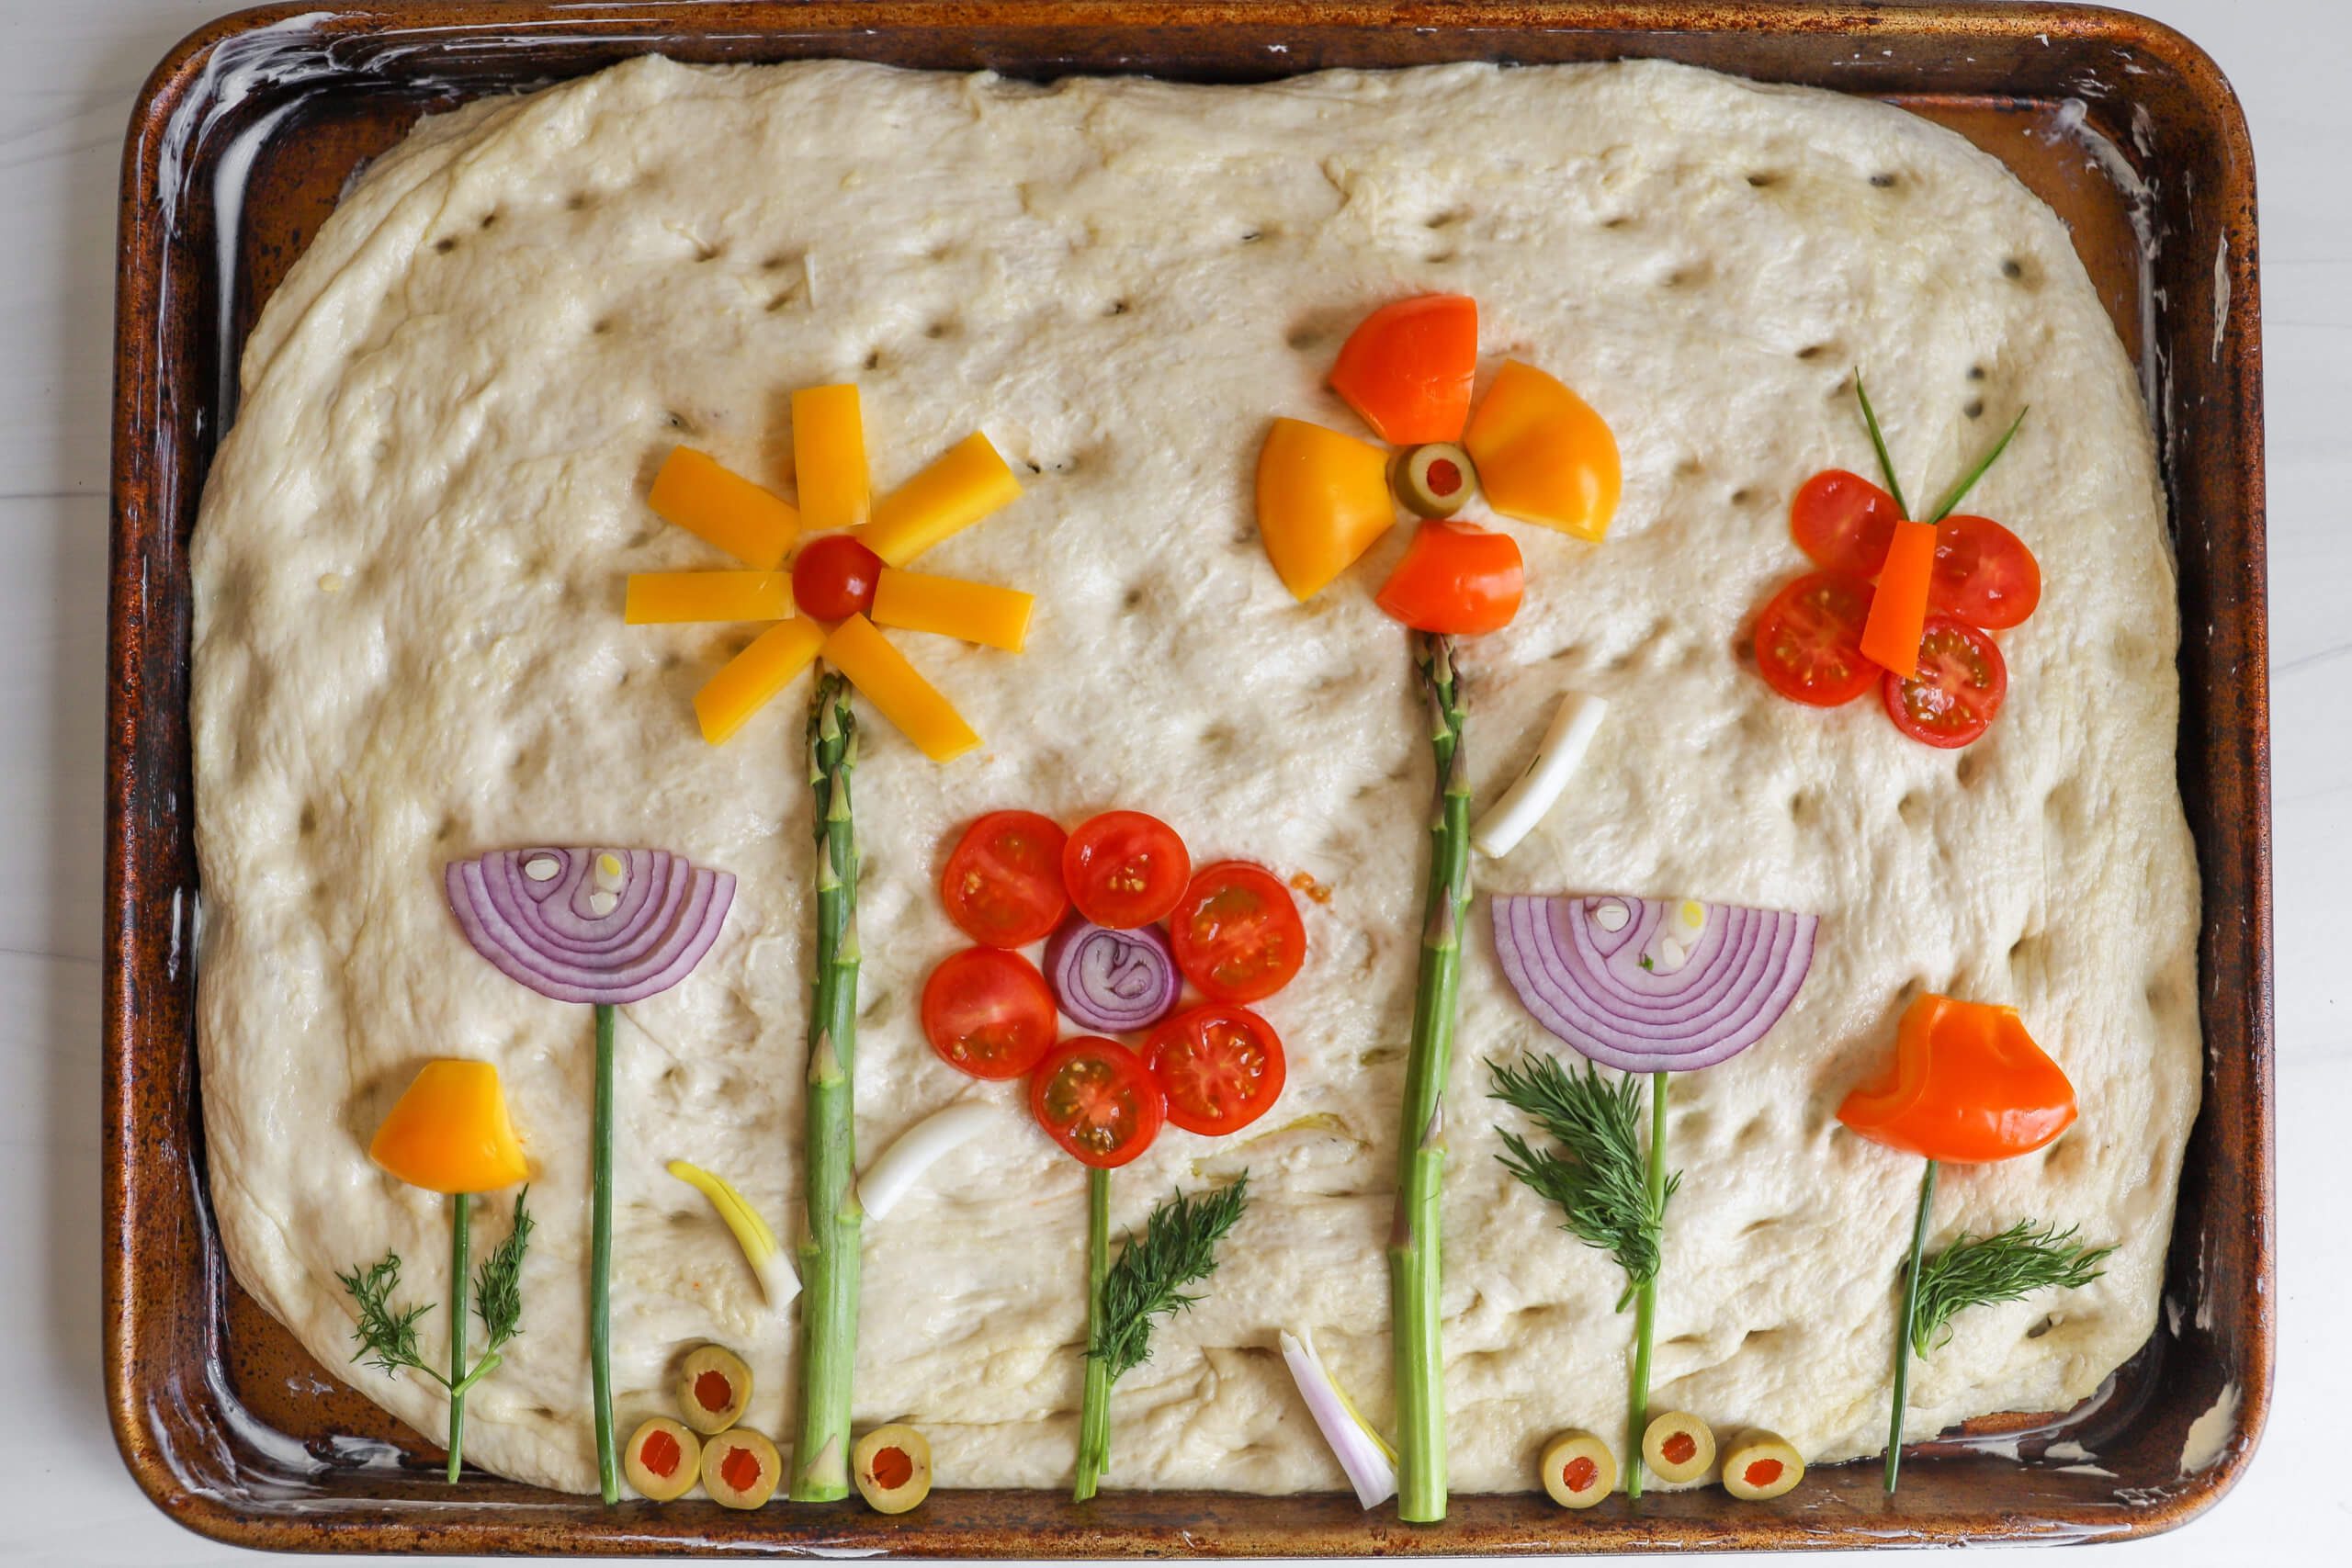
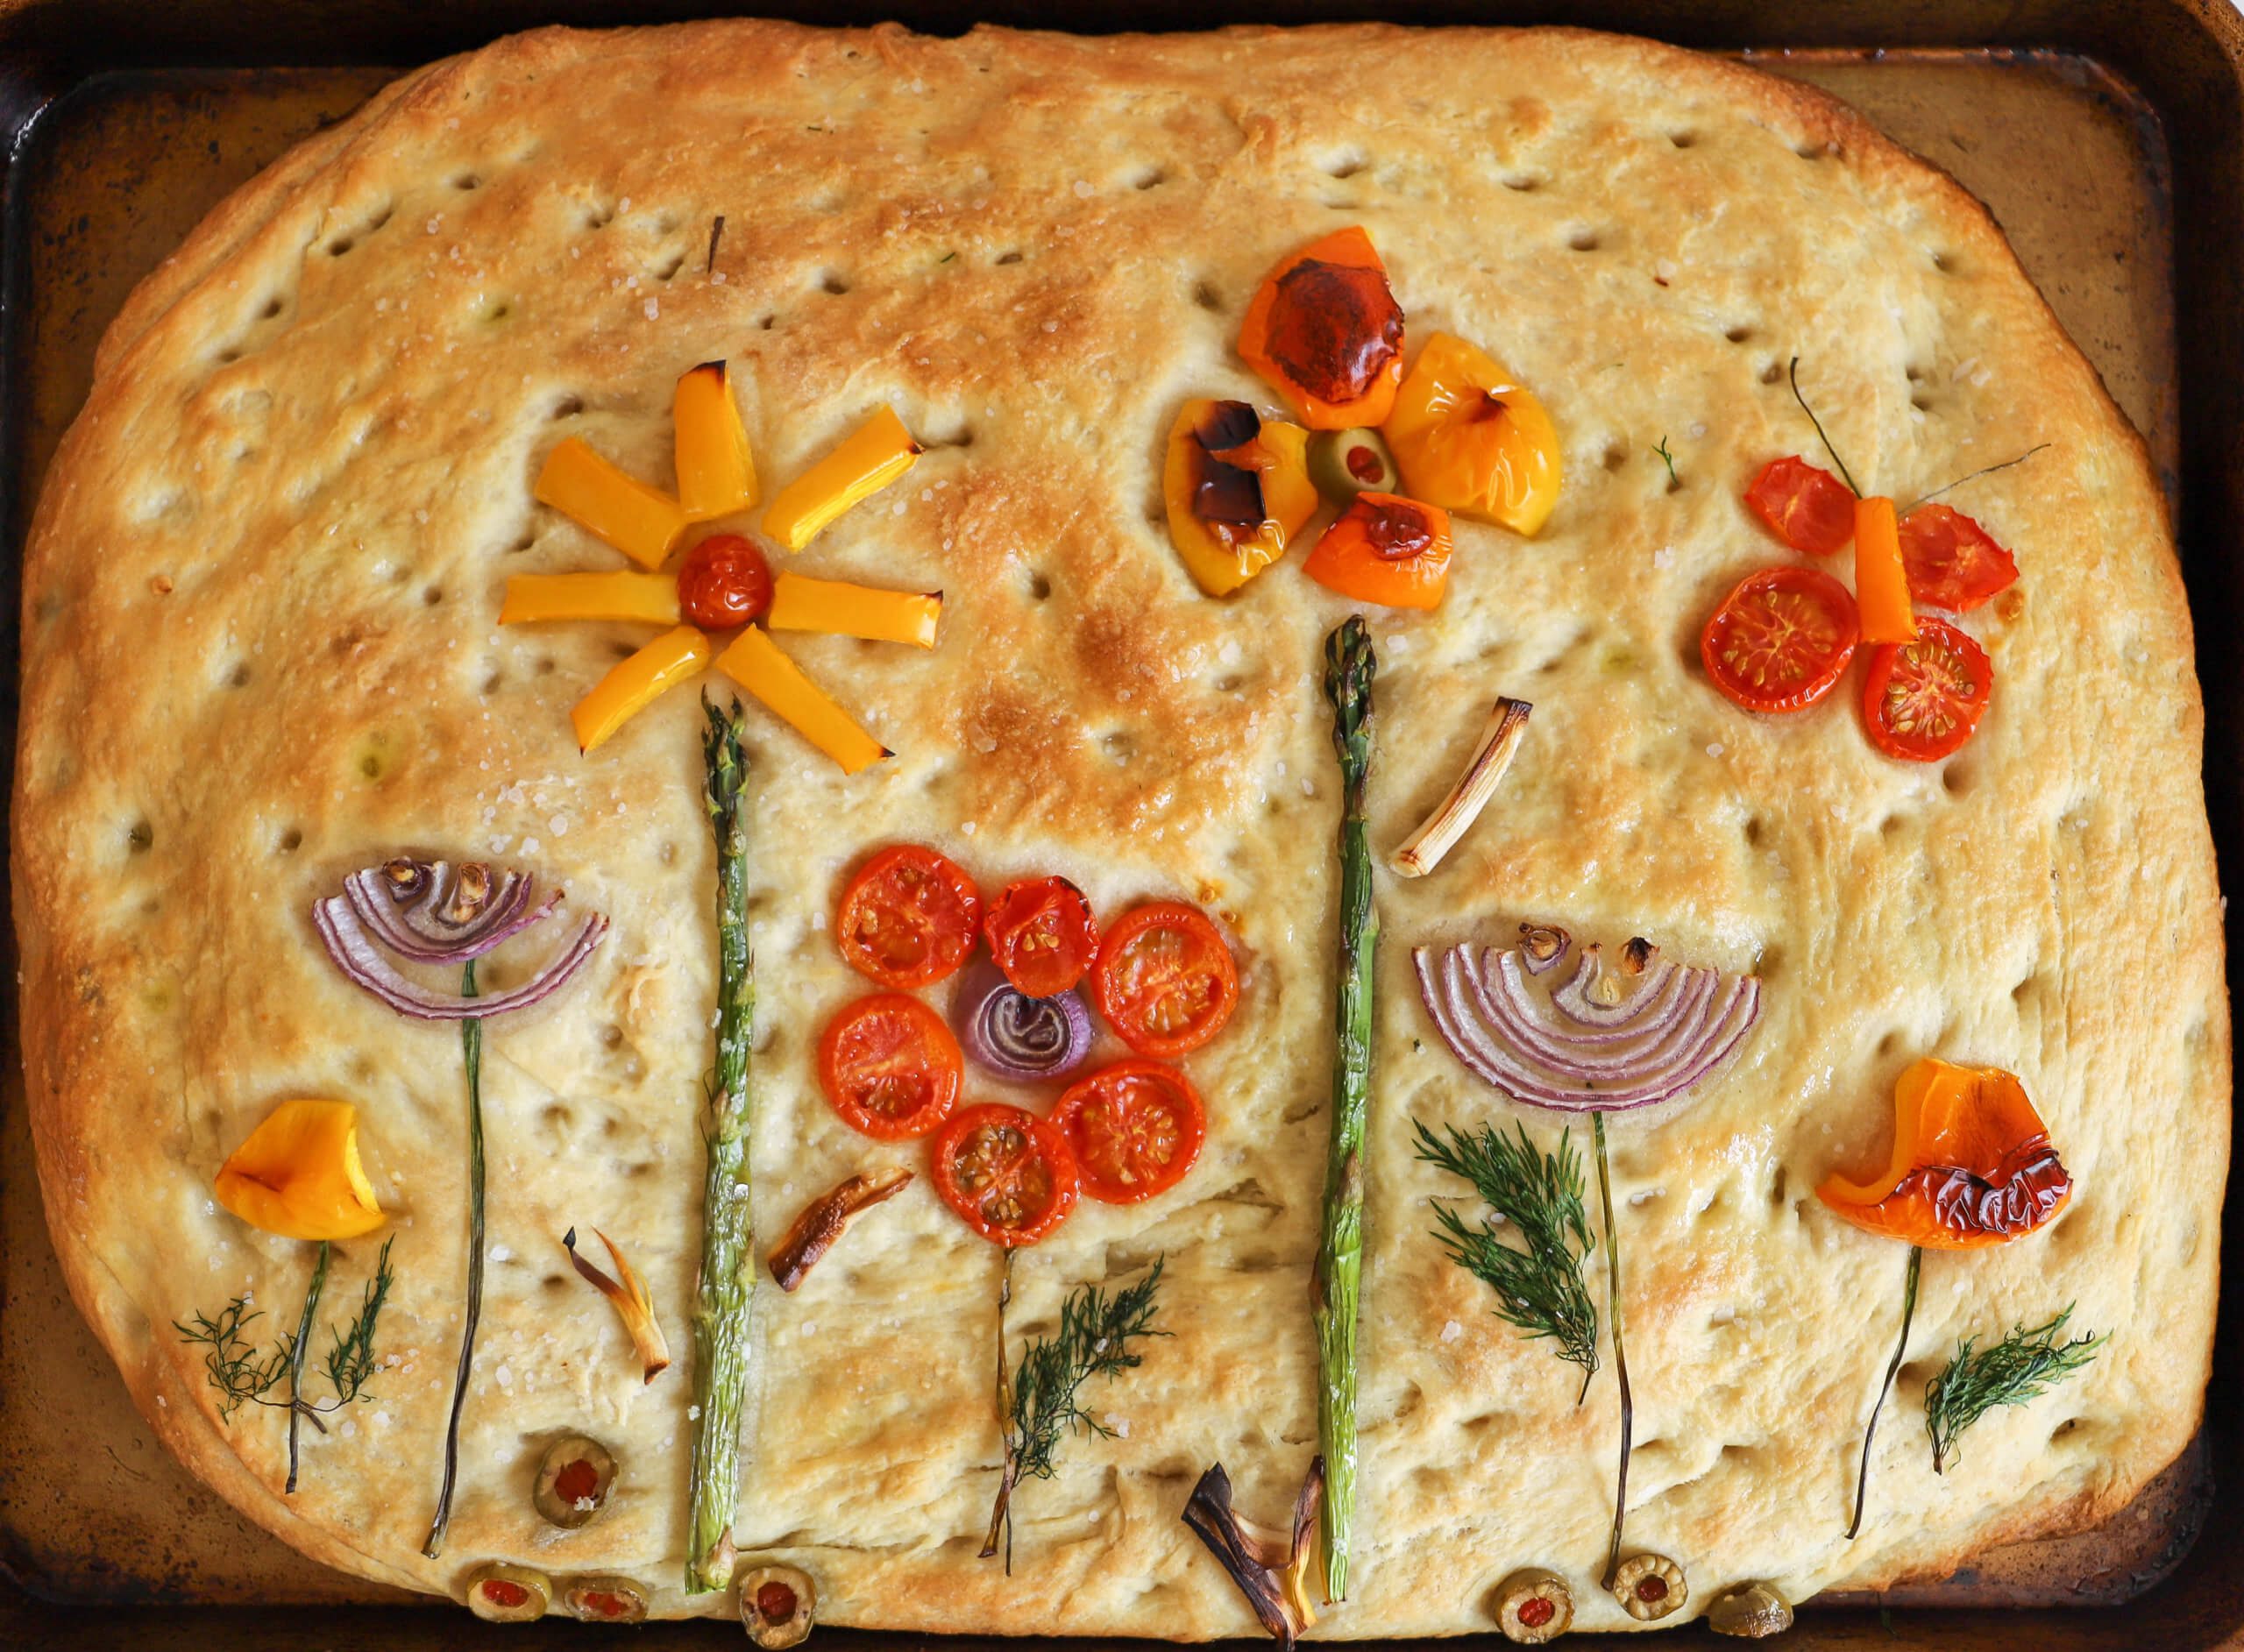
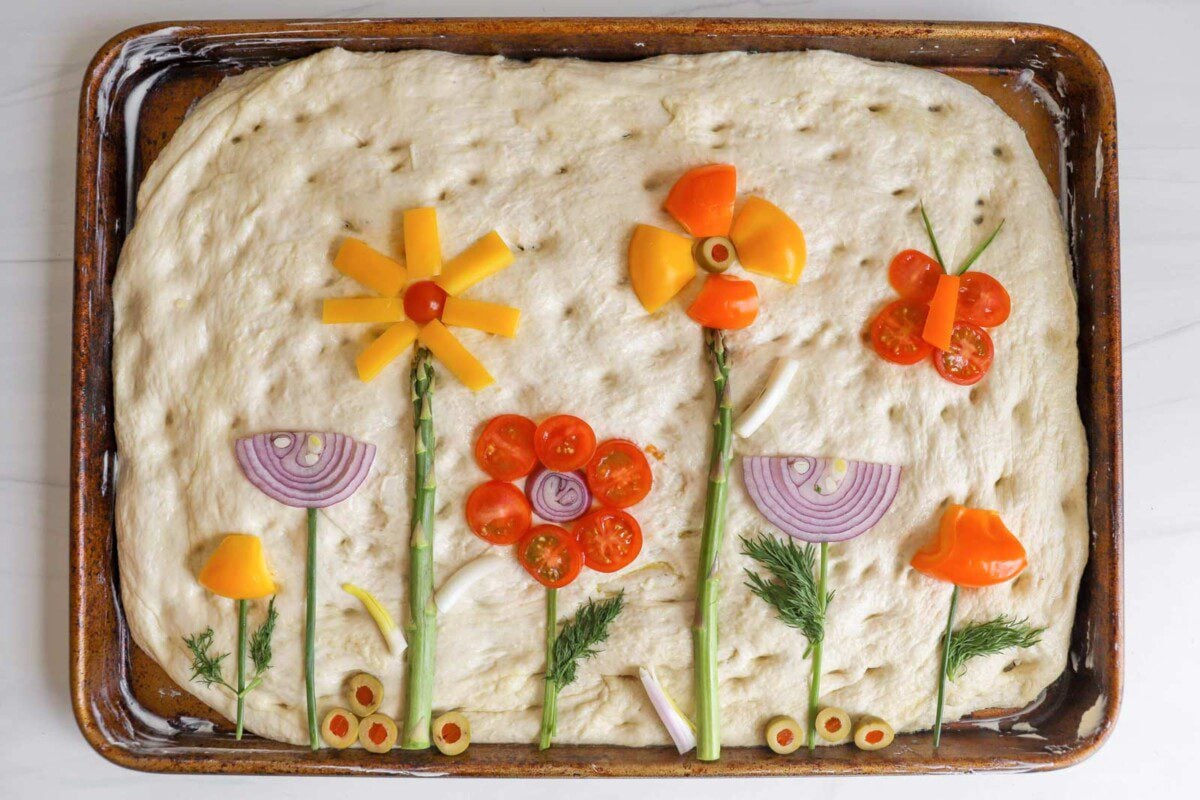
Turn homemade bread into a piece of tasty artwork! It’s actually really easy to turn focaccia bread into a beautiful, edible gardenscape. And it’s the perfect way to celebrate spring’s arrival!
This baking project is great for kids. Provide them with a variety of cut veggies and herbs and let them make the flowers that will adorn the focaccia bread. They’ll be more eager to try the veggies-laden bread knowing they helped create the flowerscape that adorns it.
Bread Art: How to Make a Focaccia Bread Art Gardenscape
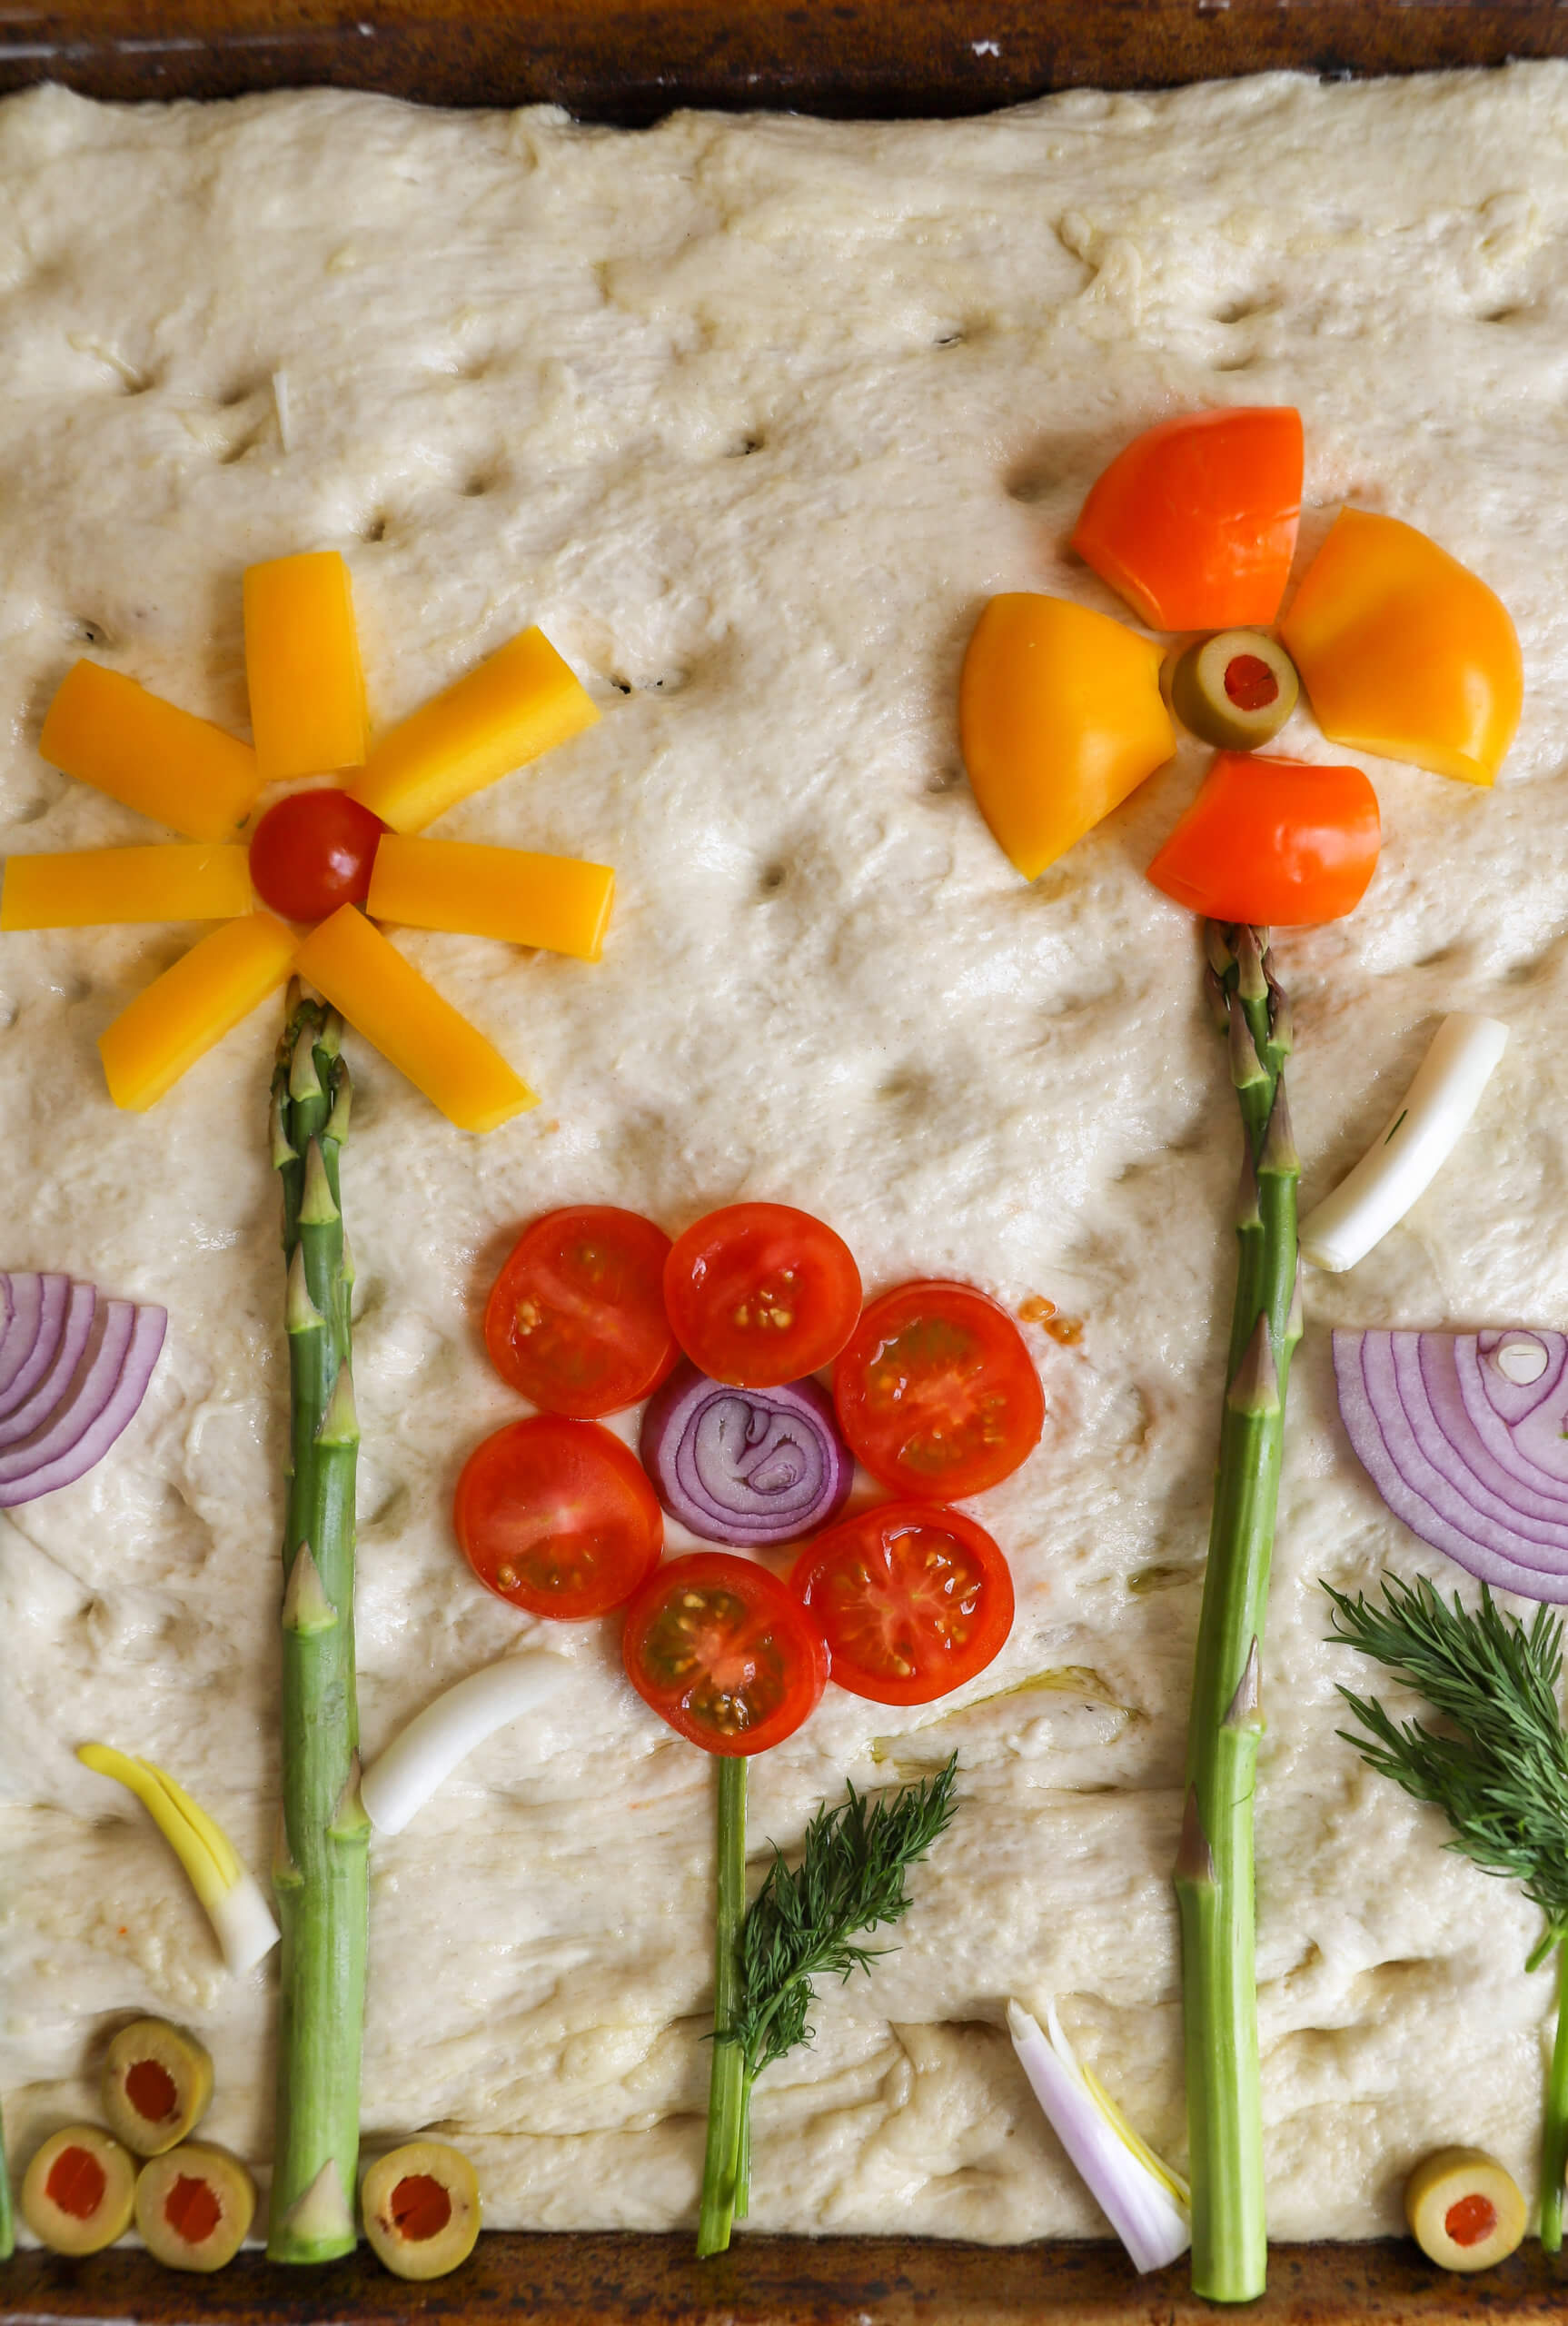
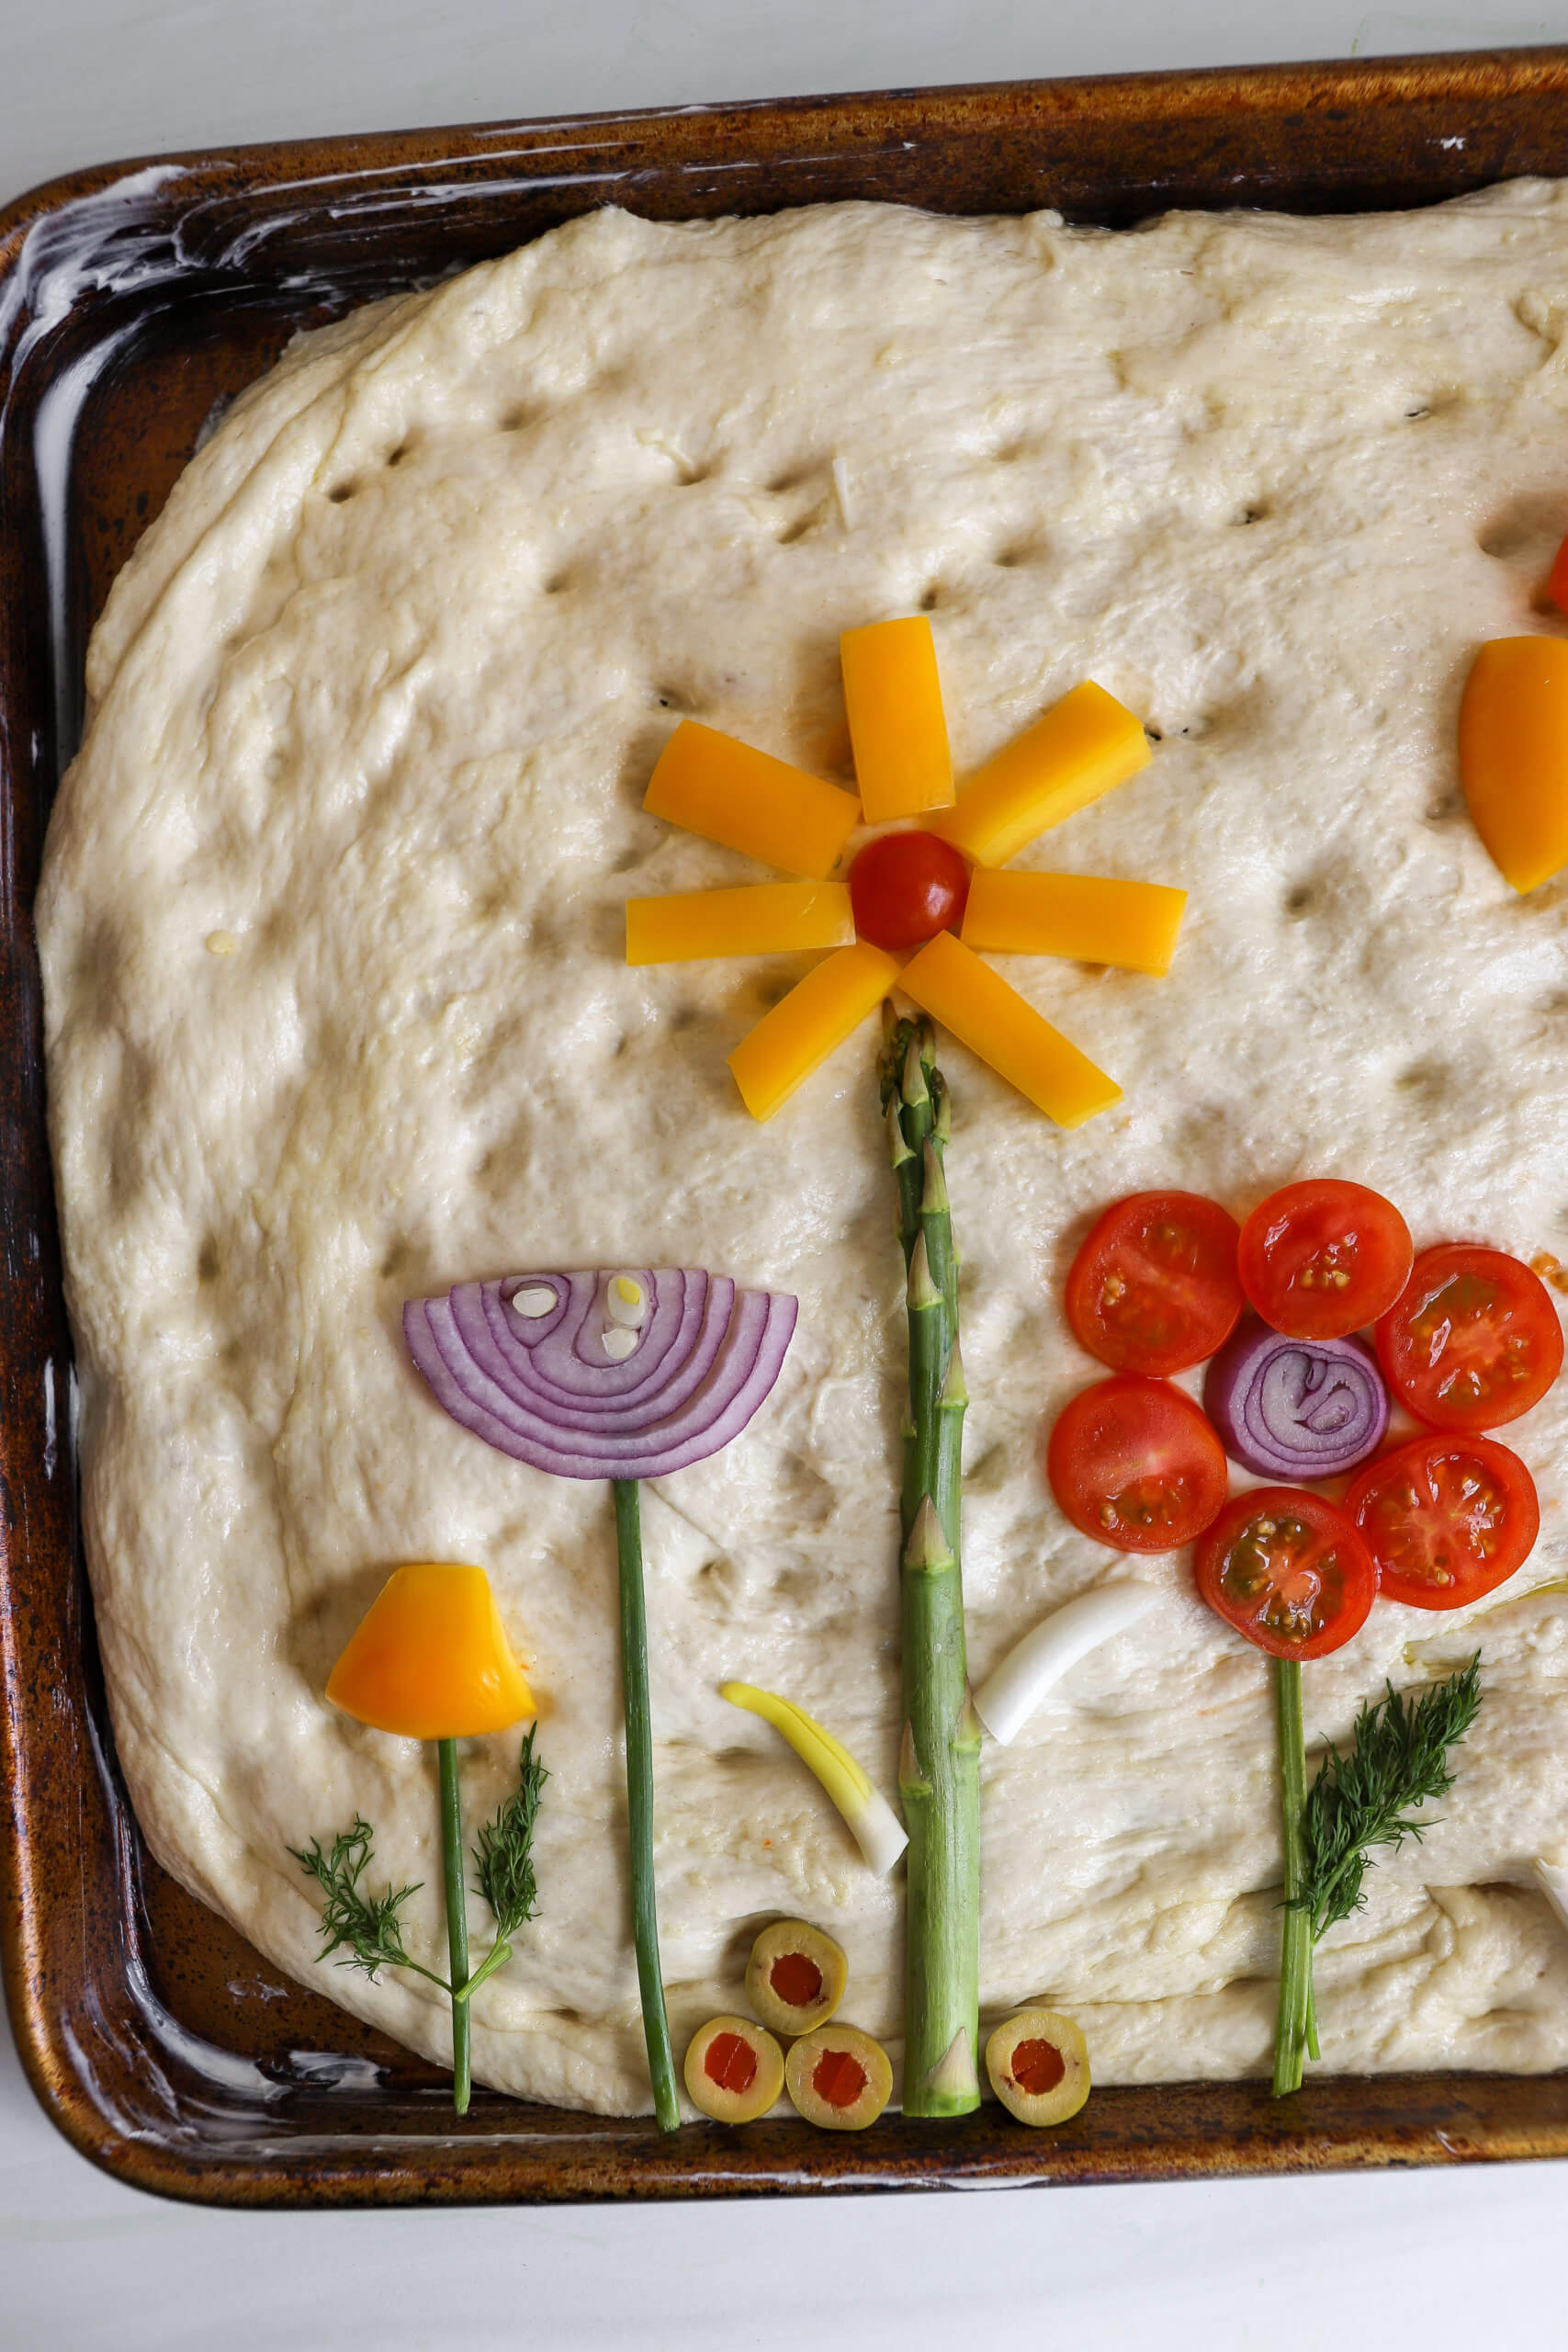
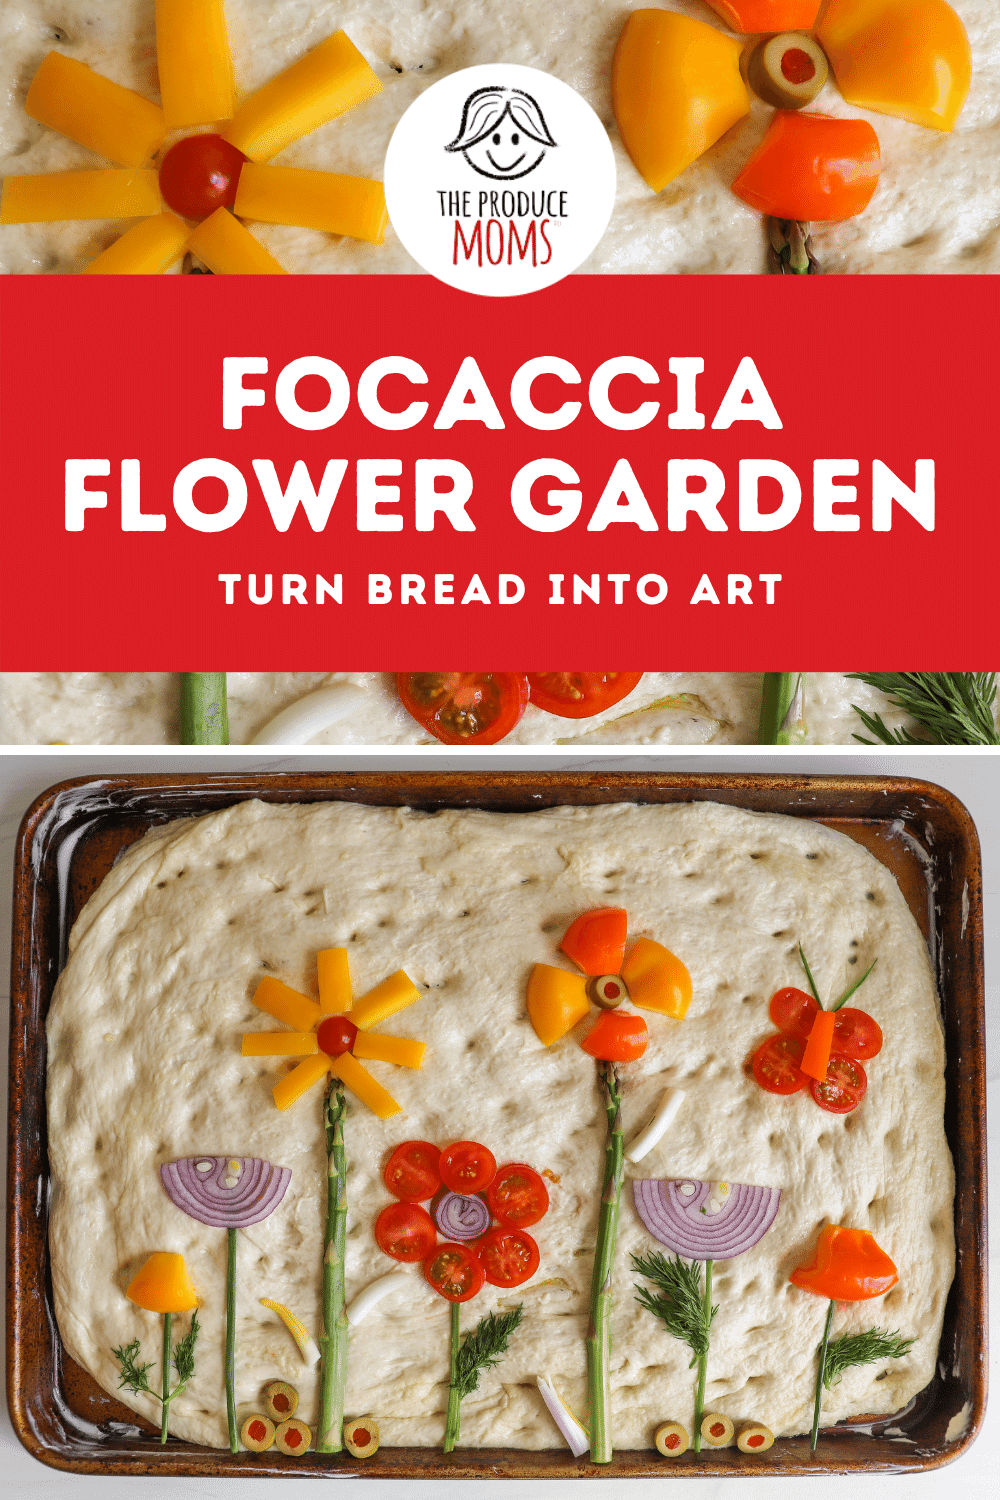
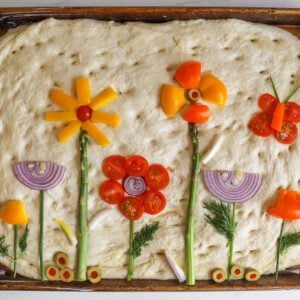
Once you’ve made your focaccia dough and it has been stretched onto a sheet pan, use fresh herbs and vegetables to create a spring scene. There’s no right or wrong way to decorate your bread so let your imagination and creativity run wild.
Here are some herbs and vegetables to consider using:
- Asparagus
- Basil
- Bell pepper
- Cherry tomato
- Chives
- Dill
- Garlic cloves
- Green onion
- Mushroom
- Olives
- Parsley
- Radish
- Red onion
- Rosemary
- Thyme
Any combination of the produce items listed above will taste great together. Use a variety of colors to make your garden really pop!
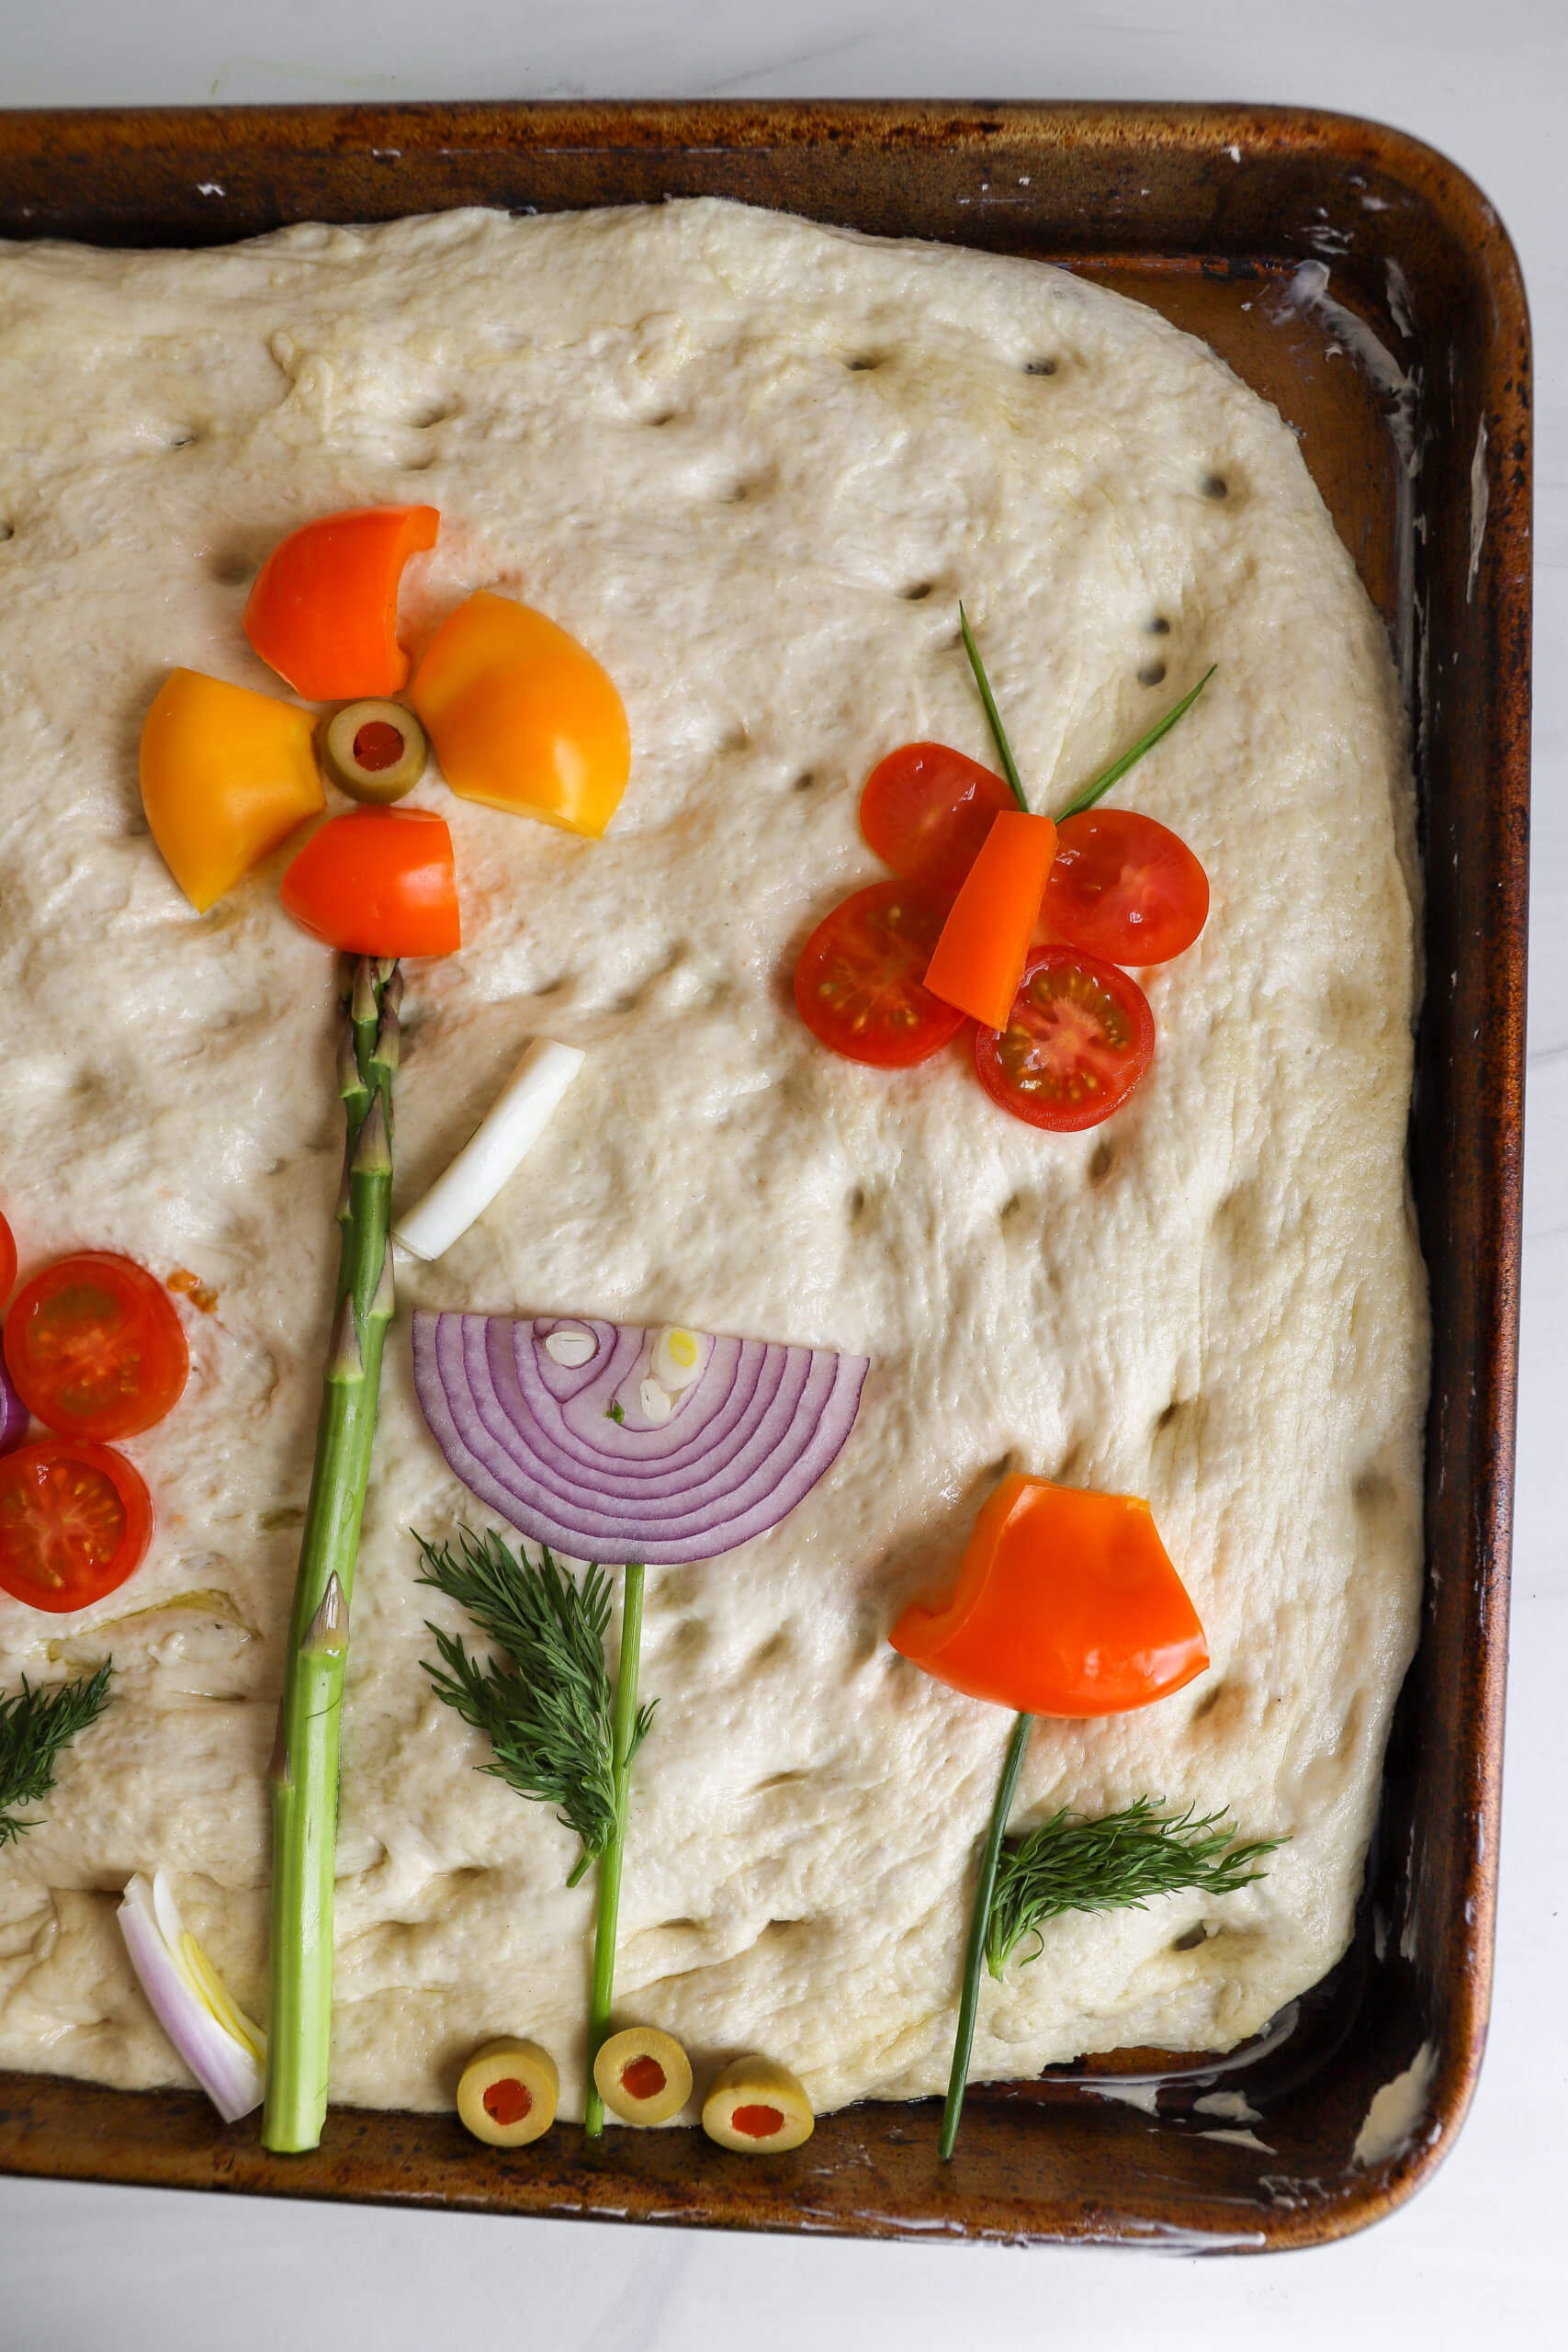
Use items like asparagus, green onion, and chives to create flower stems. Parsley, dill, basil, rosemary are all good options to make leaves. Tomatoes, olives, bell peppers, radishes, and red onions create beautiful flower blooms.
Olives can be used as the center of flowers or on the bottom of your bread to simulate rocks.
Add flower-loving butterflies or birds to the top of your bread. Four thin rounds of tomatoes with a small slice of bell pepper turns into a fluttering butterfly.
Once your bread is decorated, bake it in the oven at 450 degrees for 20-30 minutes, or until the bread is golden and the veggies and herbs begin to brown and crisp up around the edges.
Focaccia Bread Art: Flower Garden
Ingredients
- 1 envelope active dry yeast
- 1 tbsp honey
- 2 1/2 cups lukewarm water
- 5 cups all-purpose flour
- 1 tbsp kosher salt
- 6 tbsp extra virgin olive oil divided
- assorted vegetables
- assorted herbs
Instructions
- In a medium-sized bowl, whisk together the yeast, honey, and lukewarm water. Add in flour and salt and mix with a rubber spatula until a rough dough forms.
- Pour 4 tablespoons of olive oil into a large mixing bowl. Transfer the dough into the large mixing bowl and turn to coat in the olive oil. Cover the bowl with plastic wrap and chill in the refrigerator for 8 hours, or up to one day. The dough will double in size.
- Prepare an 18x13 rimmed baking sheet by coating it in butter.
- While the dough is still in the bowl, grab one side of the dough and fold it towards your body. Gently press down. Turn the bowl a 1/4 turn and repeat this step three times.
- Transfer the dough to the prepared baking sheet and pour any excess oil in the bowl onto the bread dough. Let the dough rise uncovered until it doubles in size, about 2 hours. To see if the bread is ready, poke it with your finger. If the dough springs back slowly, leaving a small indention, it is ready.
- Place the oven rack in the middle of the oven and preheat to 450 degrees.
- Gently stretch the dough to cover the baking sheet. The dough should be about an inch thick.
- Dimple the dough by firmly pressing your fingers throughout the dough. Brush with remaining olive oil and sprinkle with kosher salt.
- Decorate the bread with your assorted herbs and vegetables to create a gardenscape.
- Bake for 20-30 minutes or until the bread is golden brown all over. Remove and brush with more olive oil or melted butter.
Nutrition
Nutrition information is automatically calculated, so should only be used as an approximation.
Making focaccia bread art is a fun family activity and festive way to way to ring in spring! It would be a beautiful addition to your Easter table. And it’s perfect for special occasions or events like baby and wedding showers.
Share your focaccia flower garden with us on Instagram @theproducemoms. We can’t wait to see how your bread art turns out!
